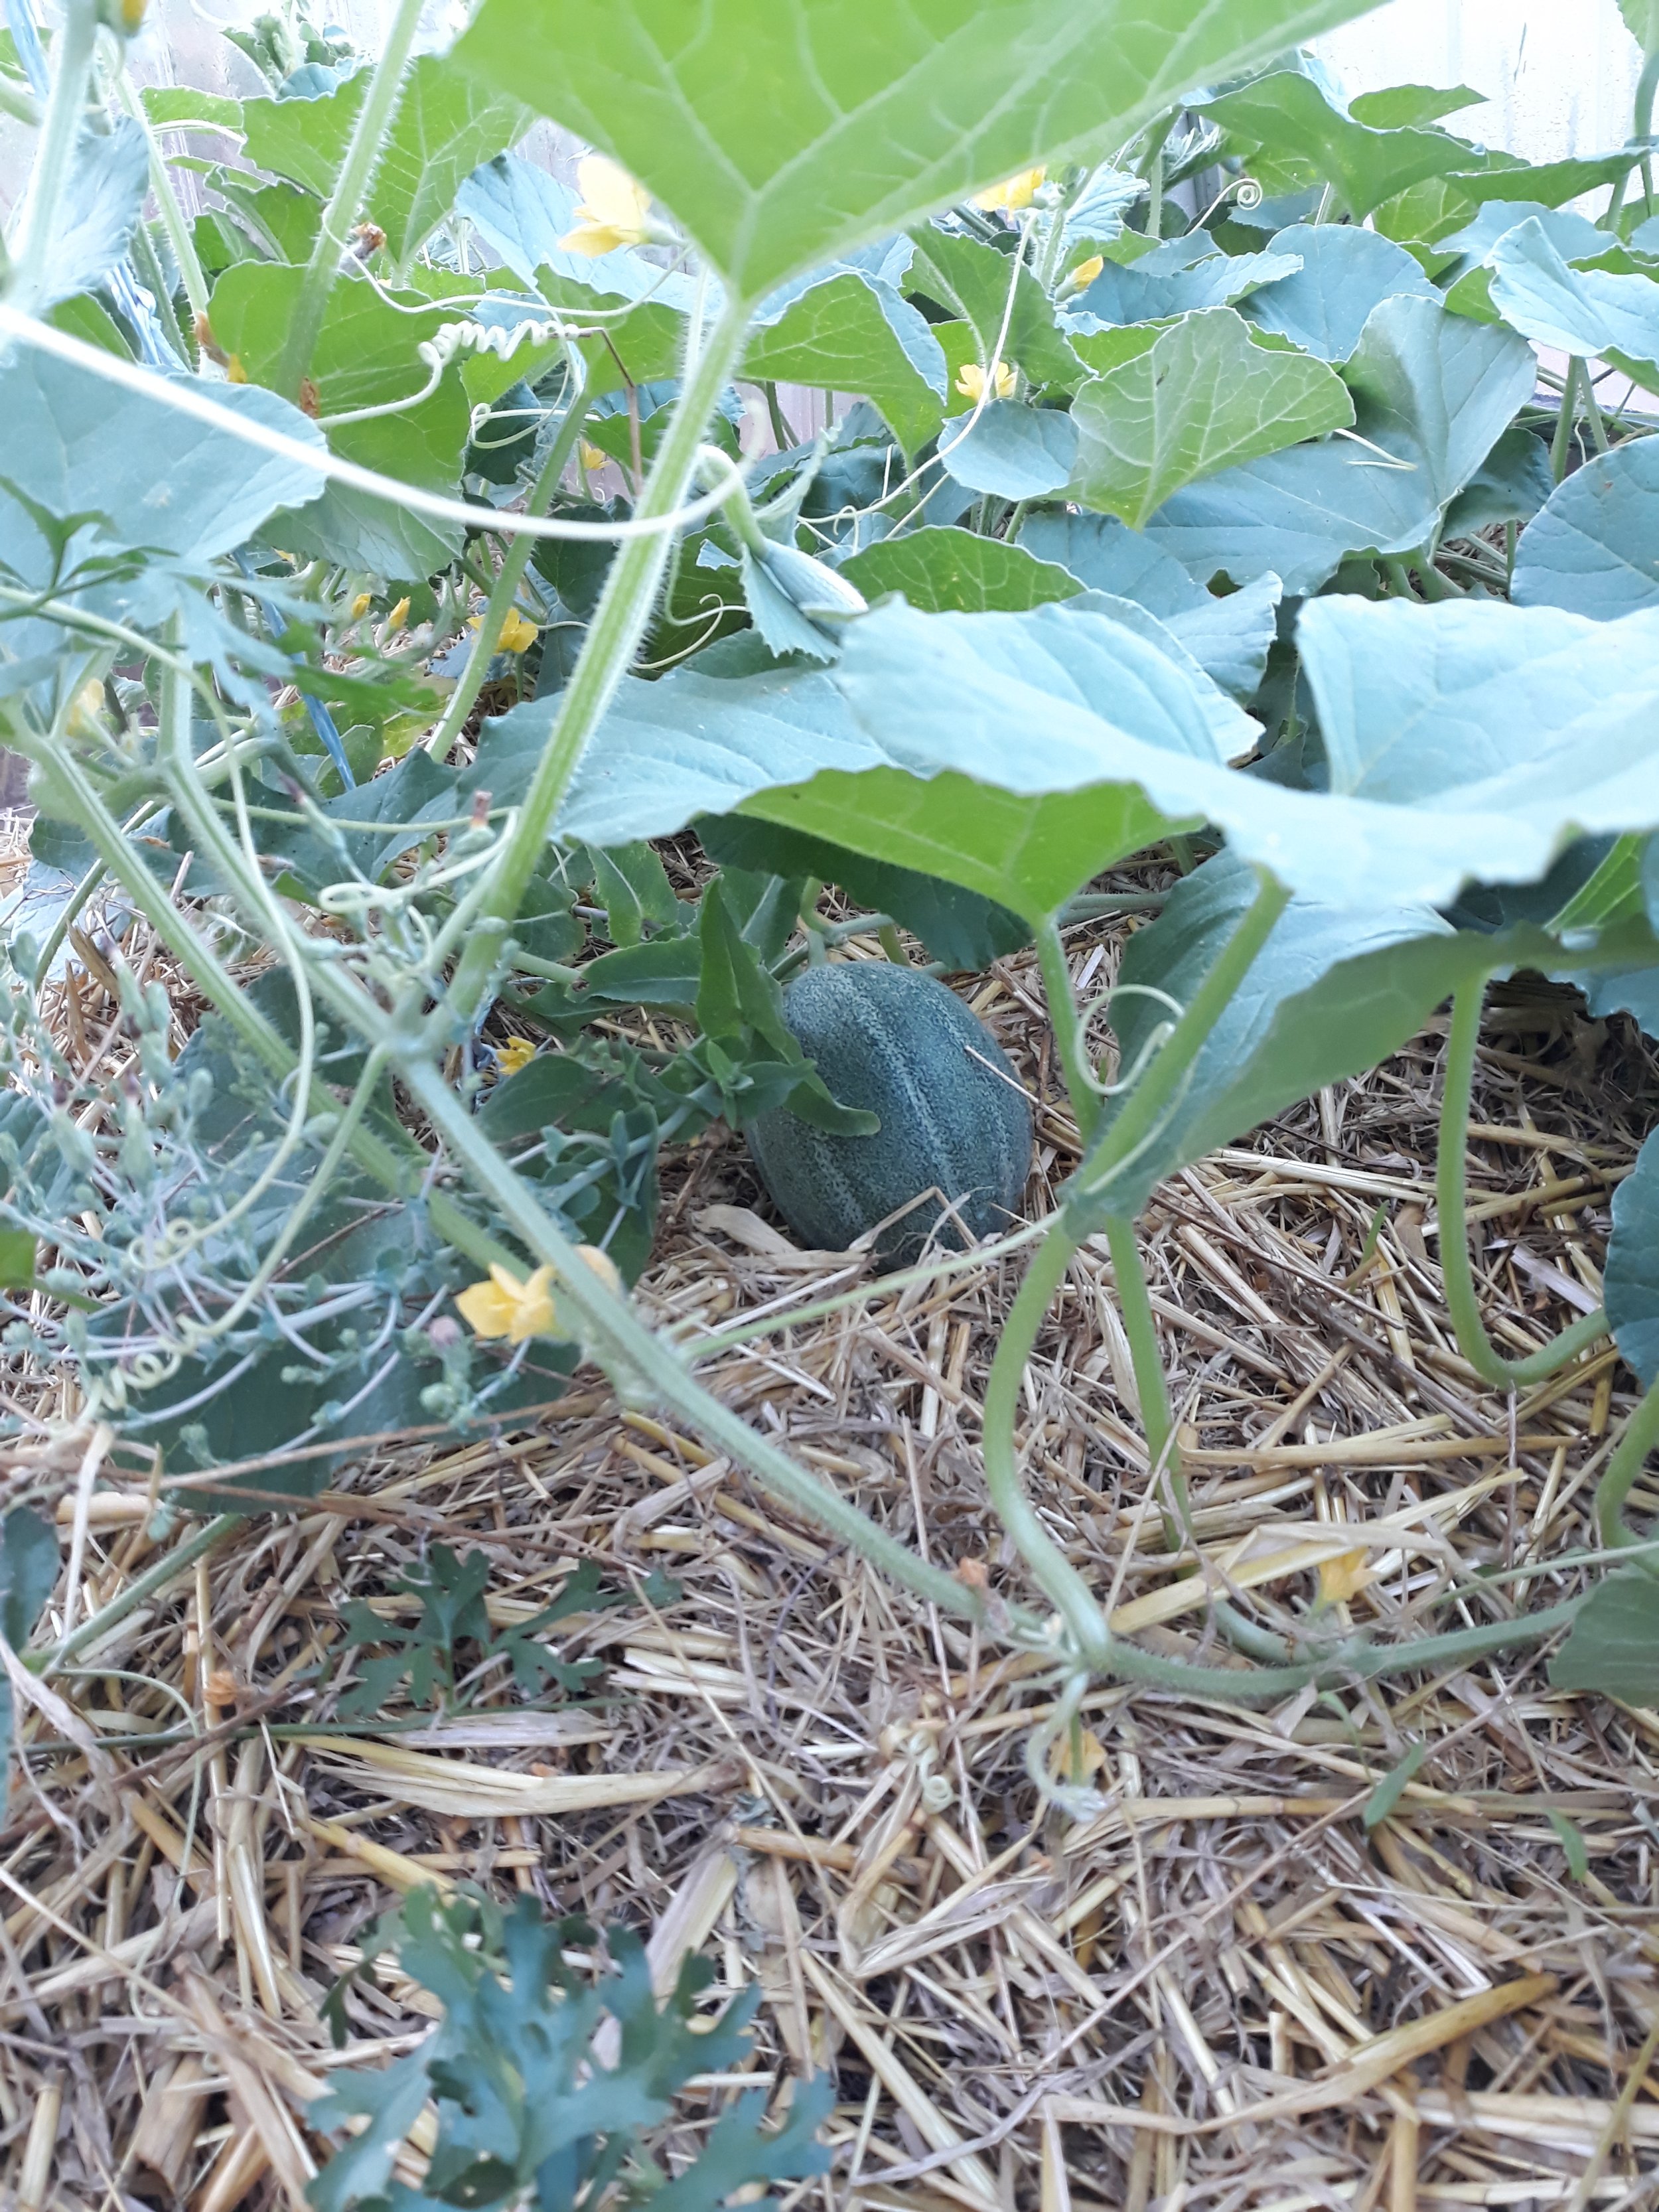
Planning and building a greenhouse
Planning
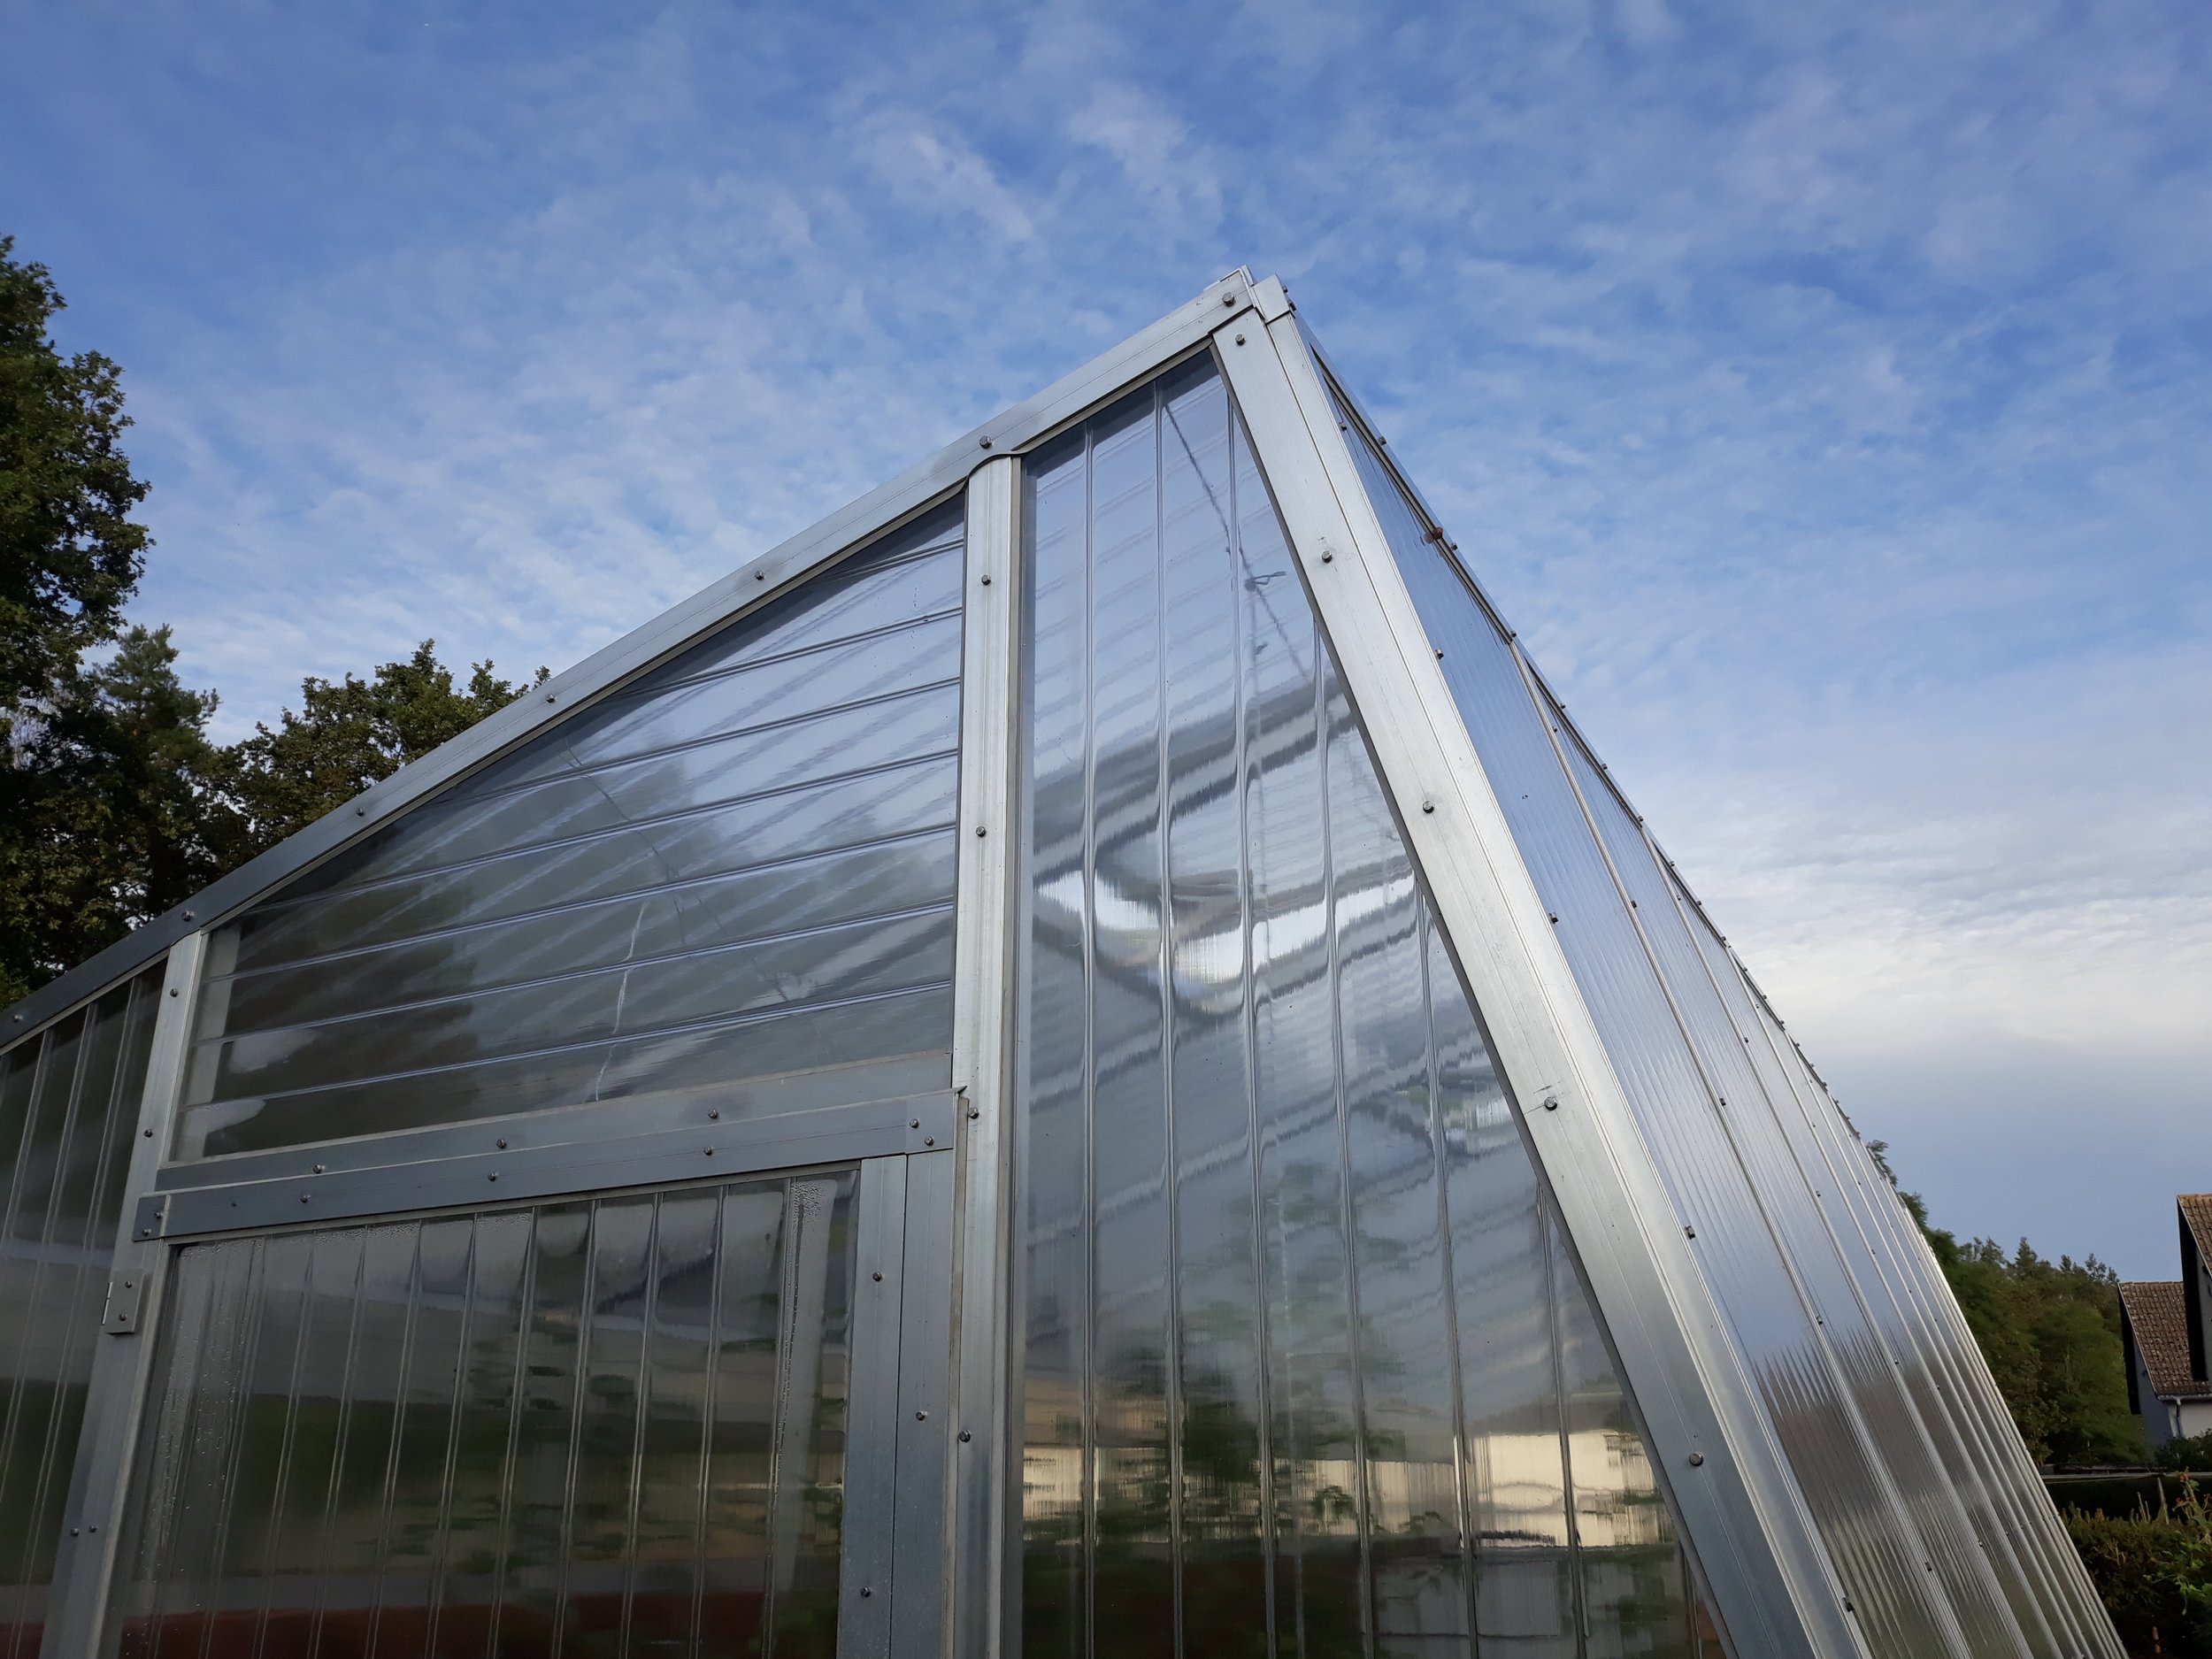
I decided to construct the greenhouse with aluminum and acrylic, with the hope that it will last for a long time and require little maintenance. The production of these materials is not as sustainable as I would wish, but I got carried off with the design, and after a year of planning, began the construction on February 2022.


Foundation
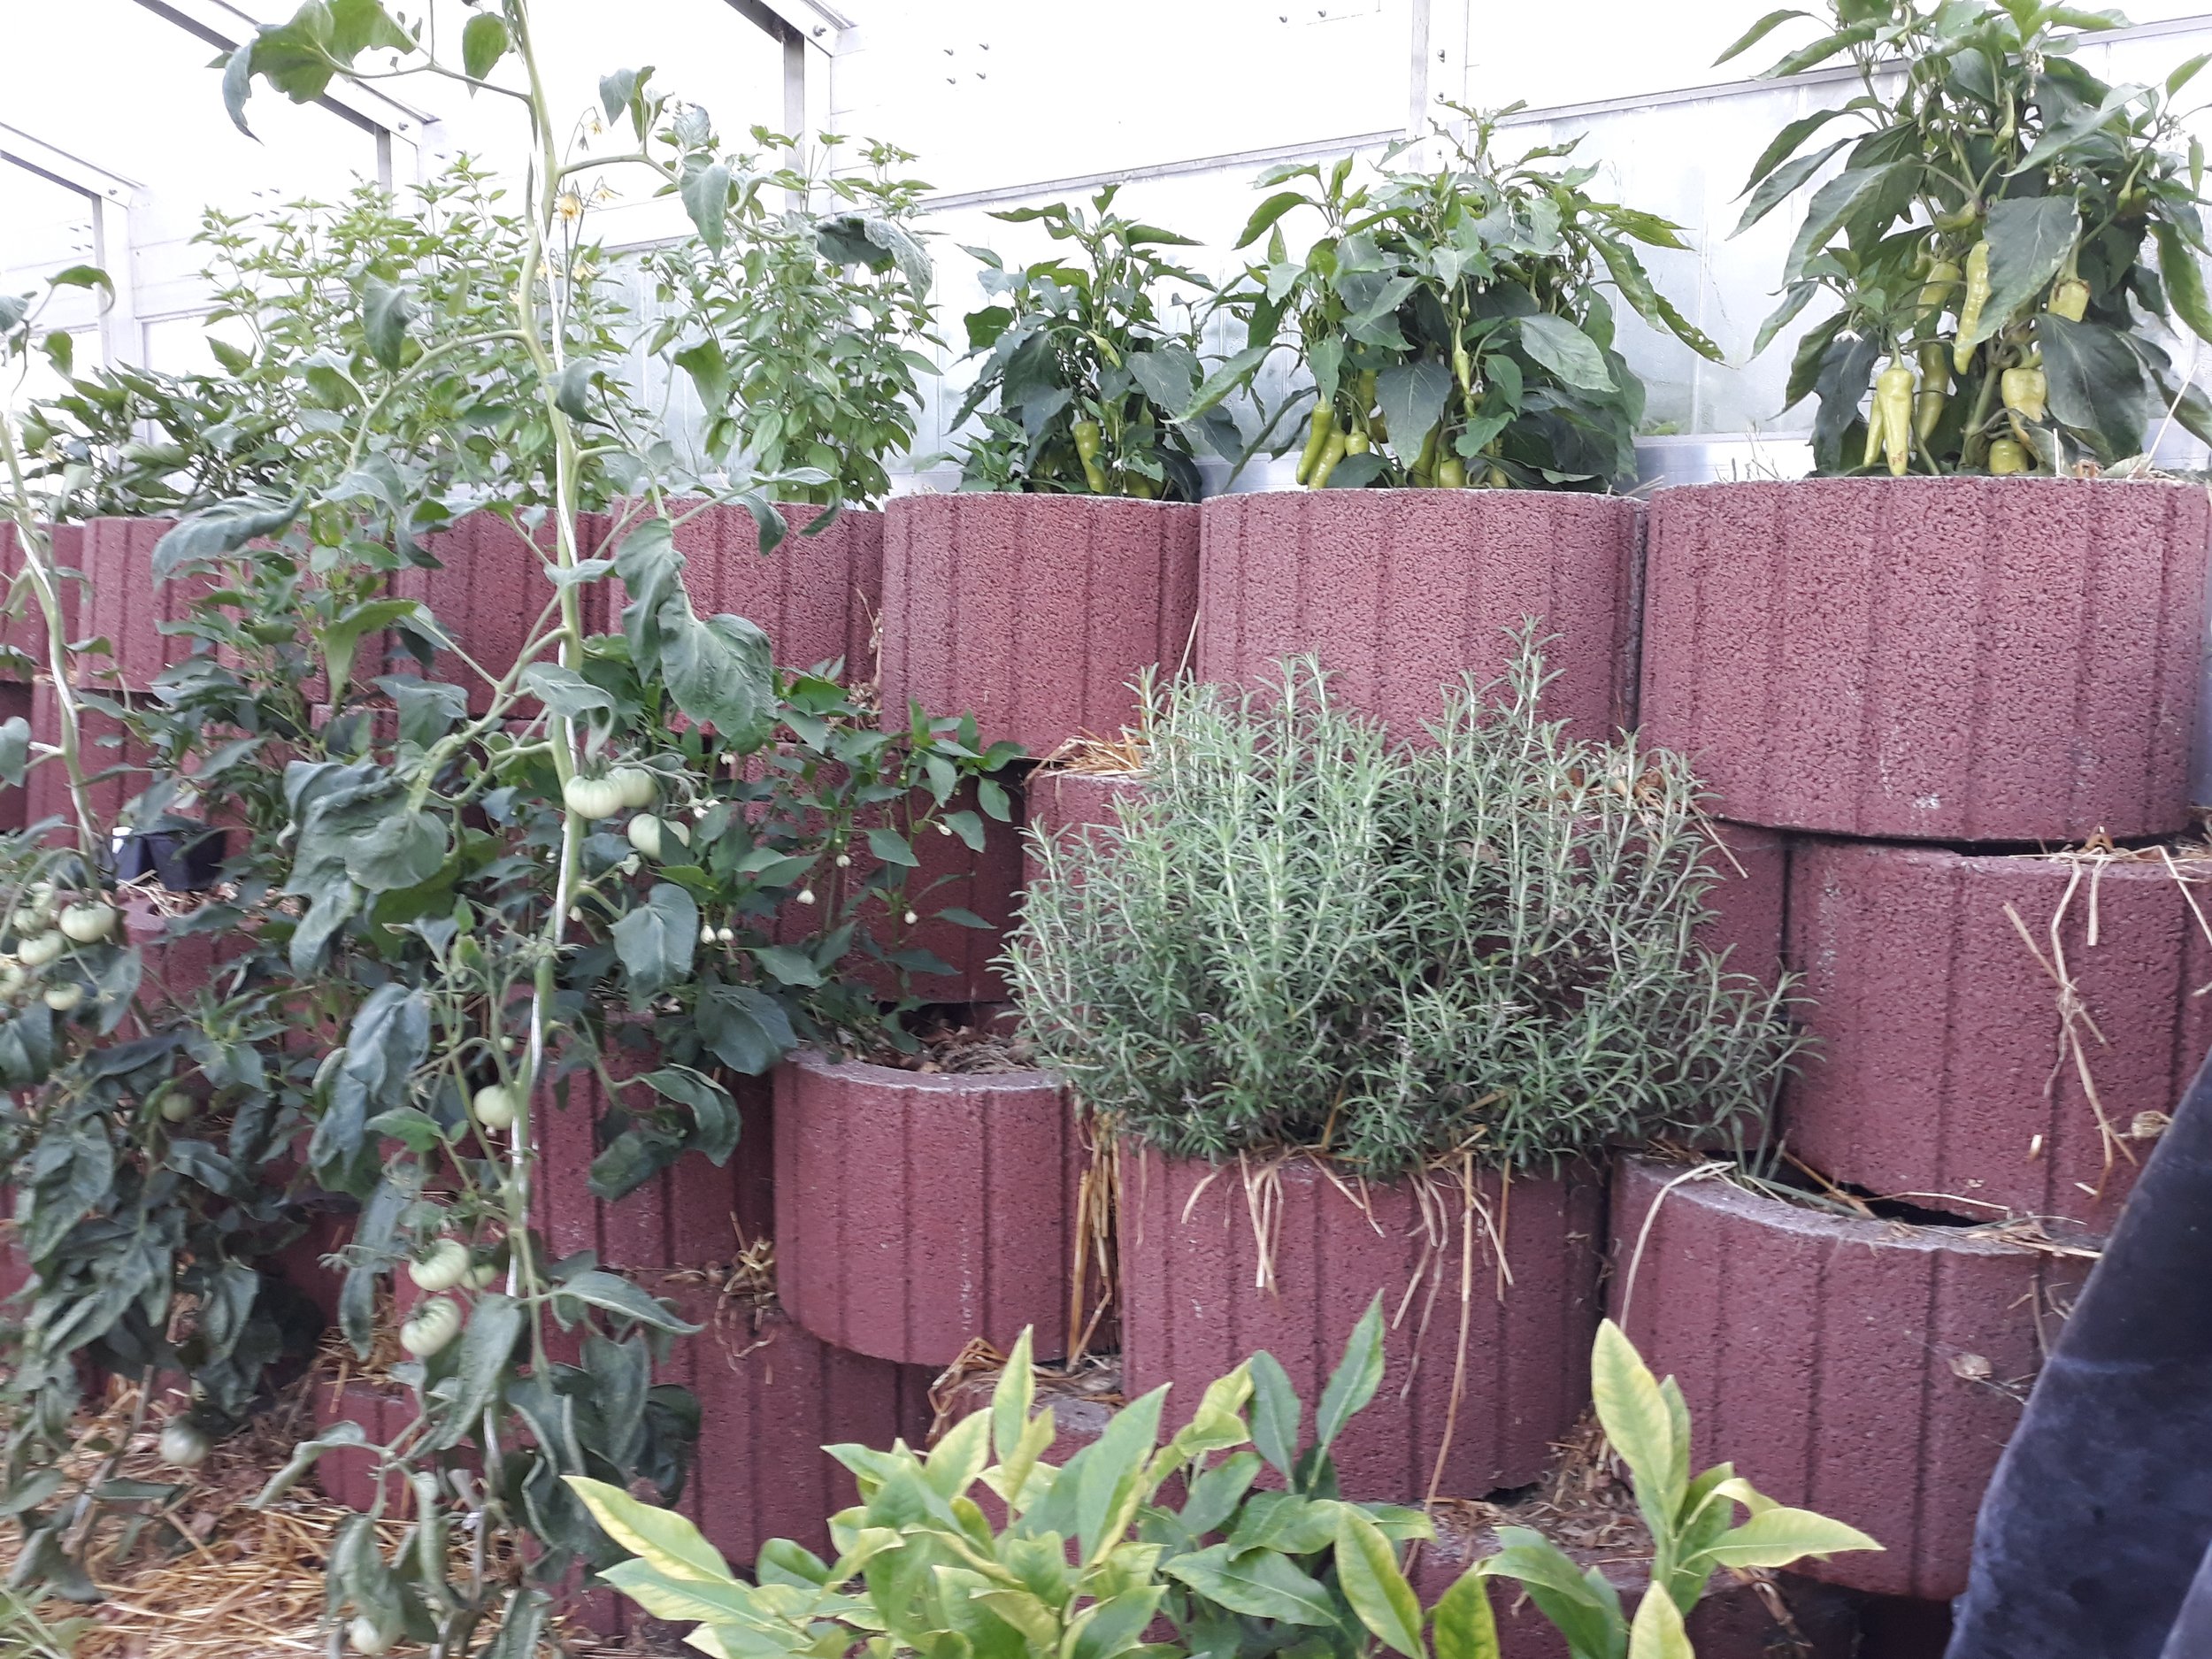
All posts are connected to concreted anchors, half off them in massive concrete planters. The same planters will be used to construct the lower part of the back of the greenhouse. I would rather do without concrete, and I did discover an interesting alternative: screw-foundations. These are huge metal screws, seemingly absolutely recyclable as such, that require, however, a special machine to screw them into the ground in accurate angle. I have learned of their existence too late, at which point that it would have required changing the entire design of the greenhouse.
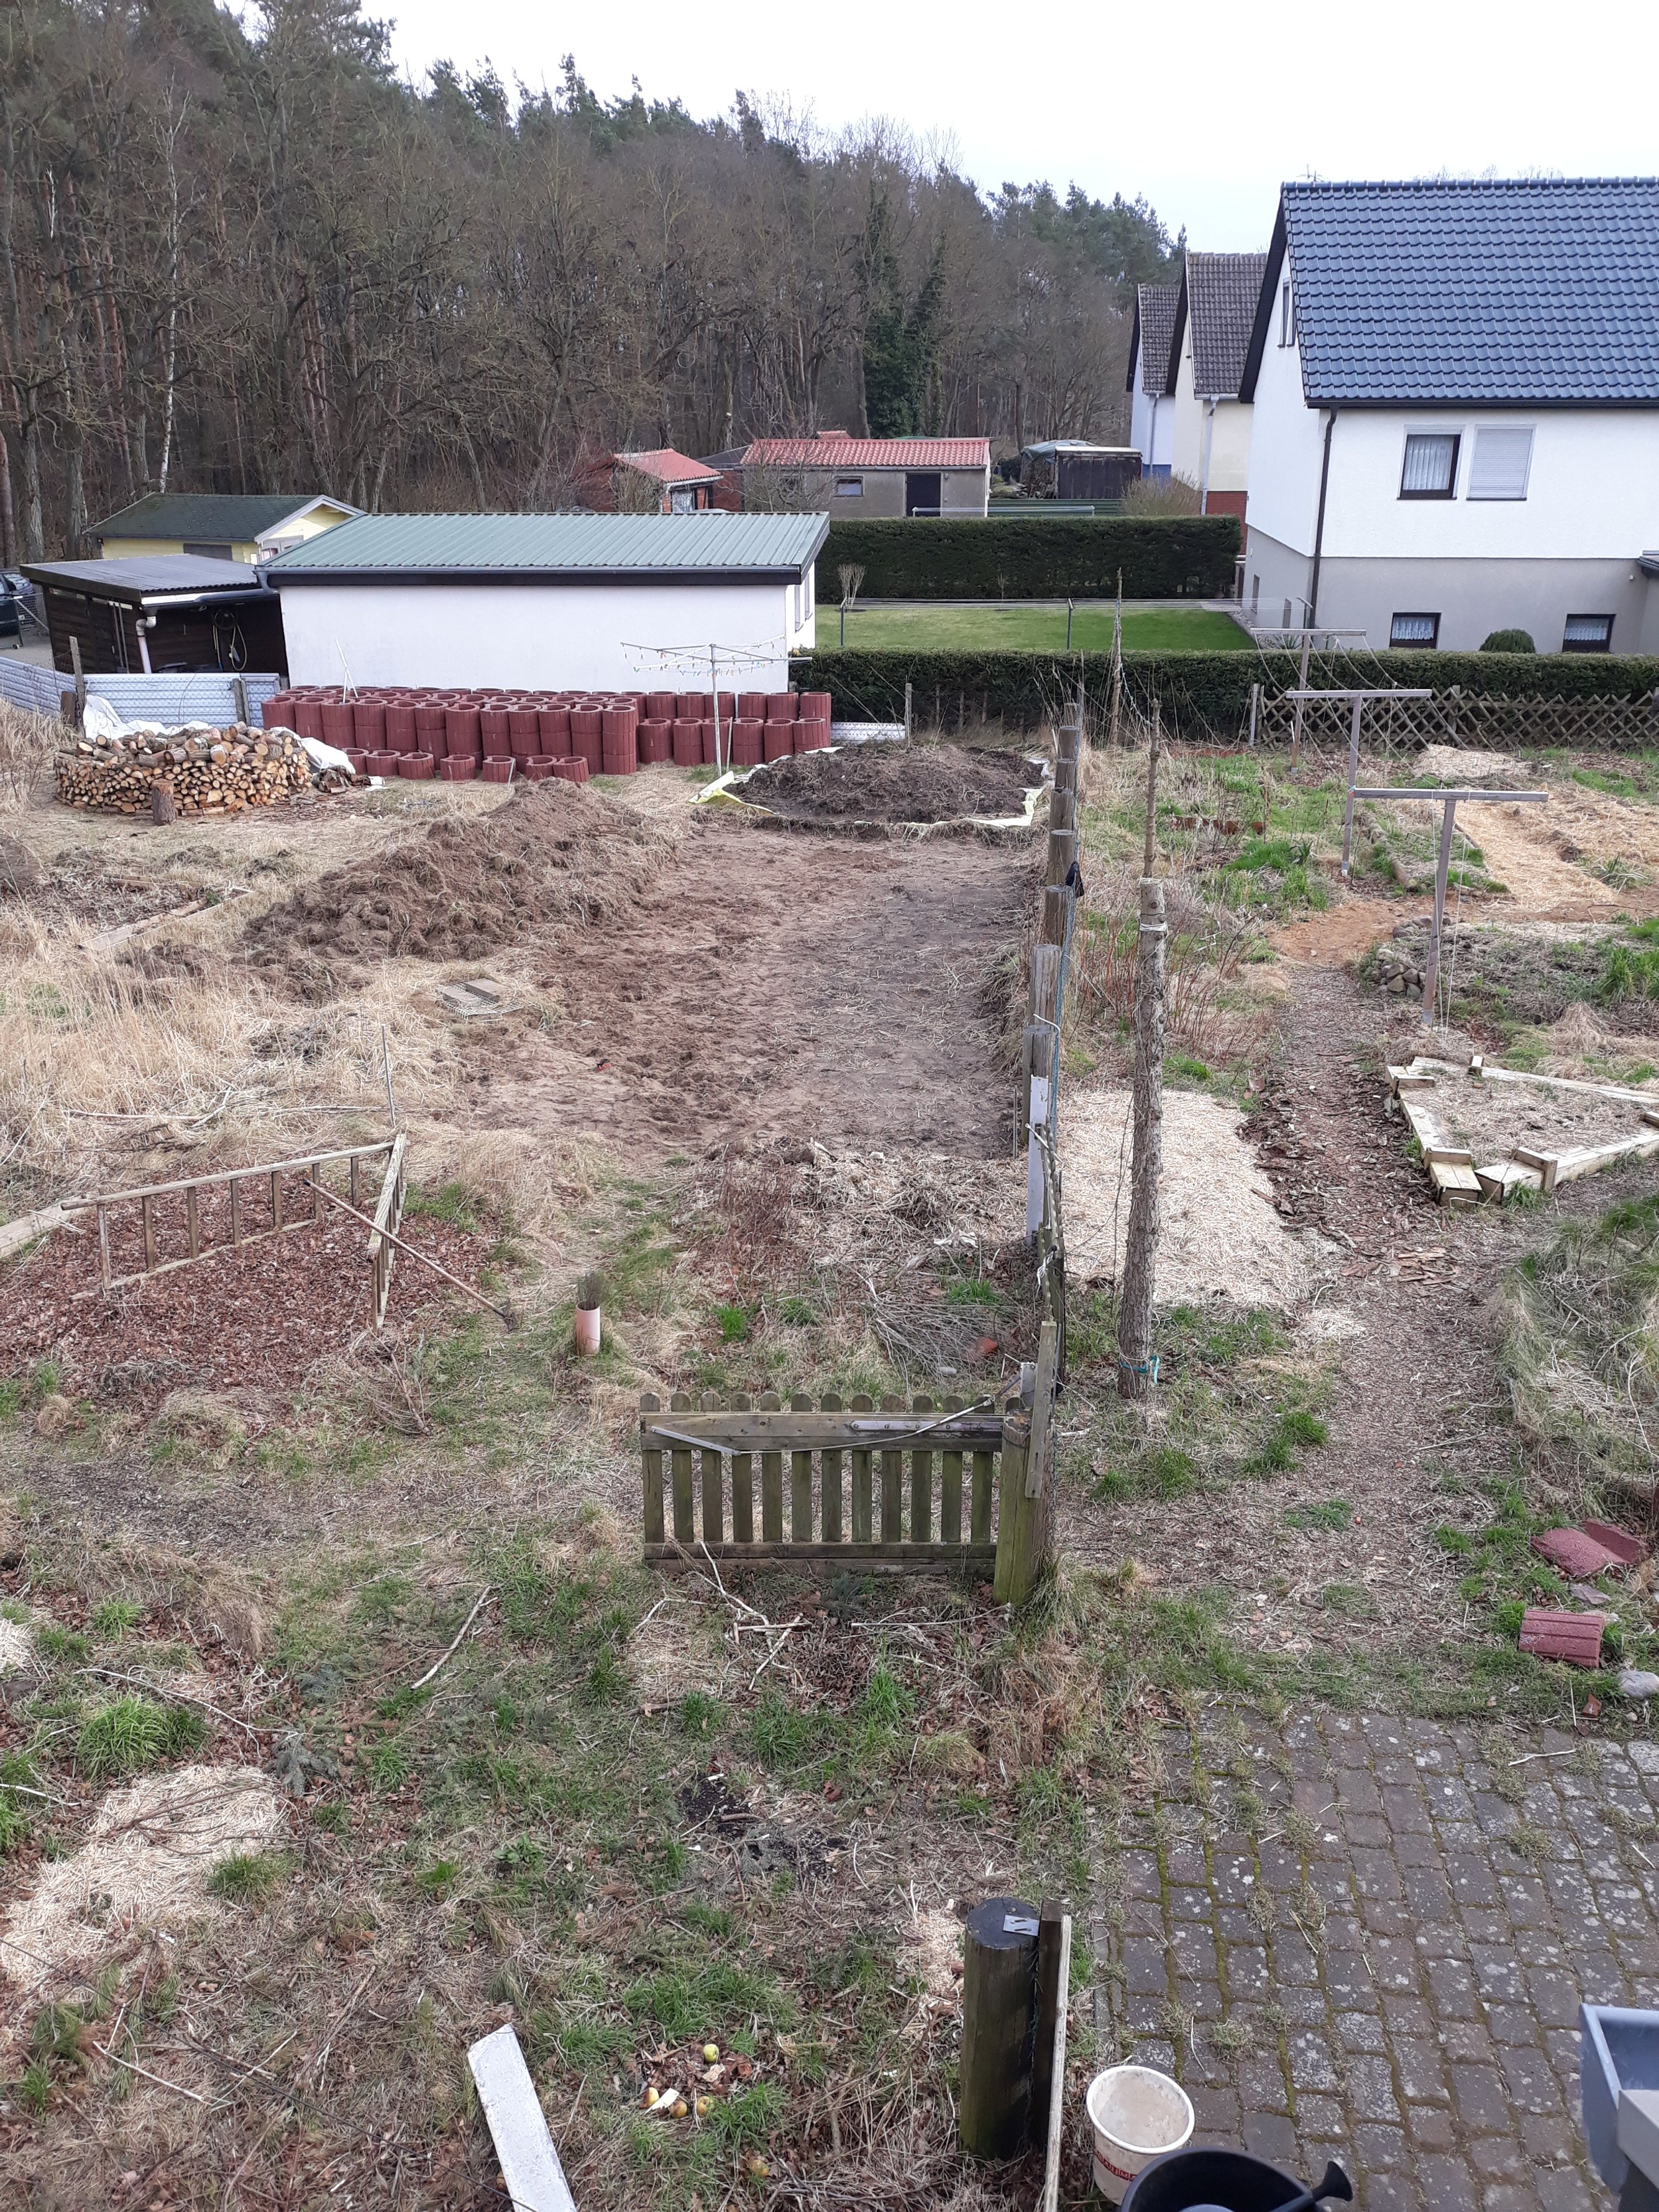
Clearing the area
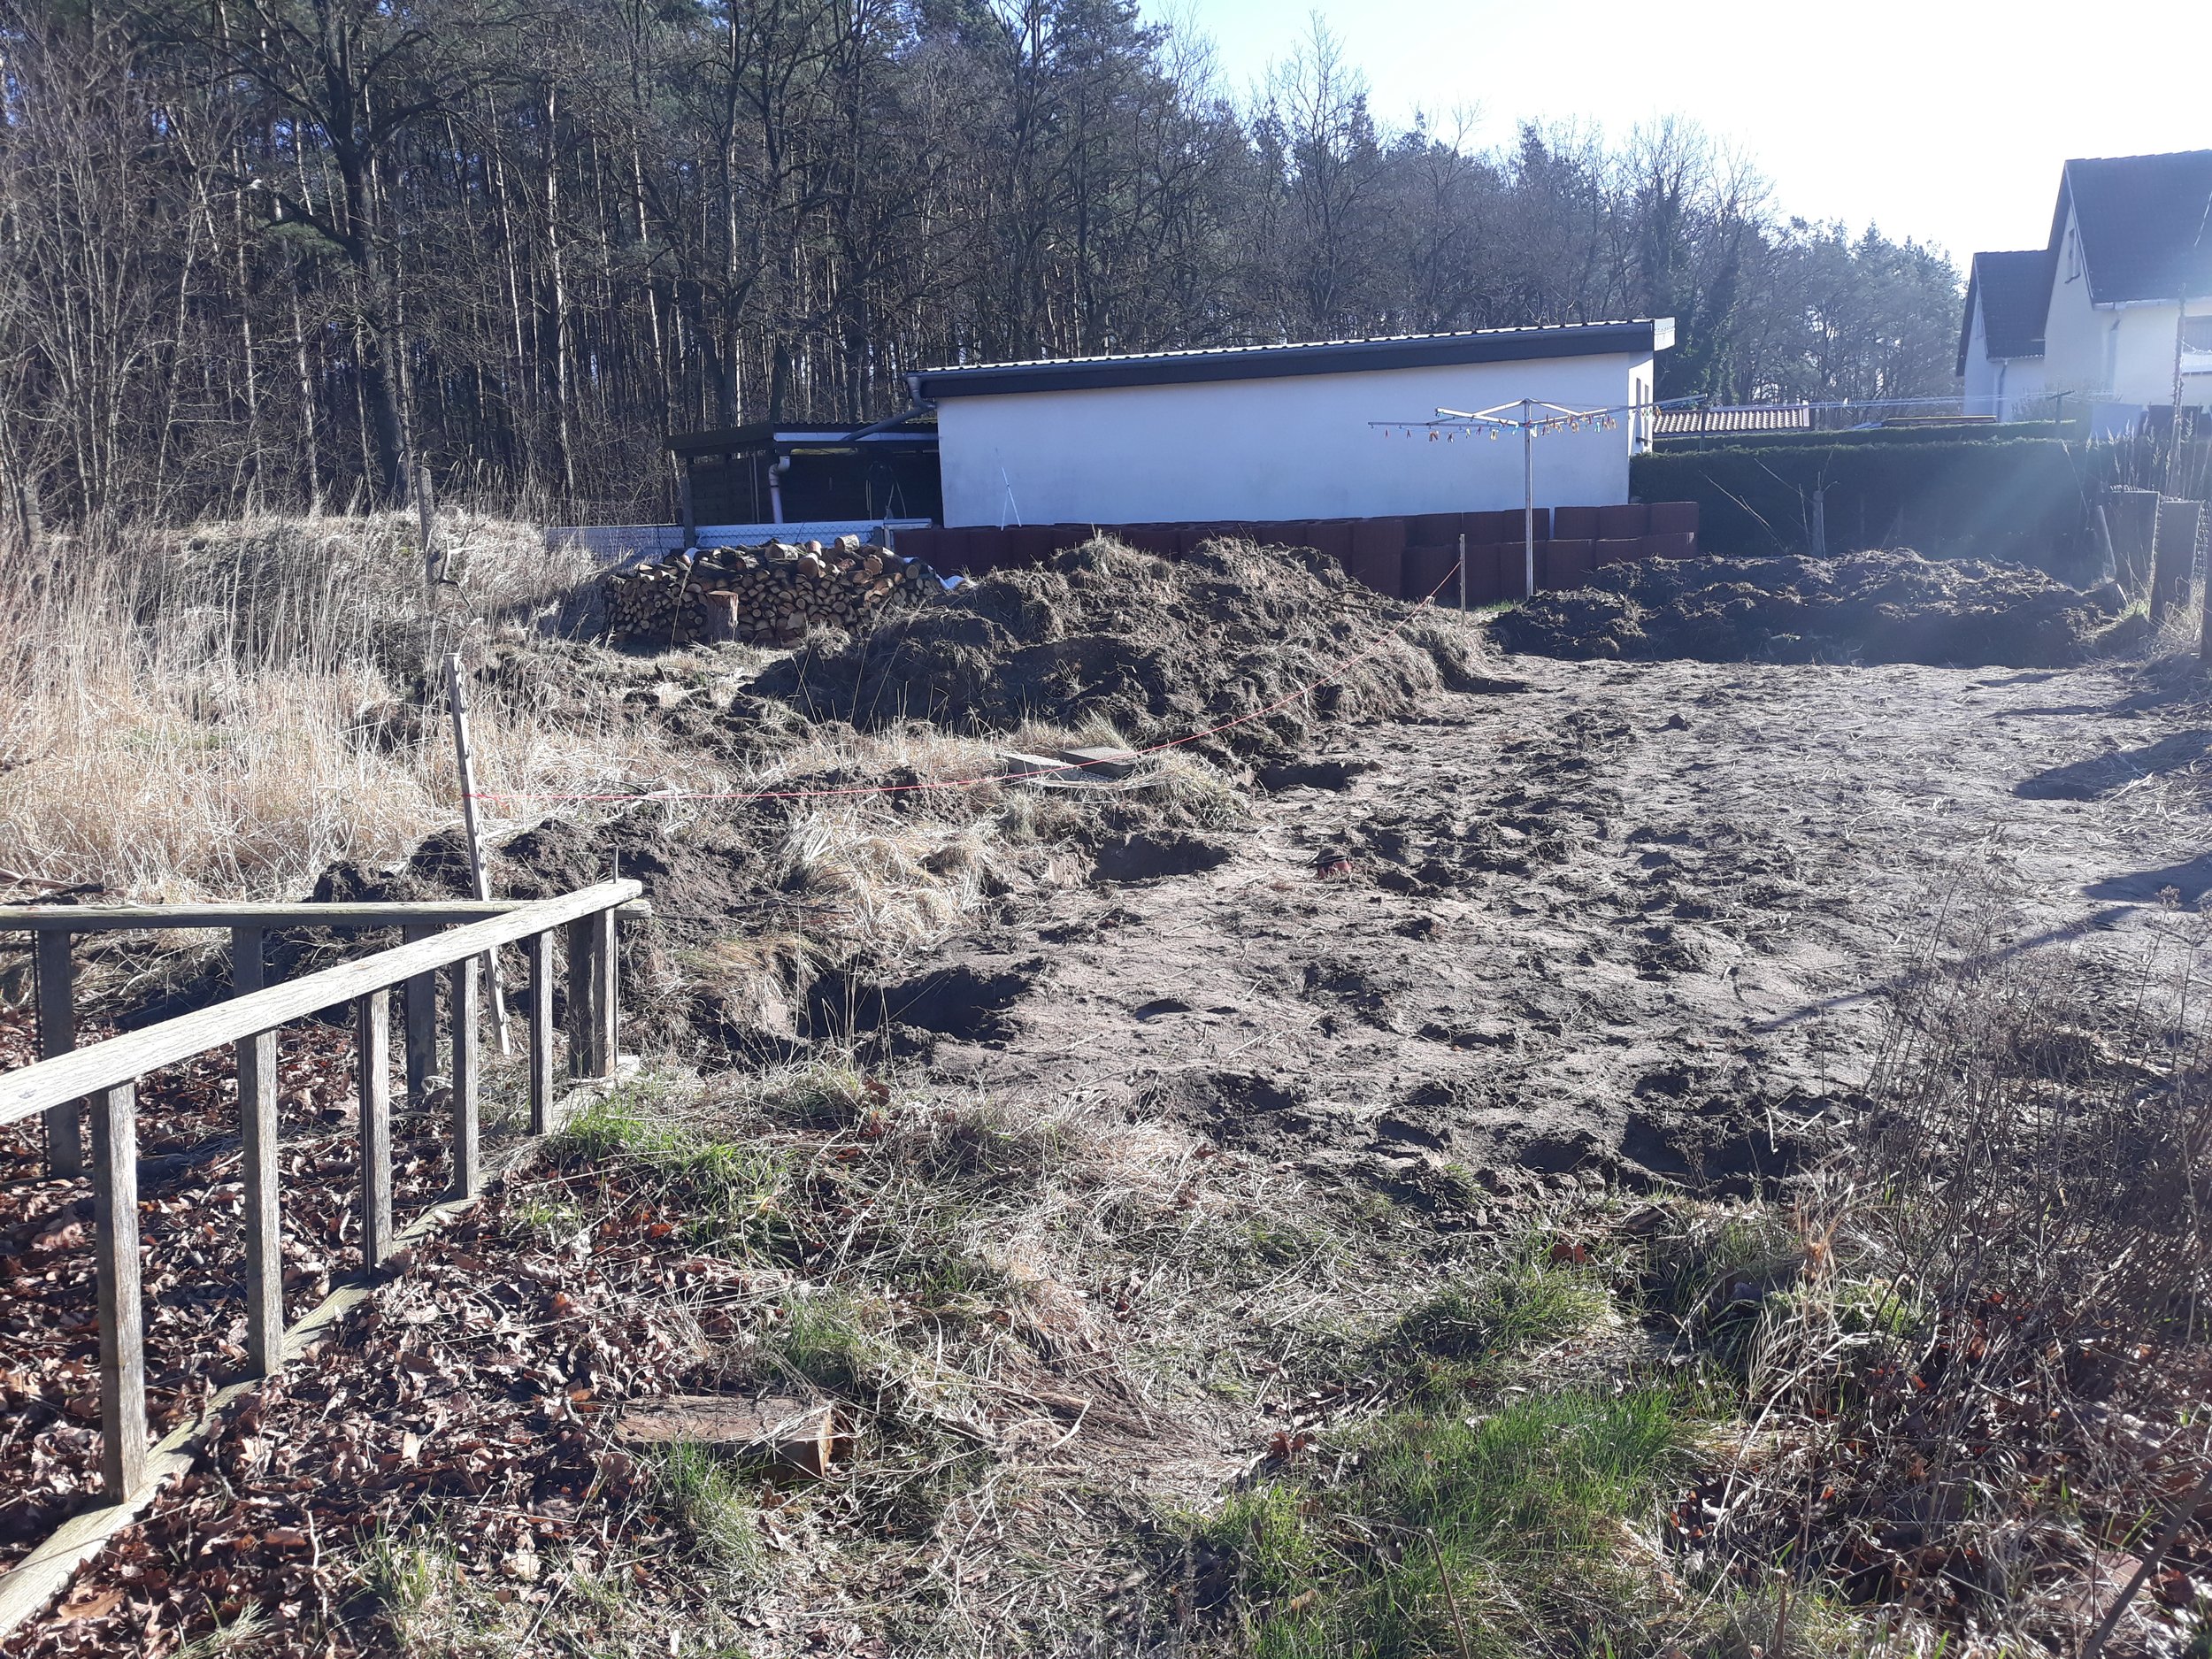
This old ladder fell in the last storm. Gusts of 100 Km per hour, very worring
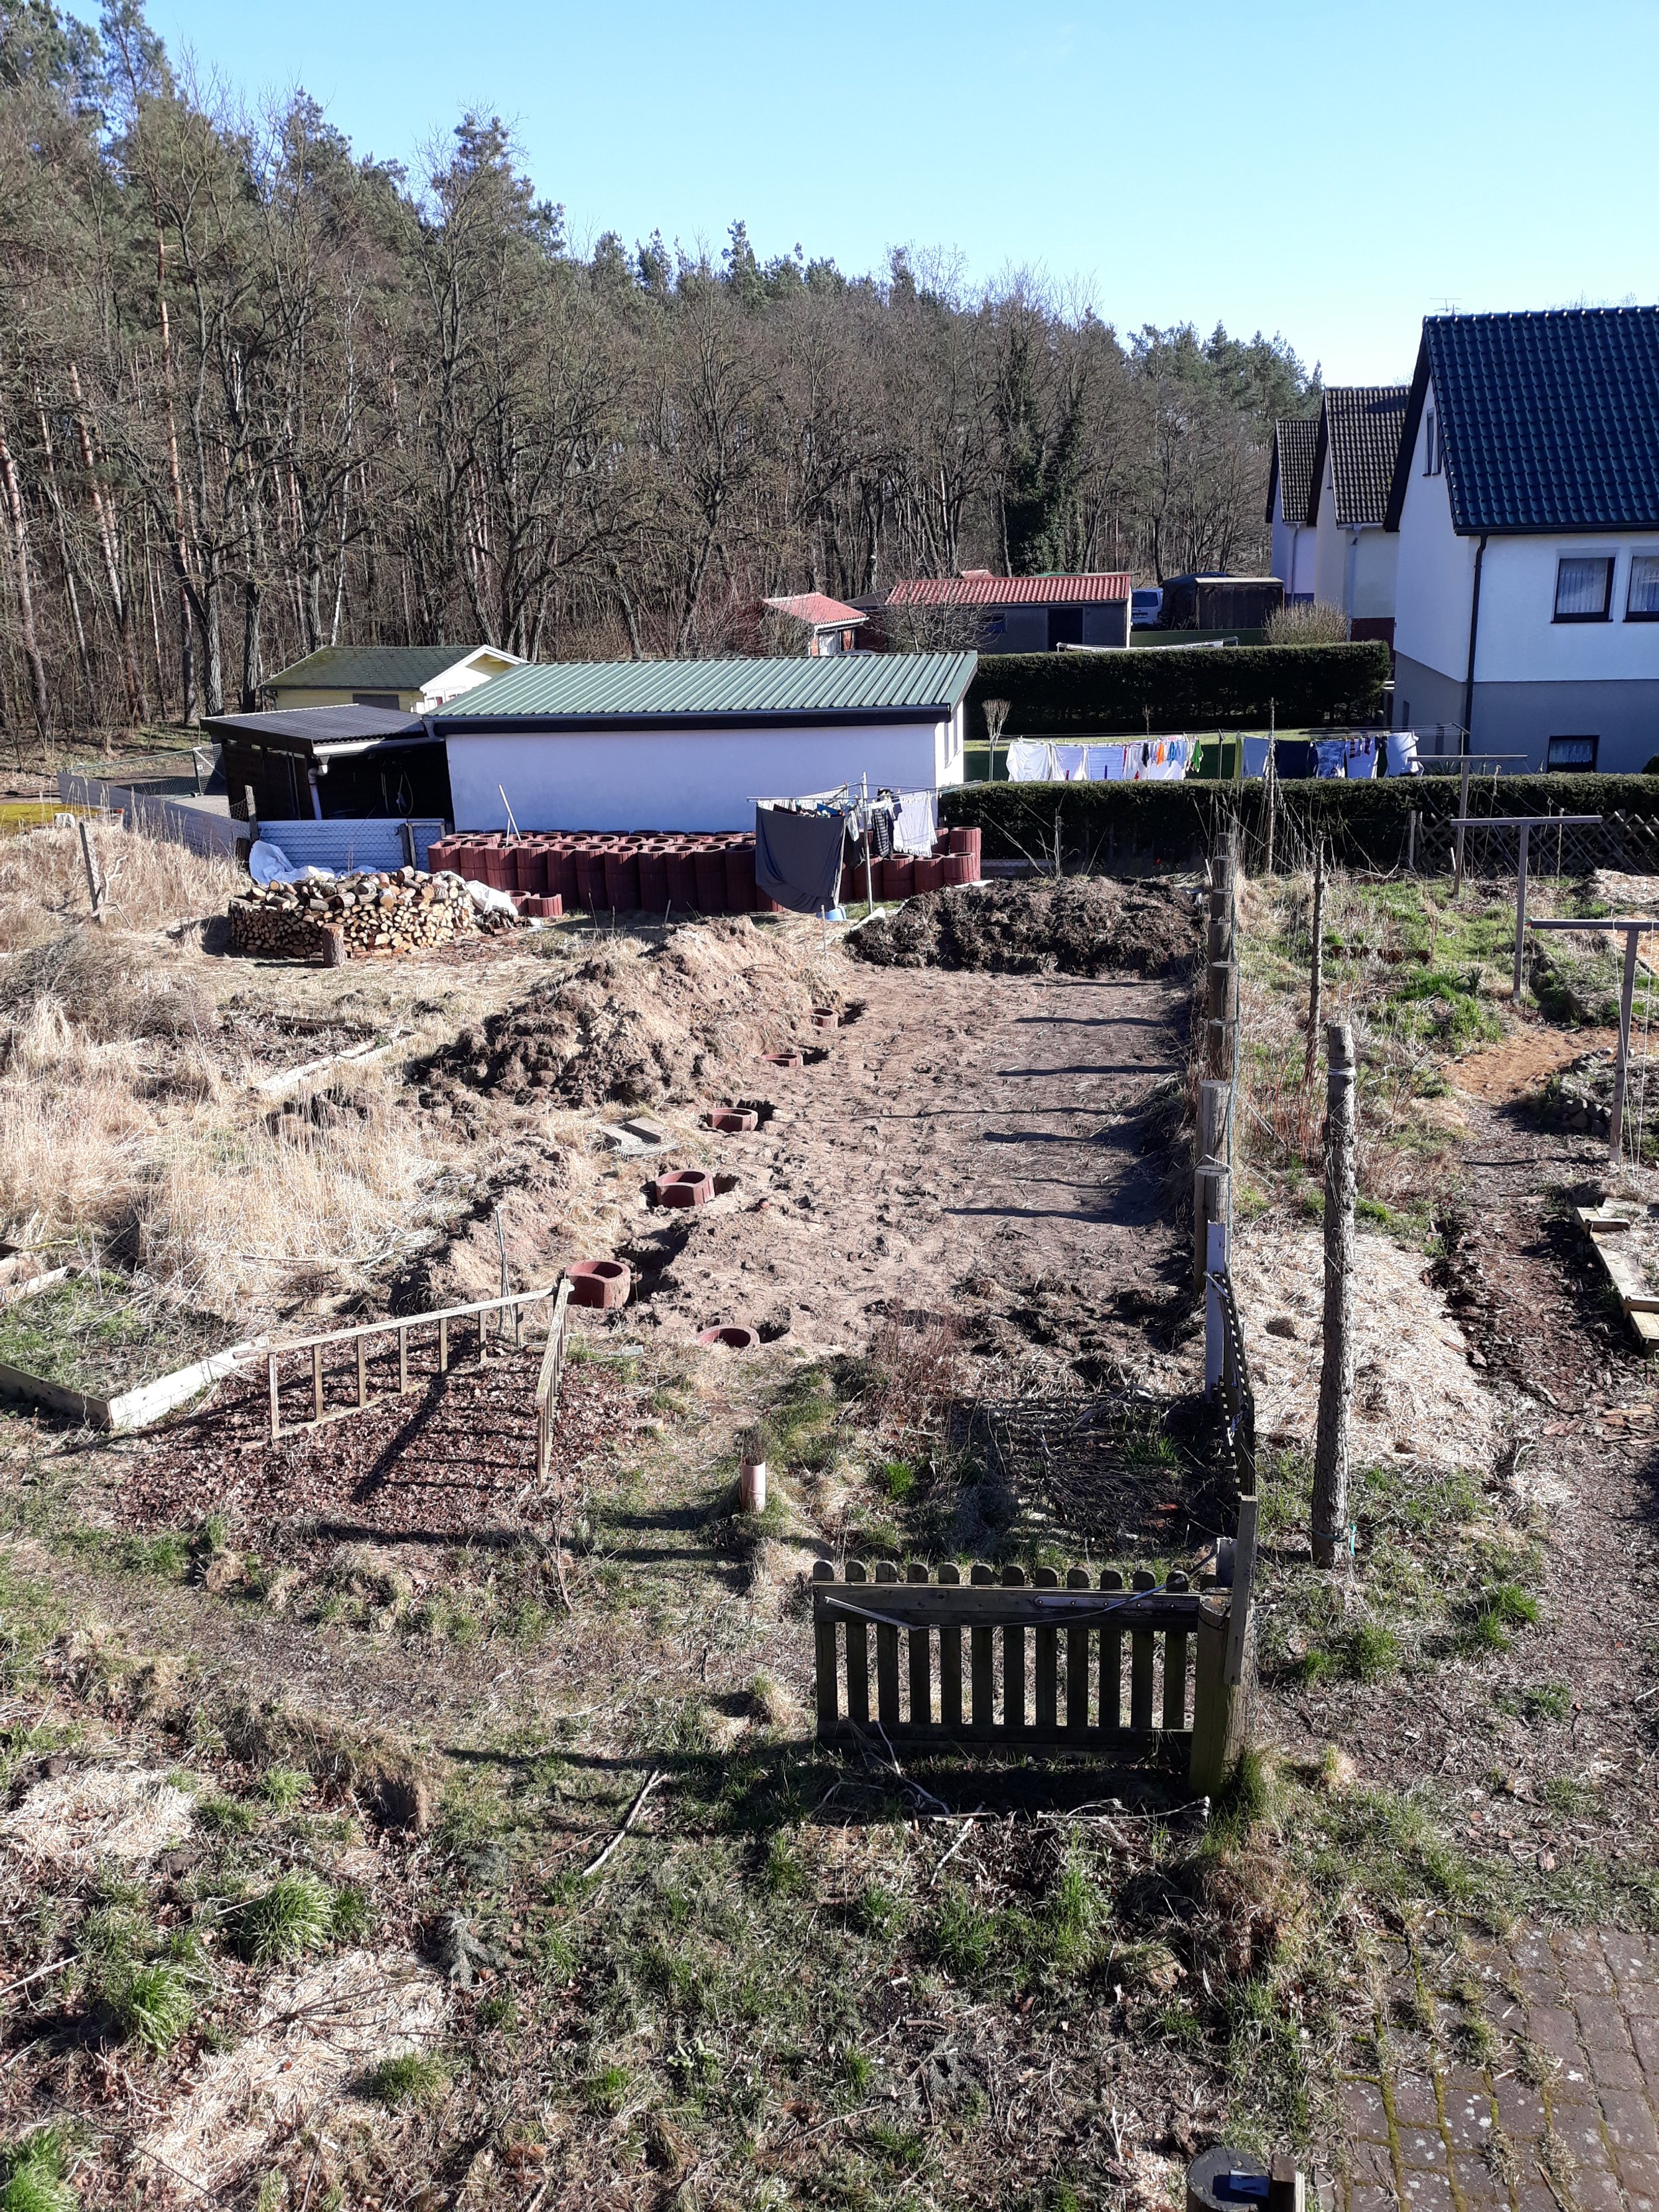
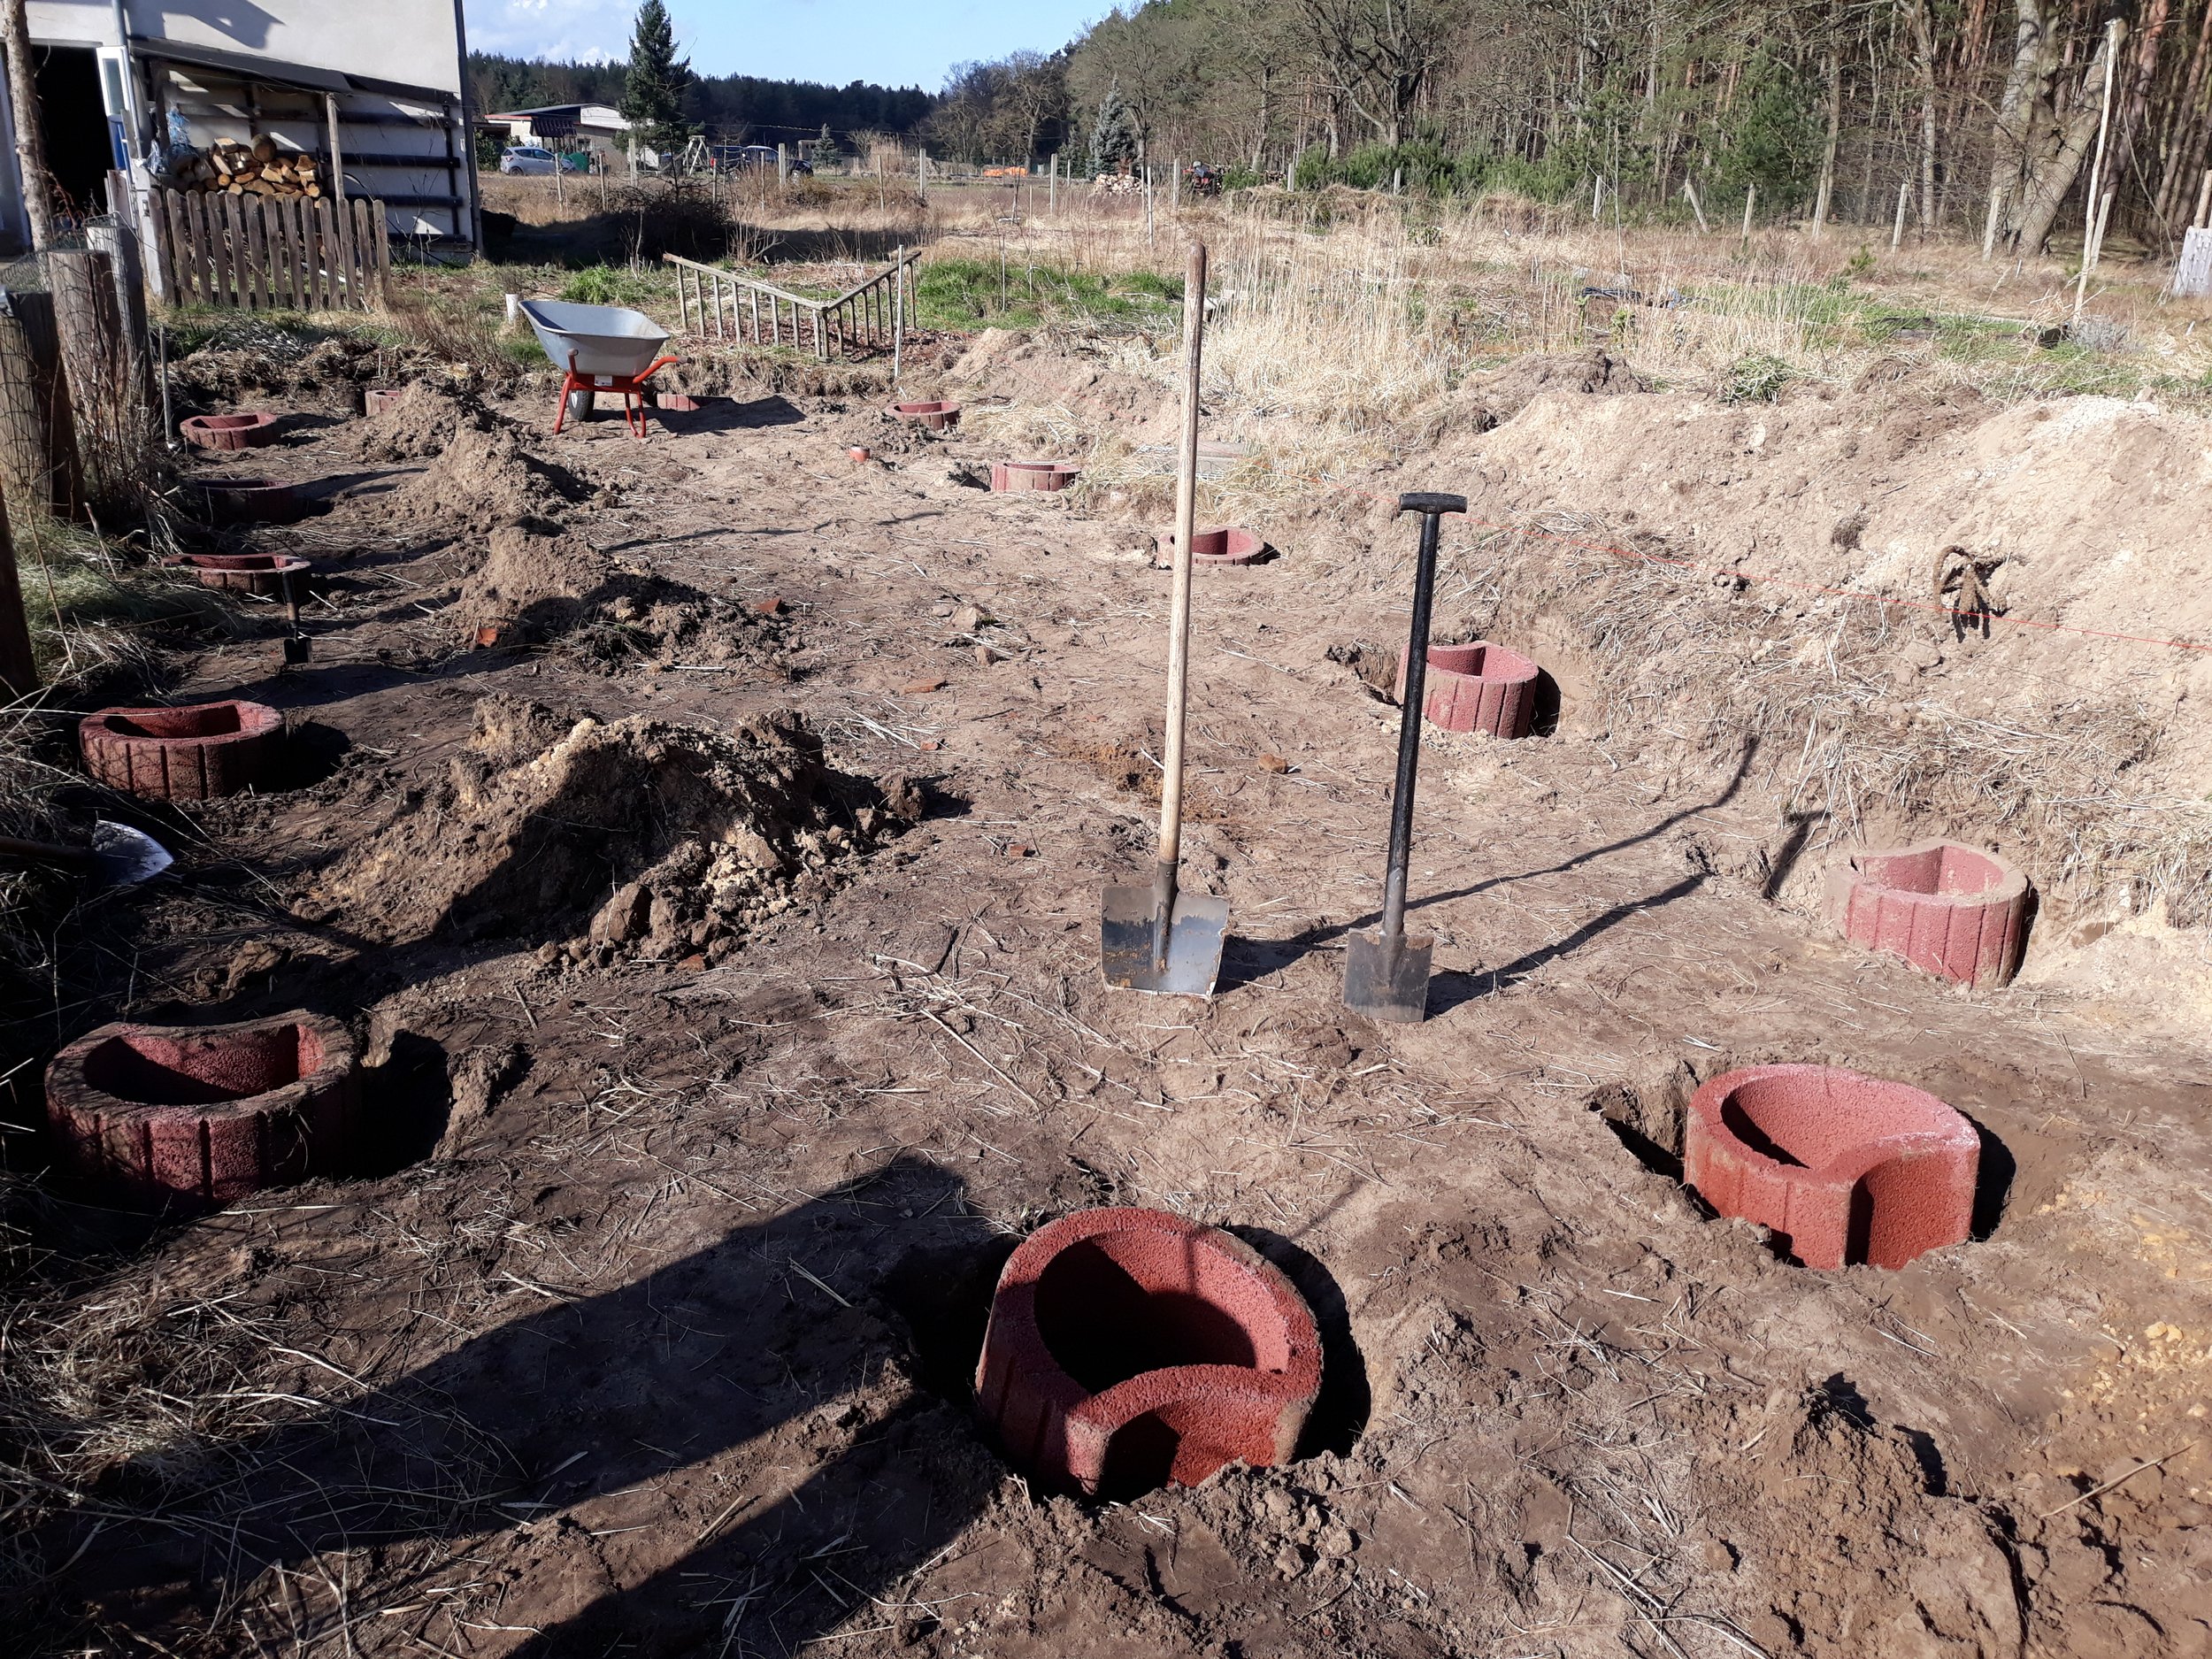
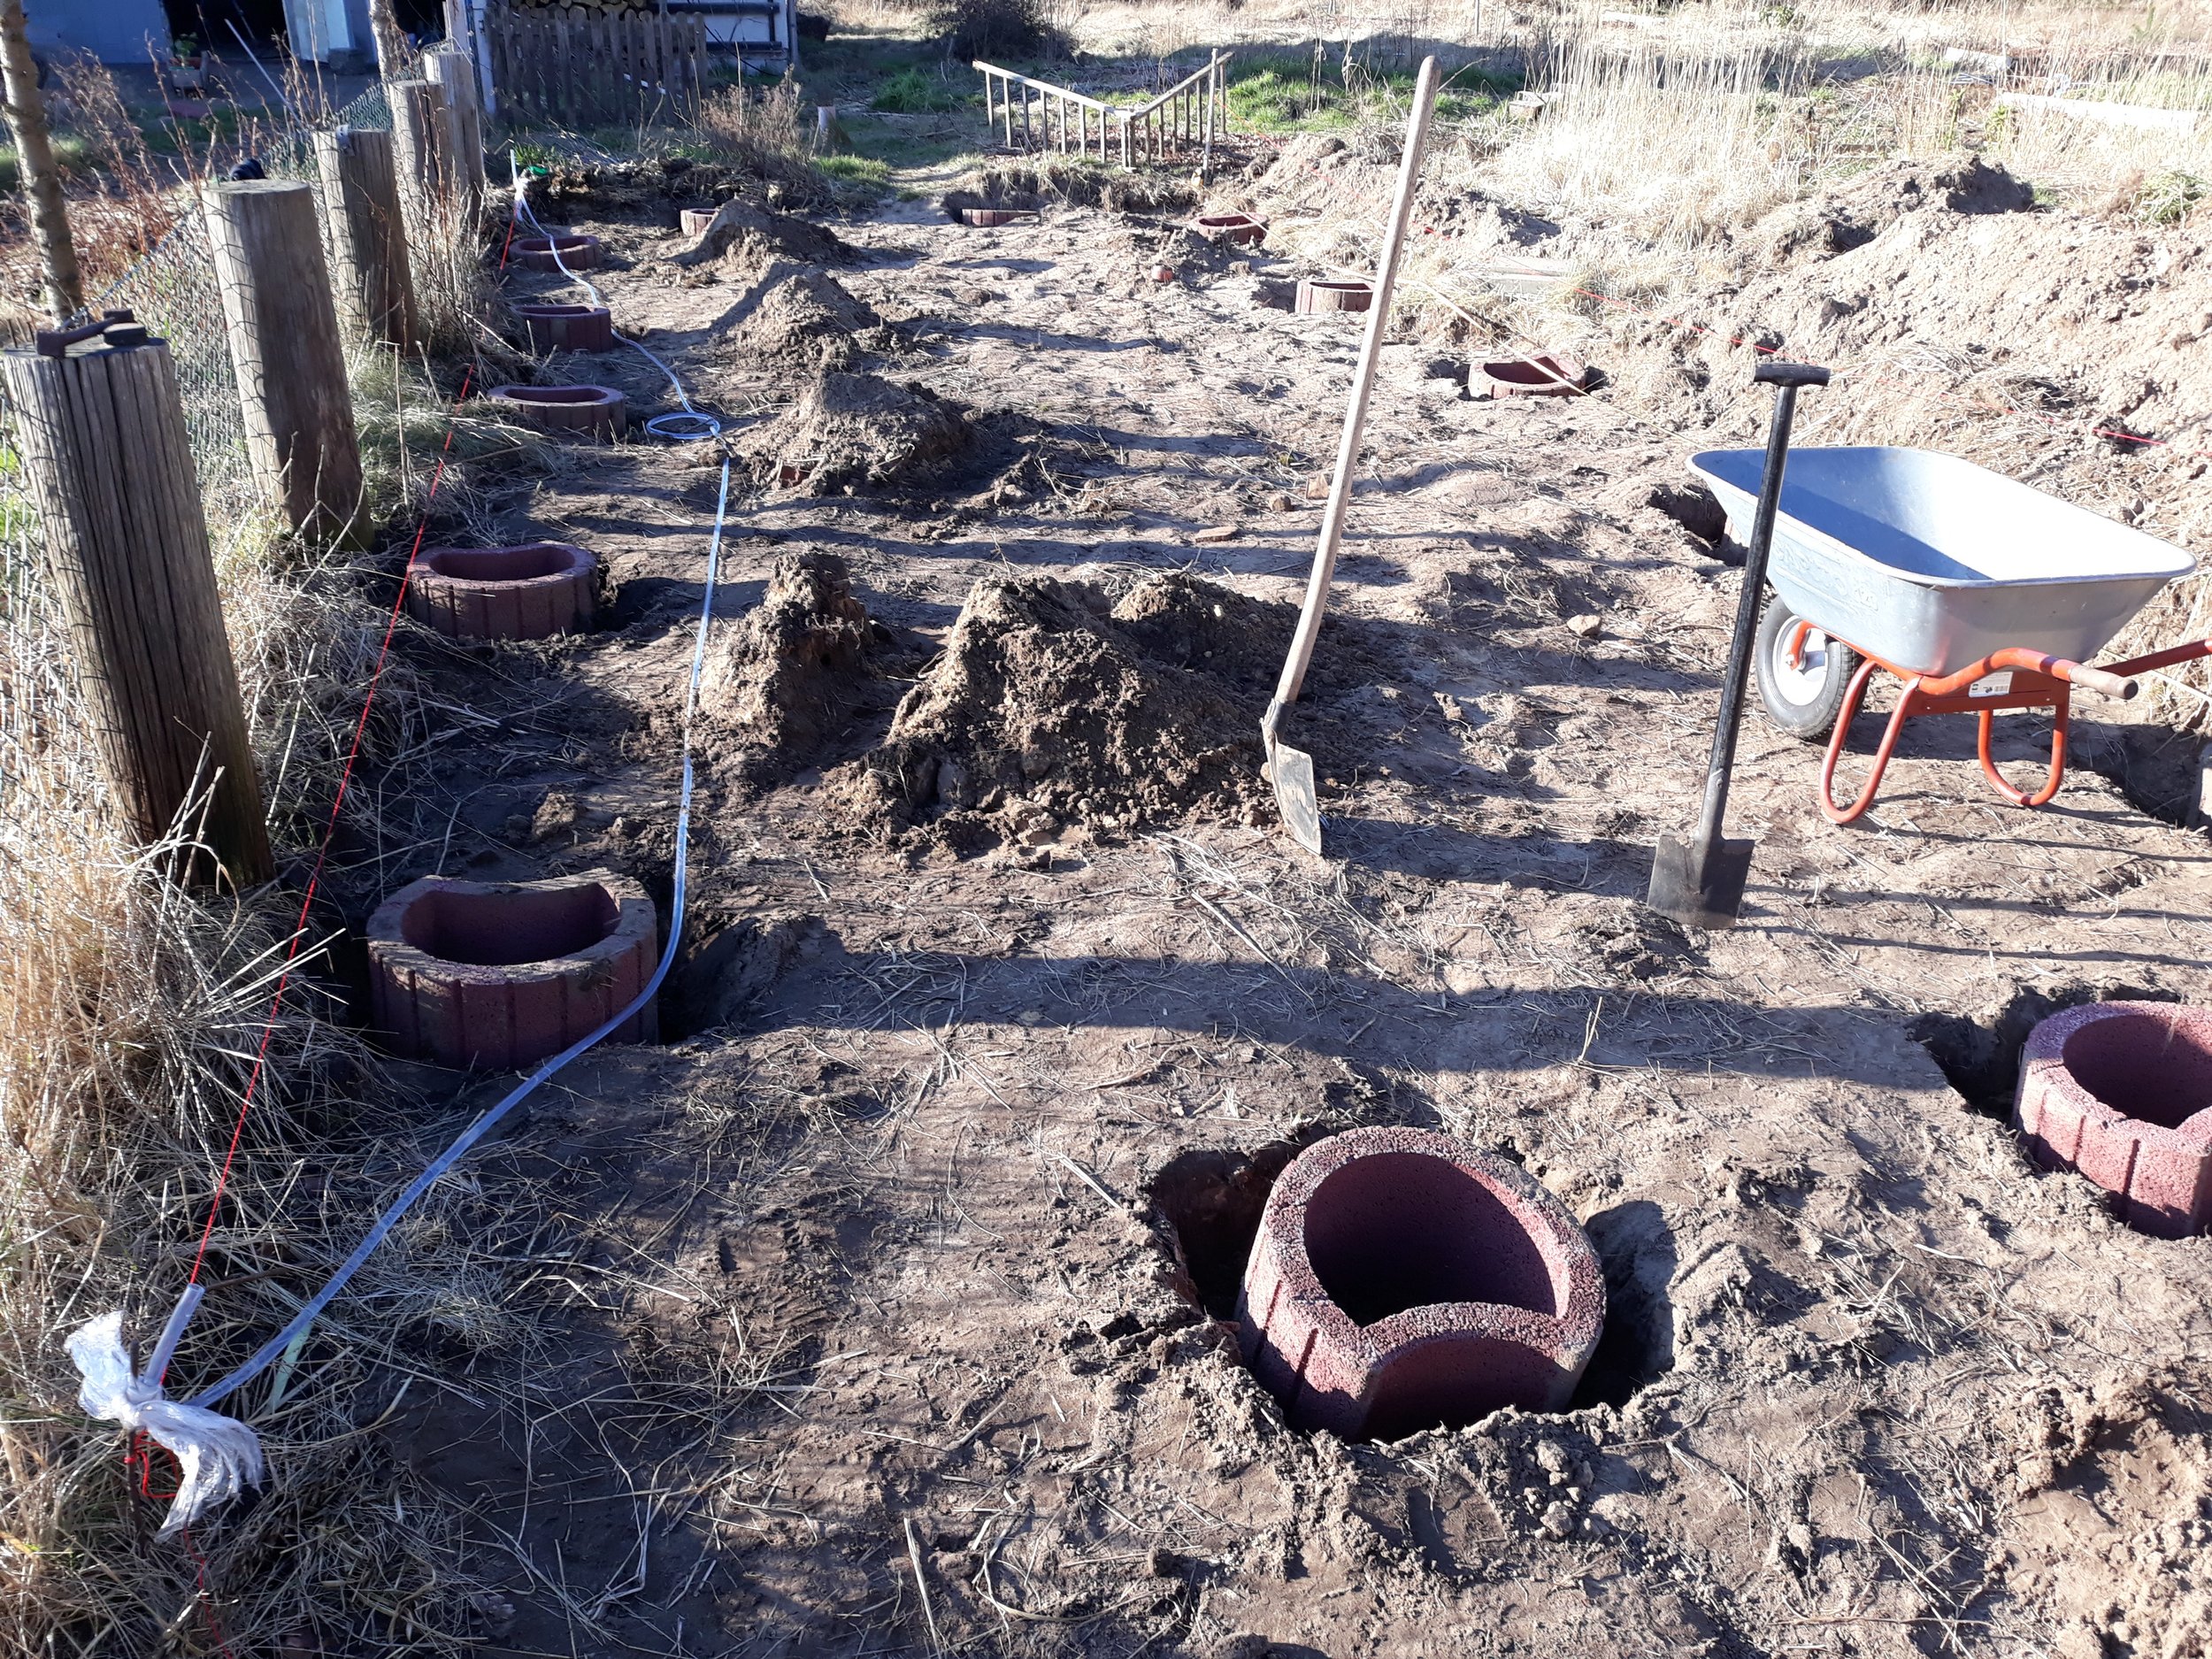
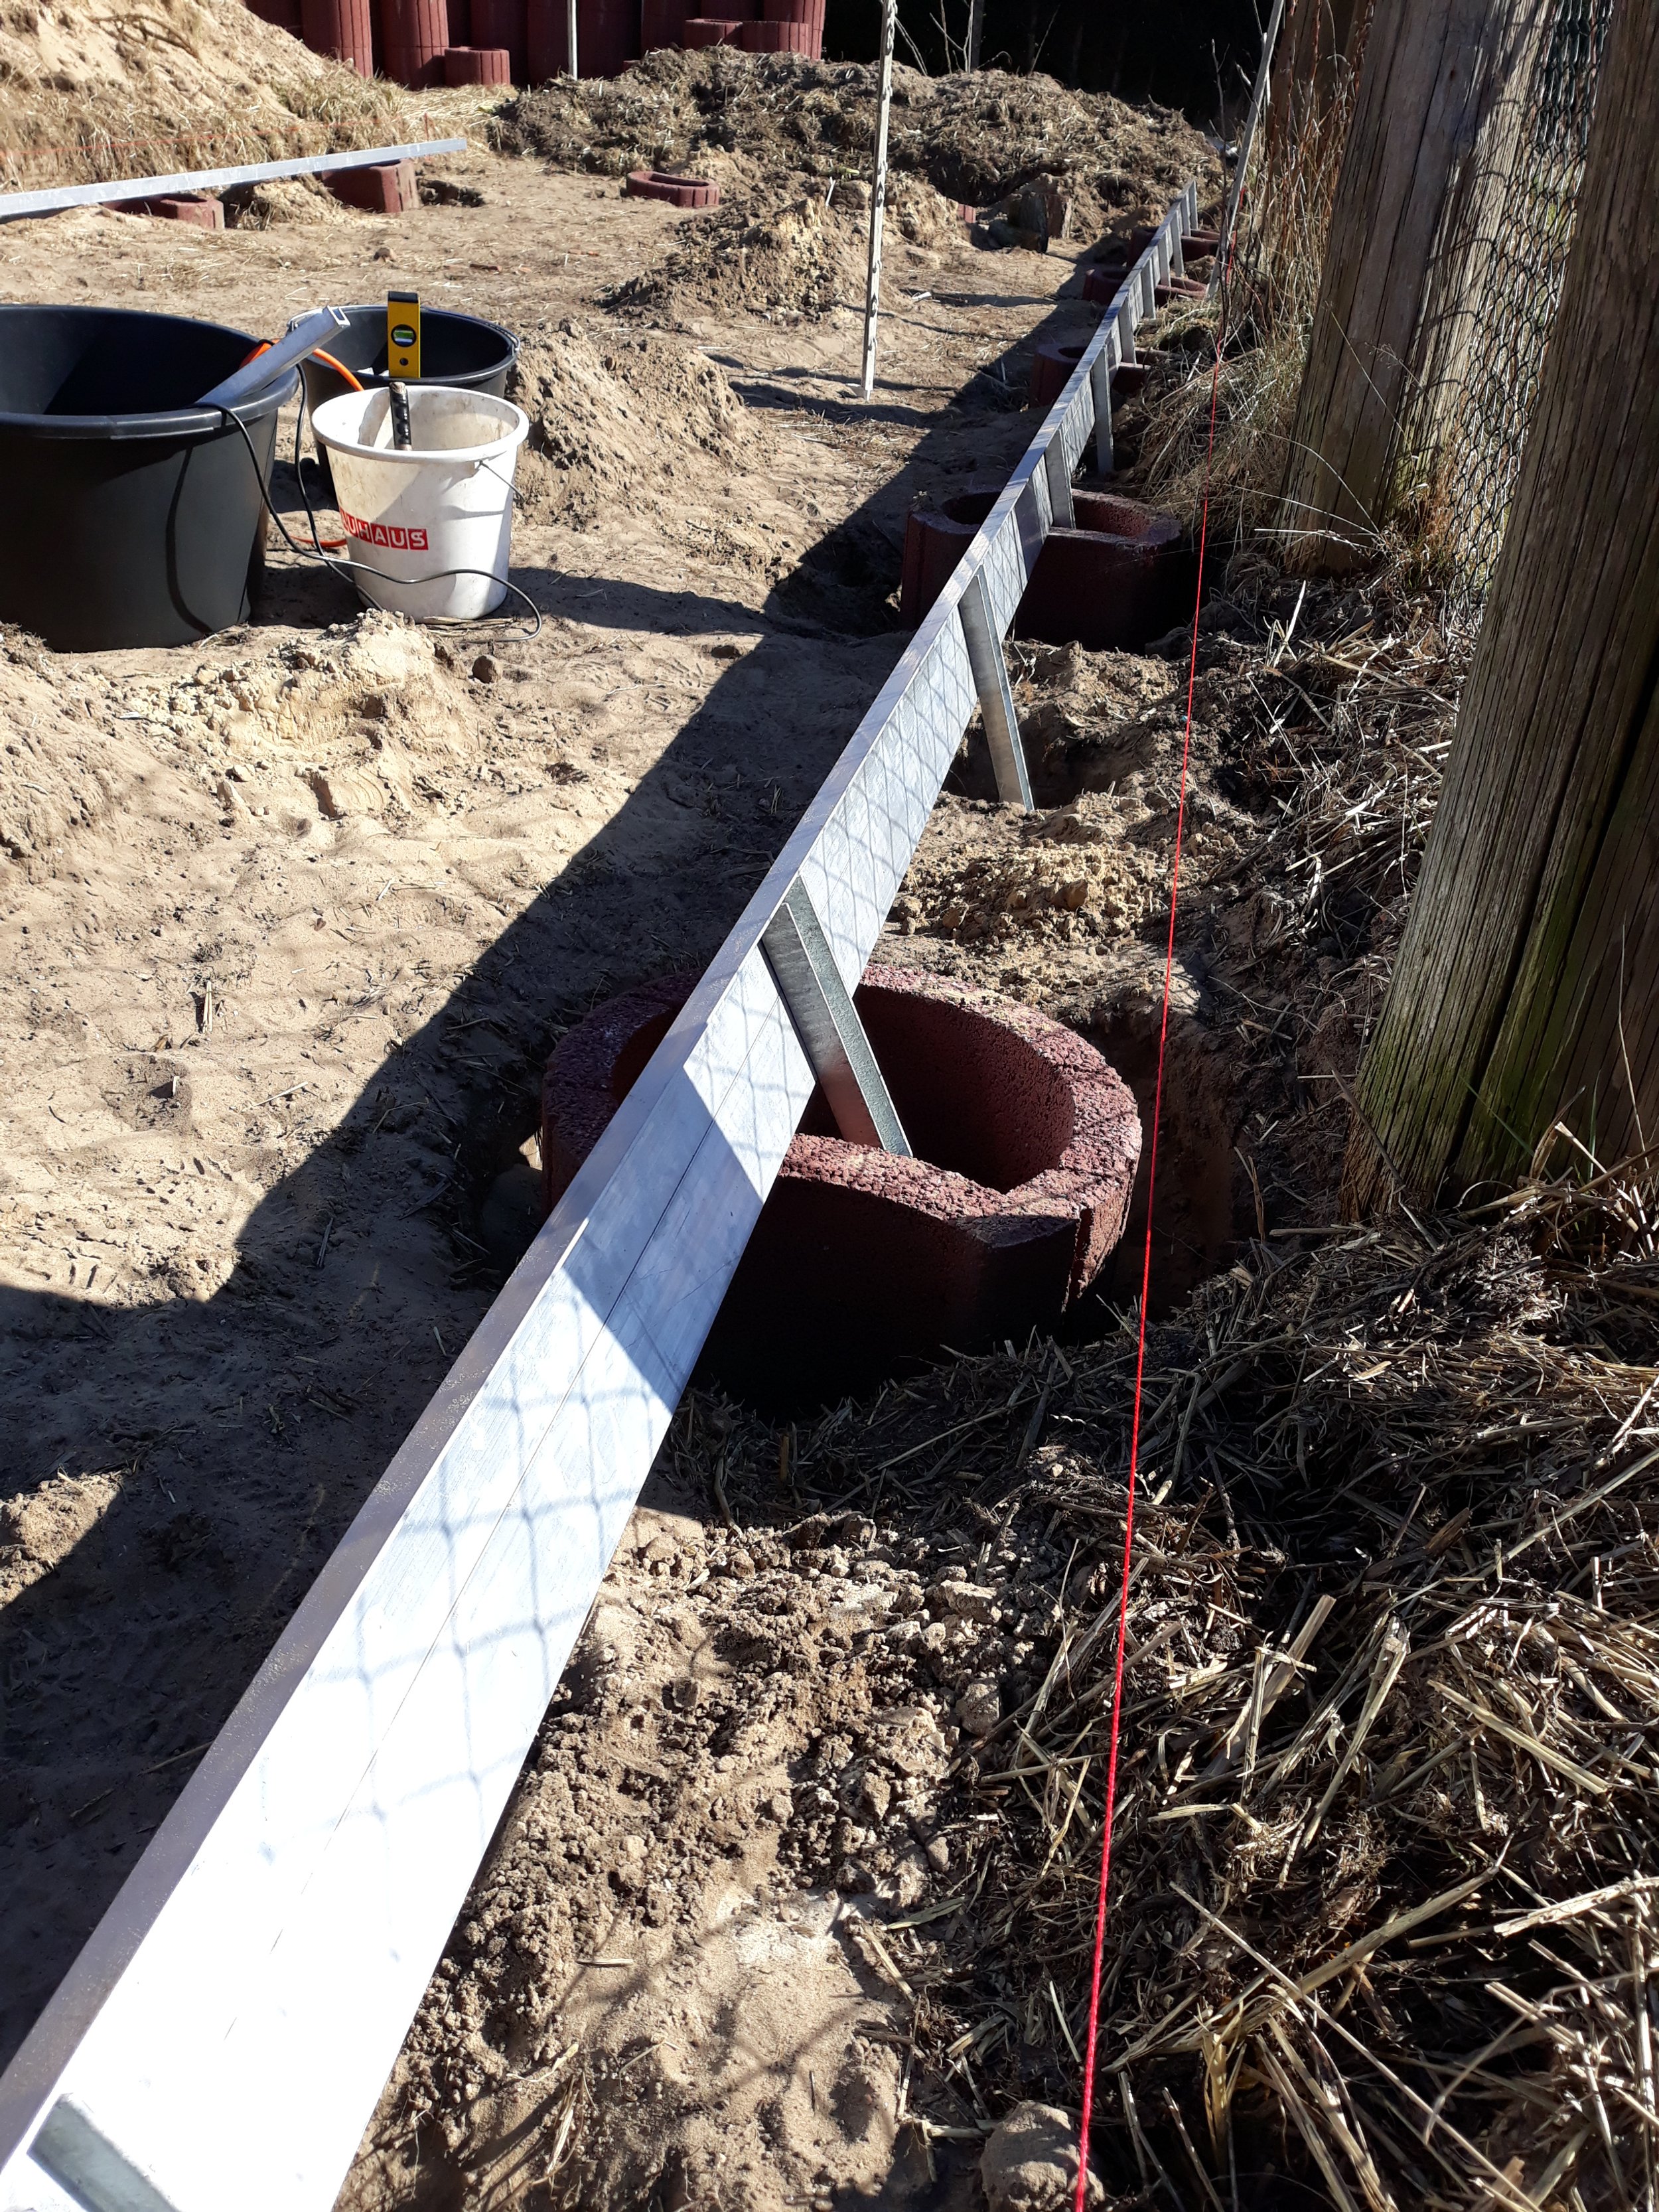
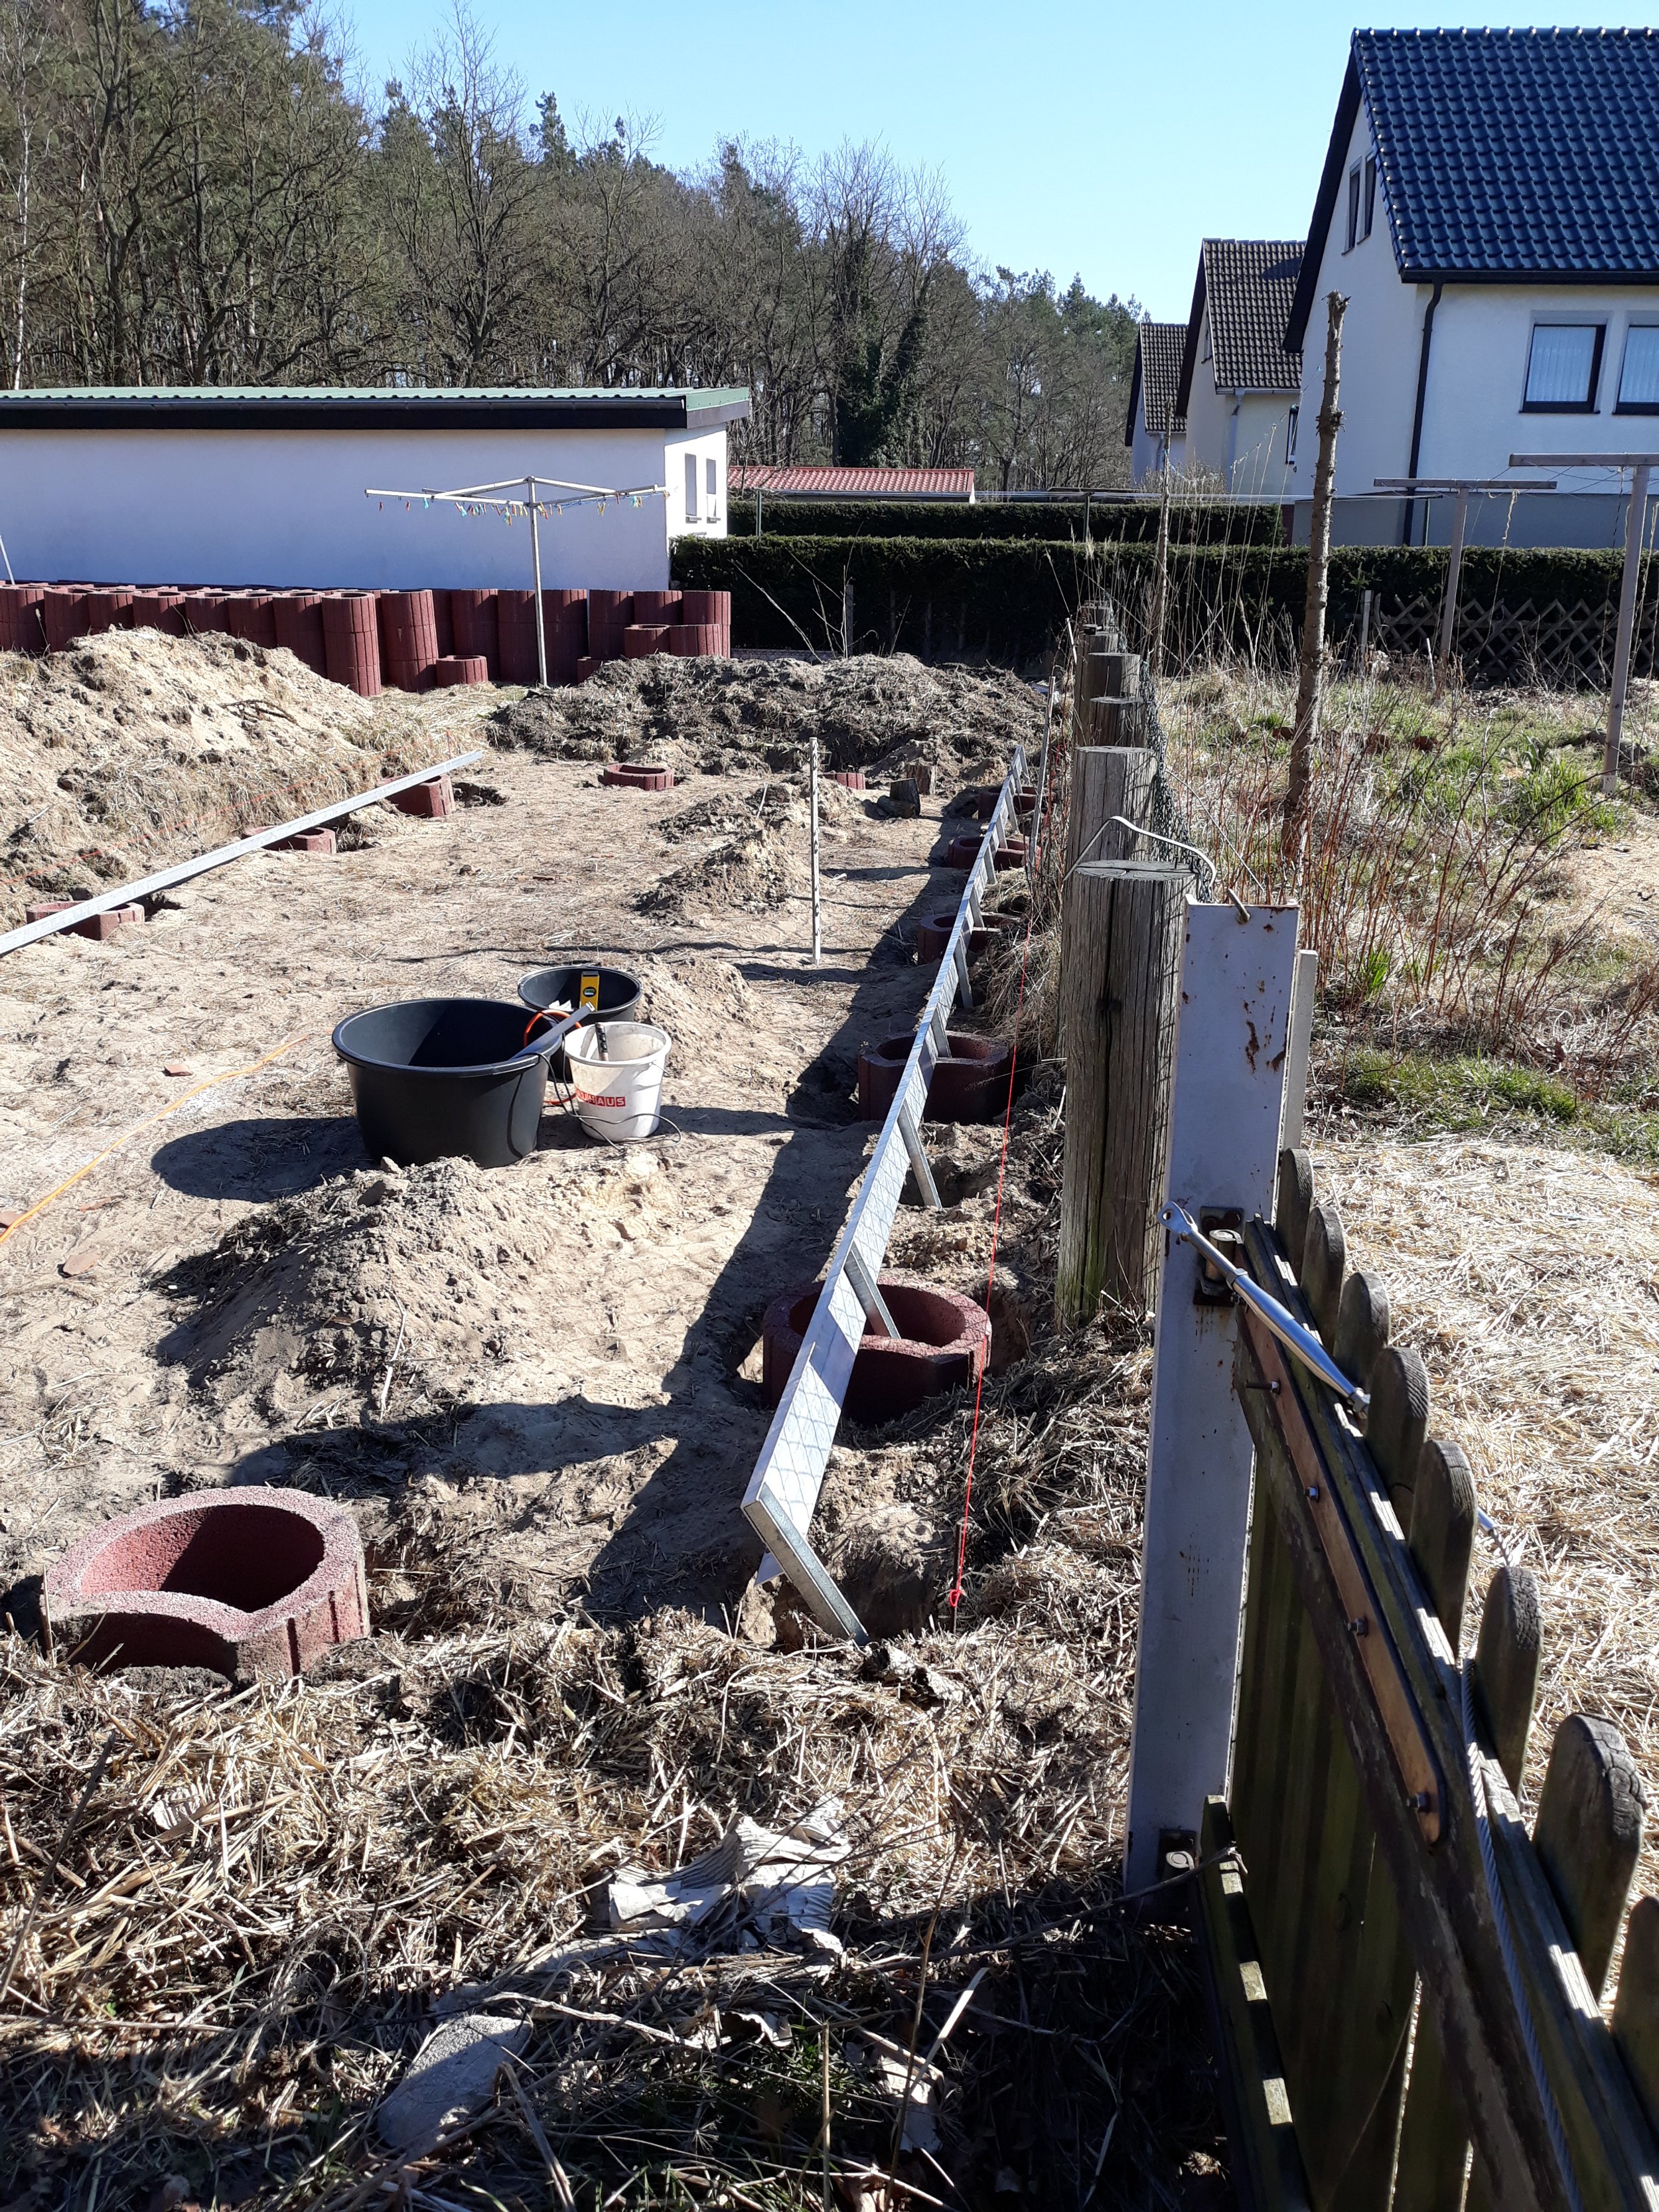
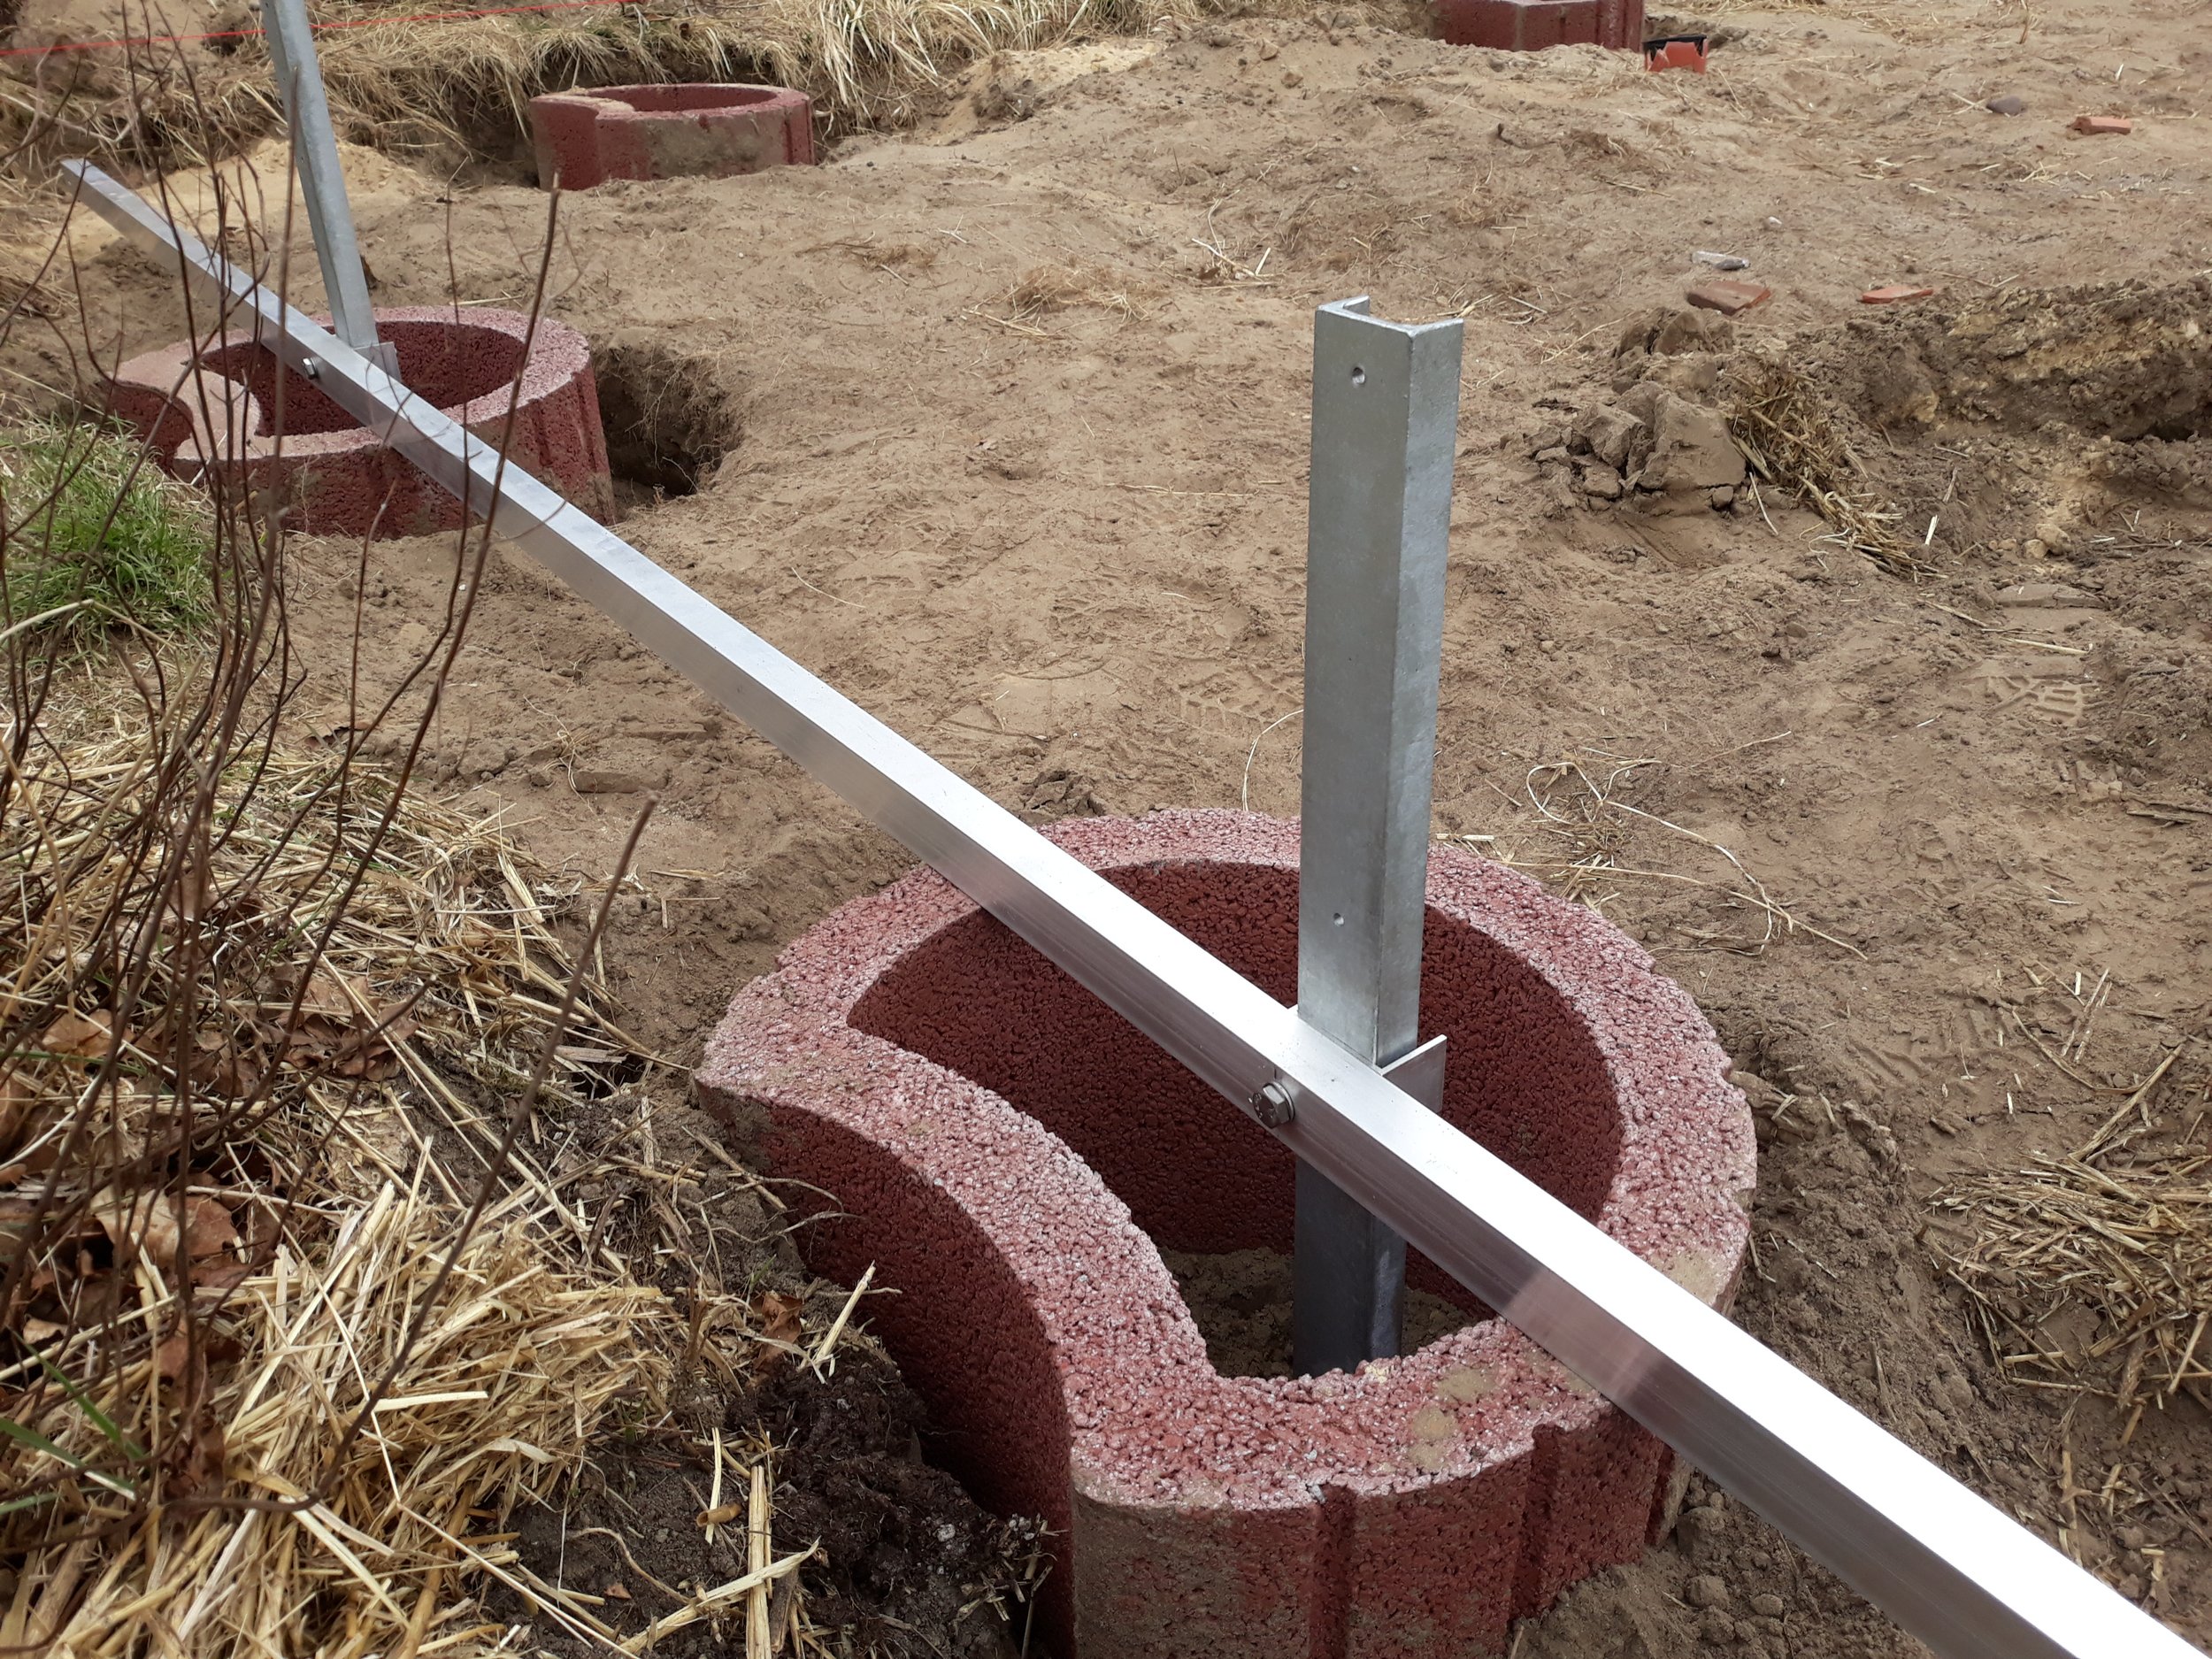
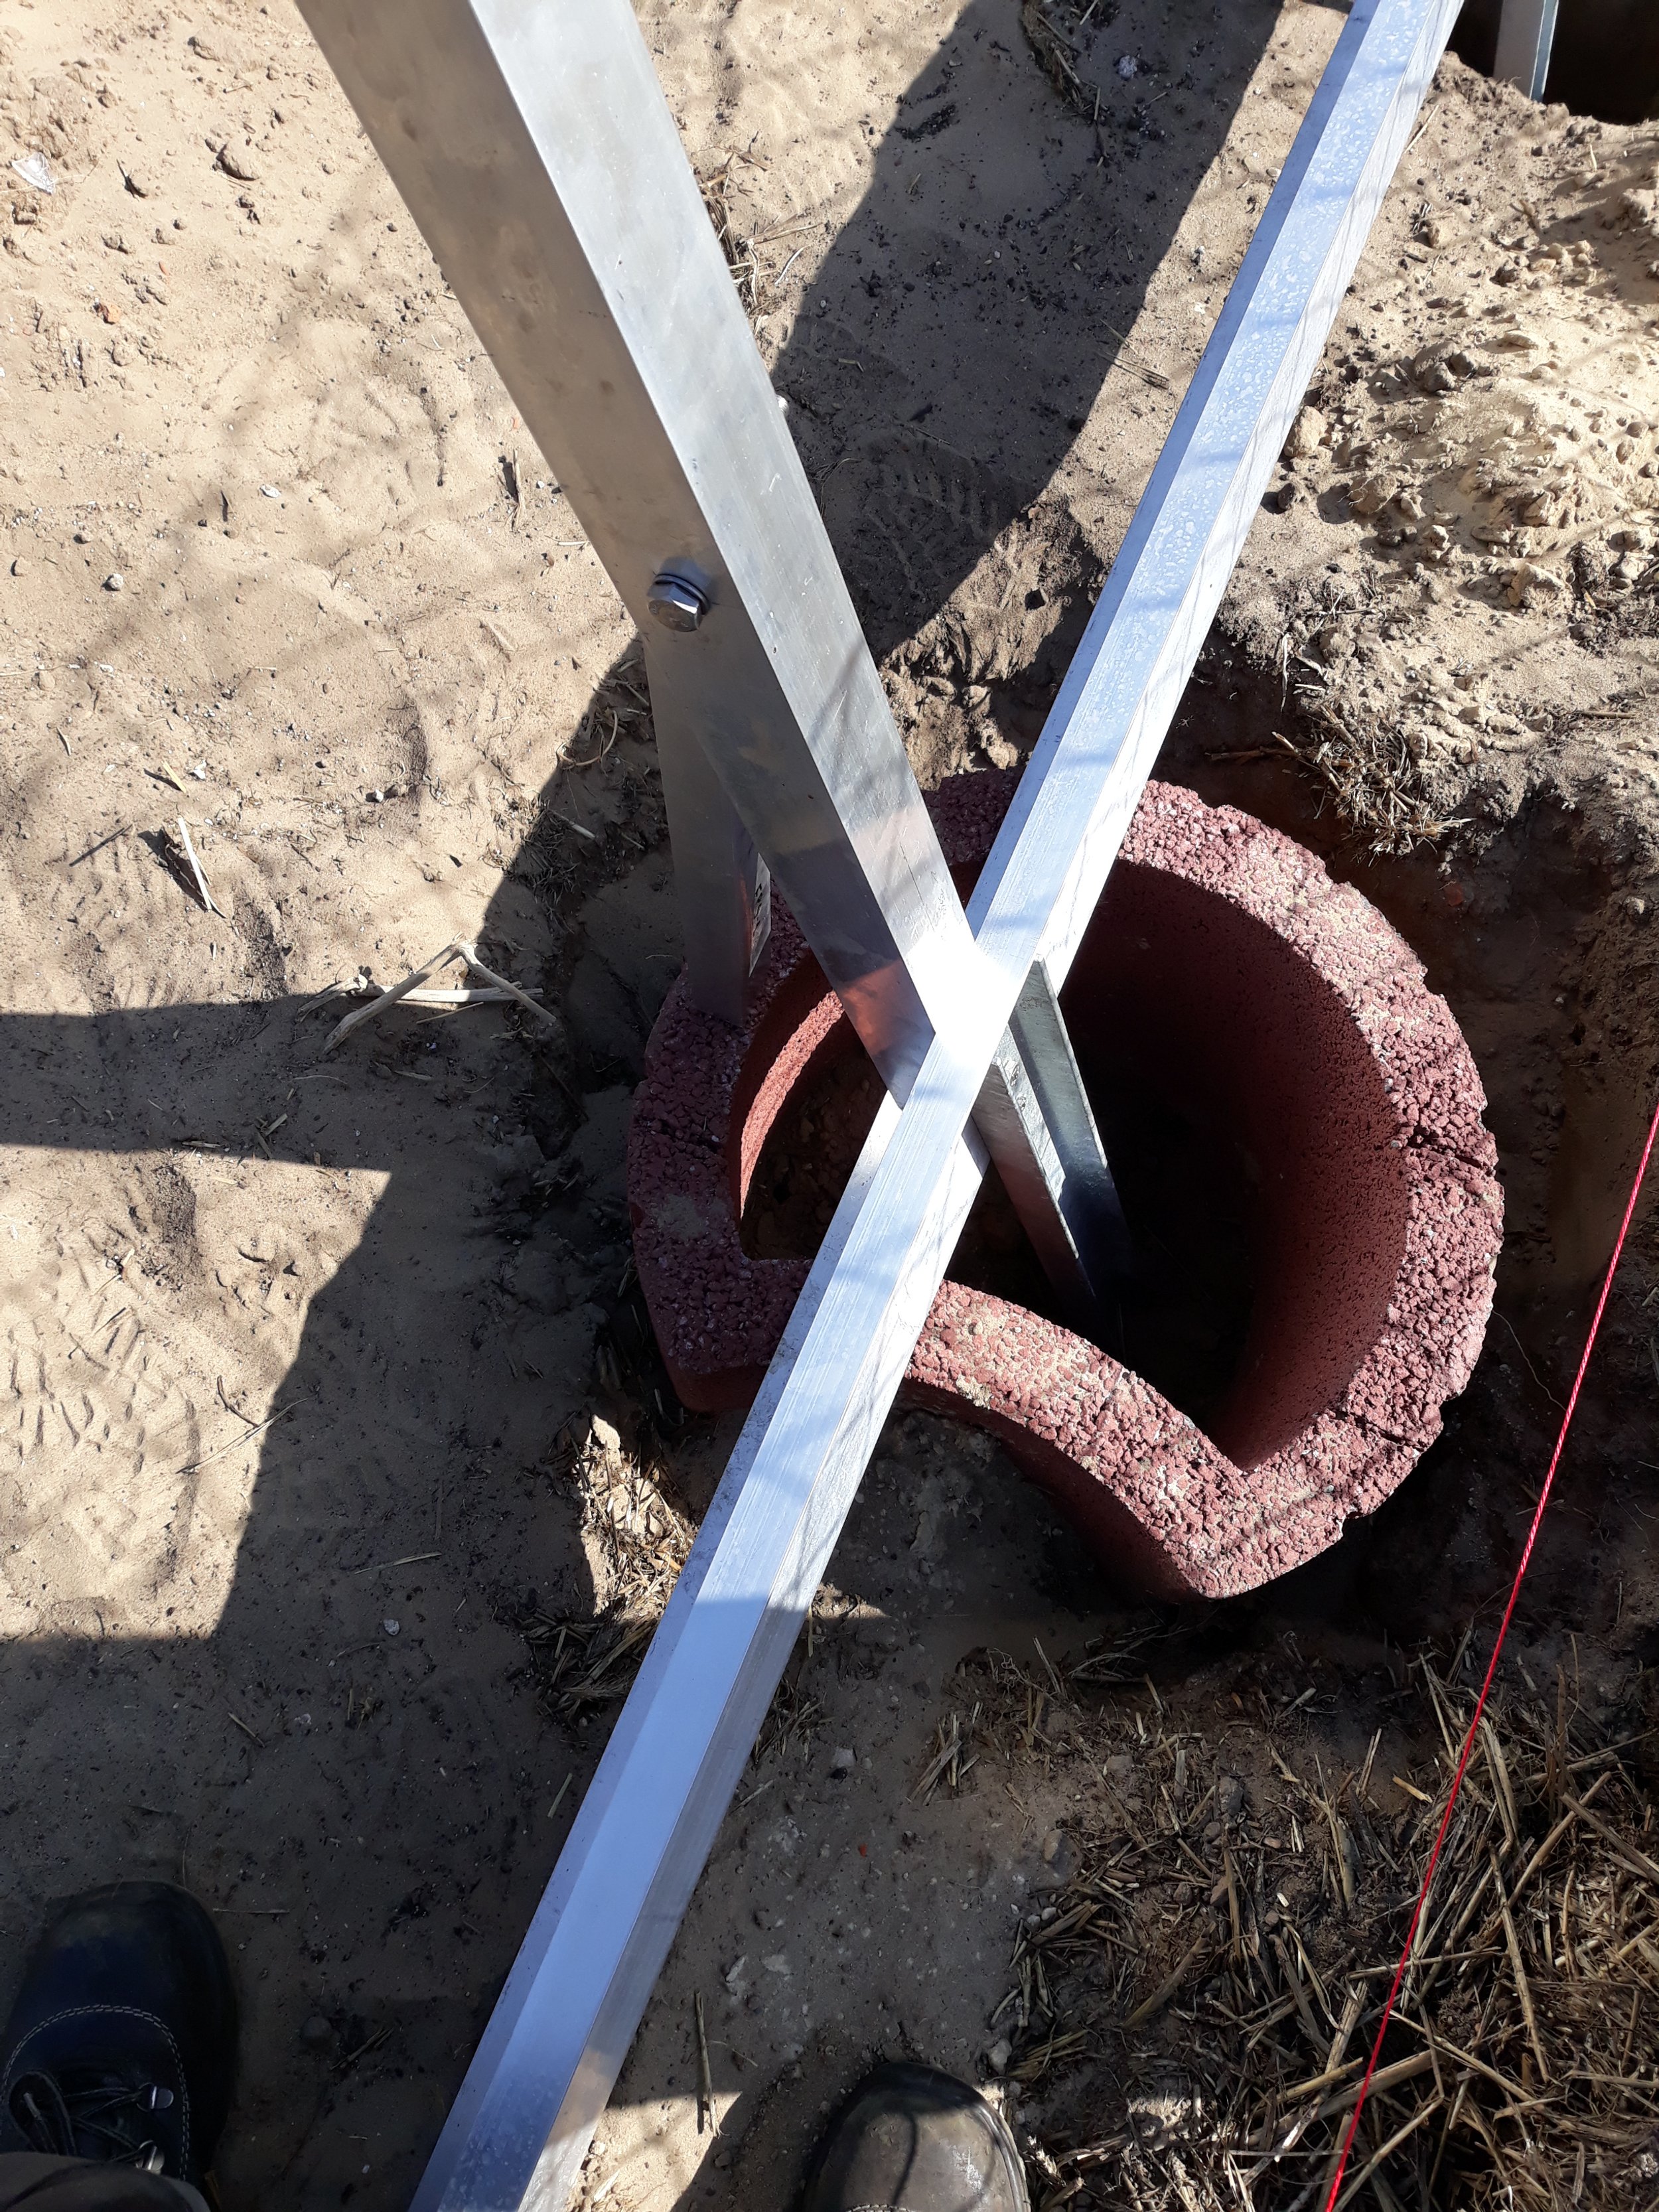
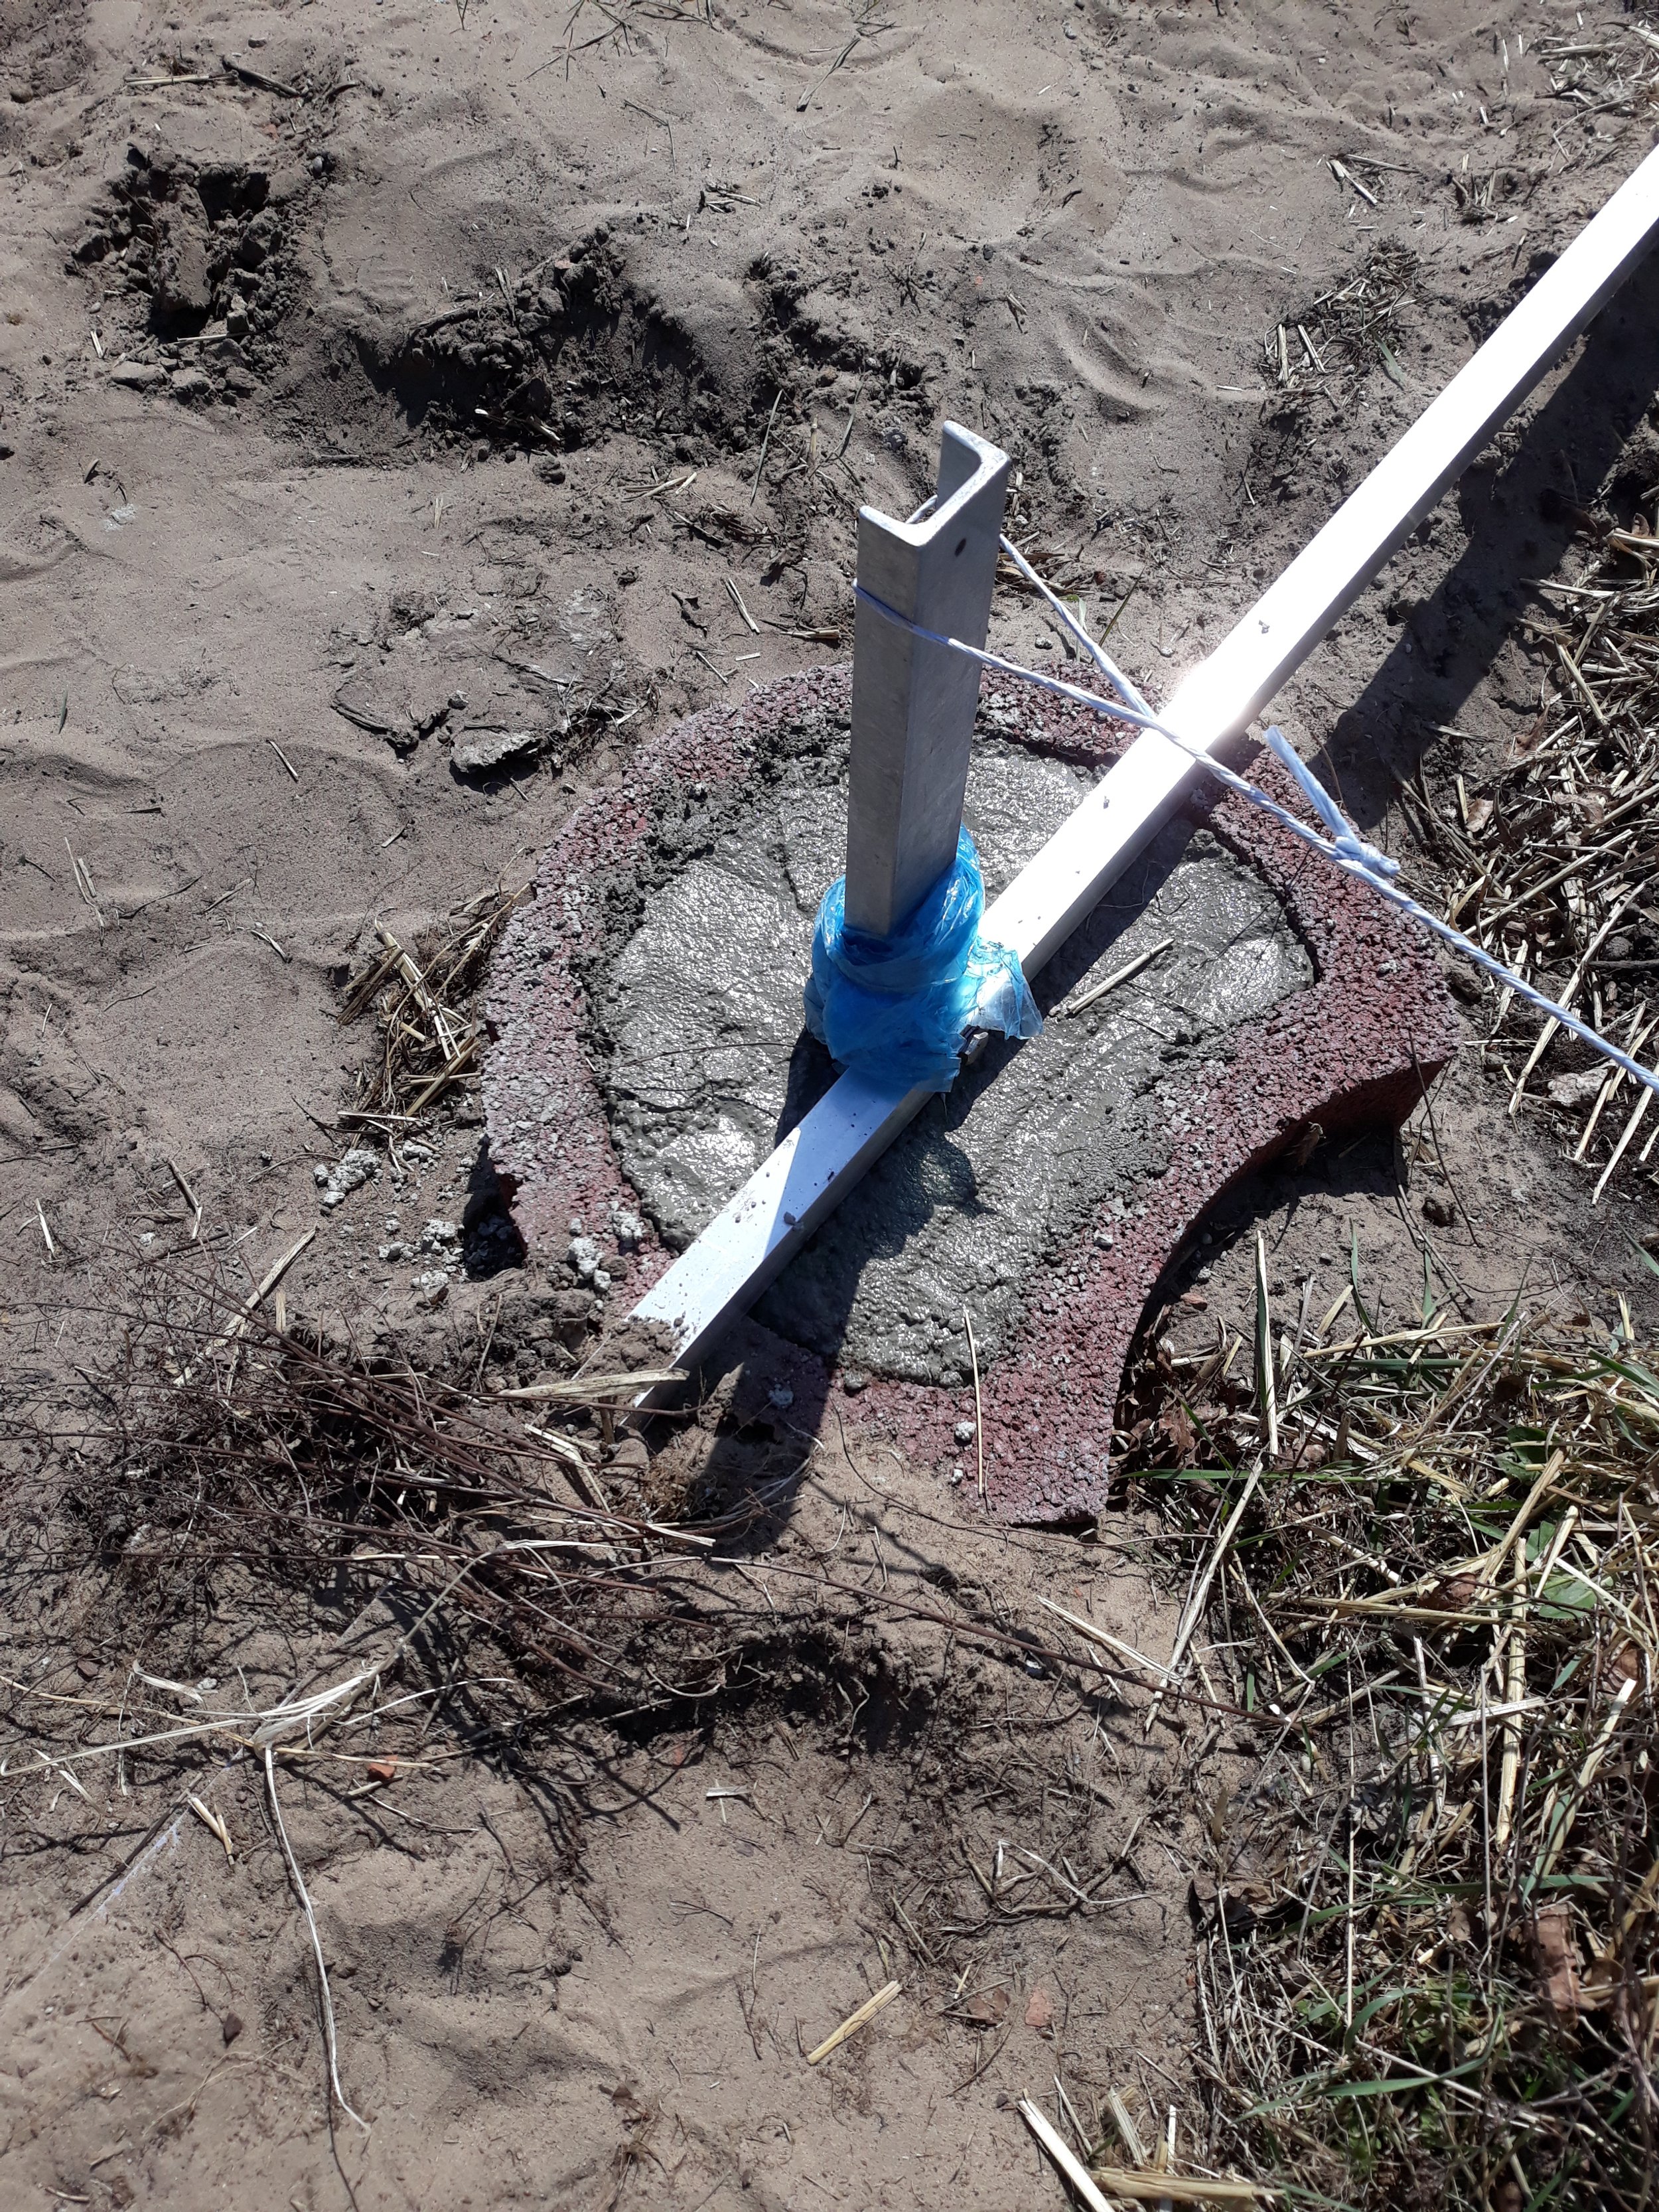
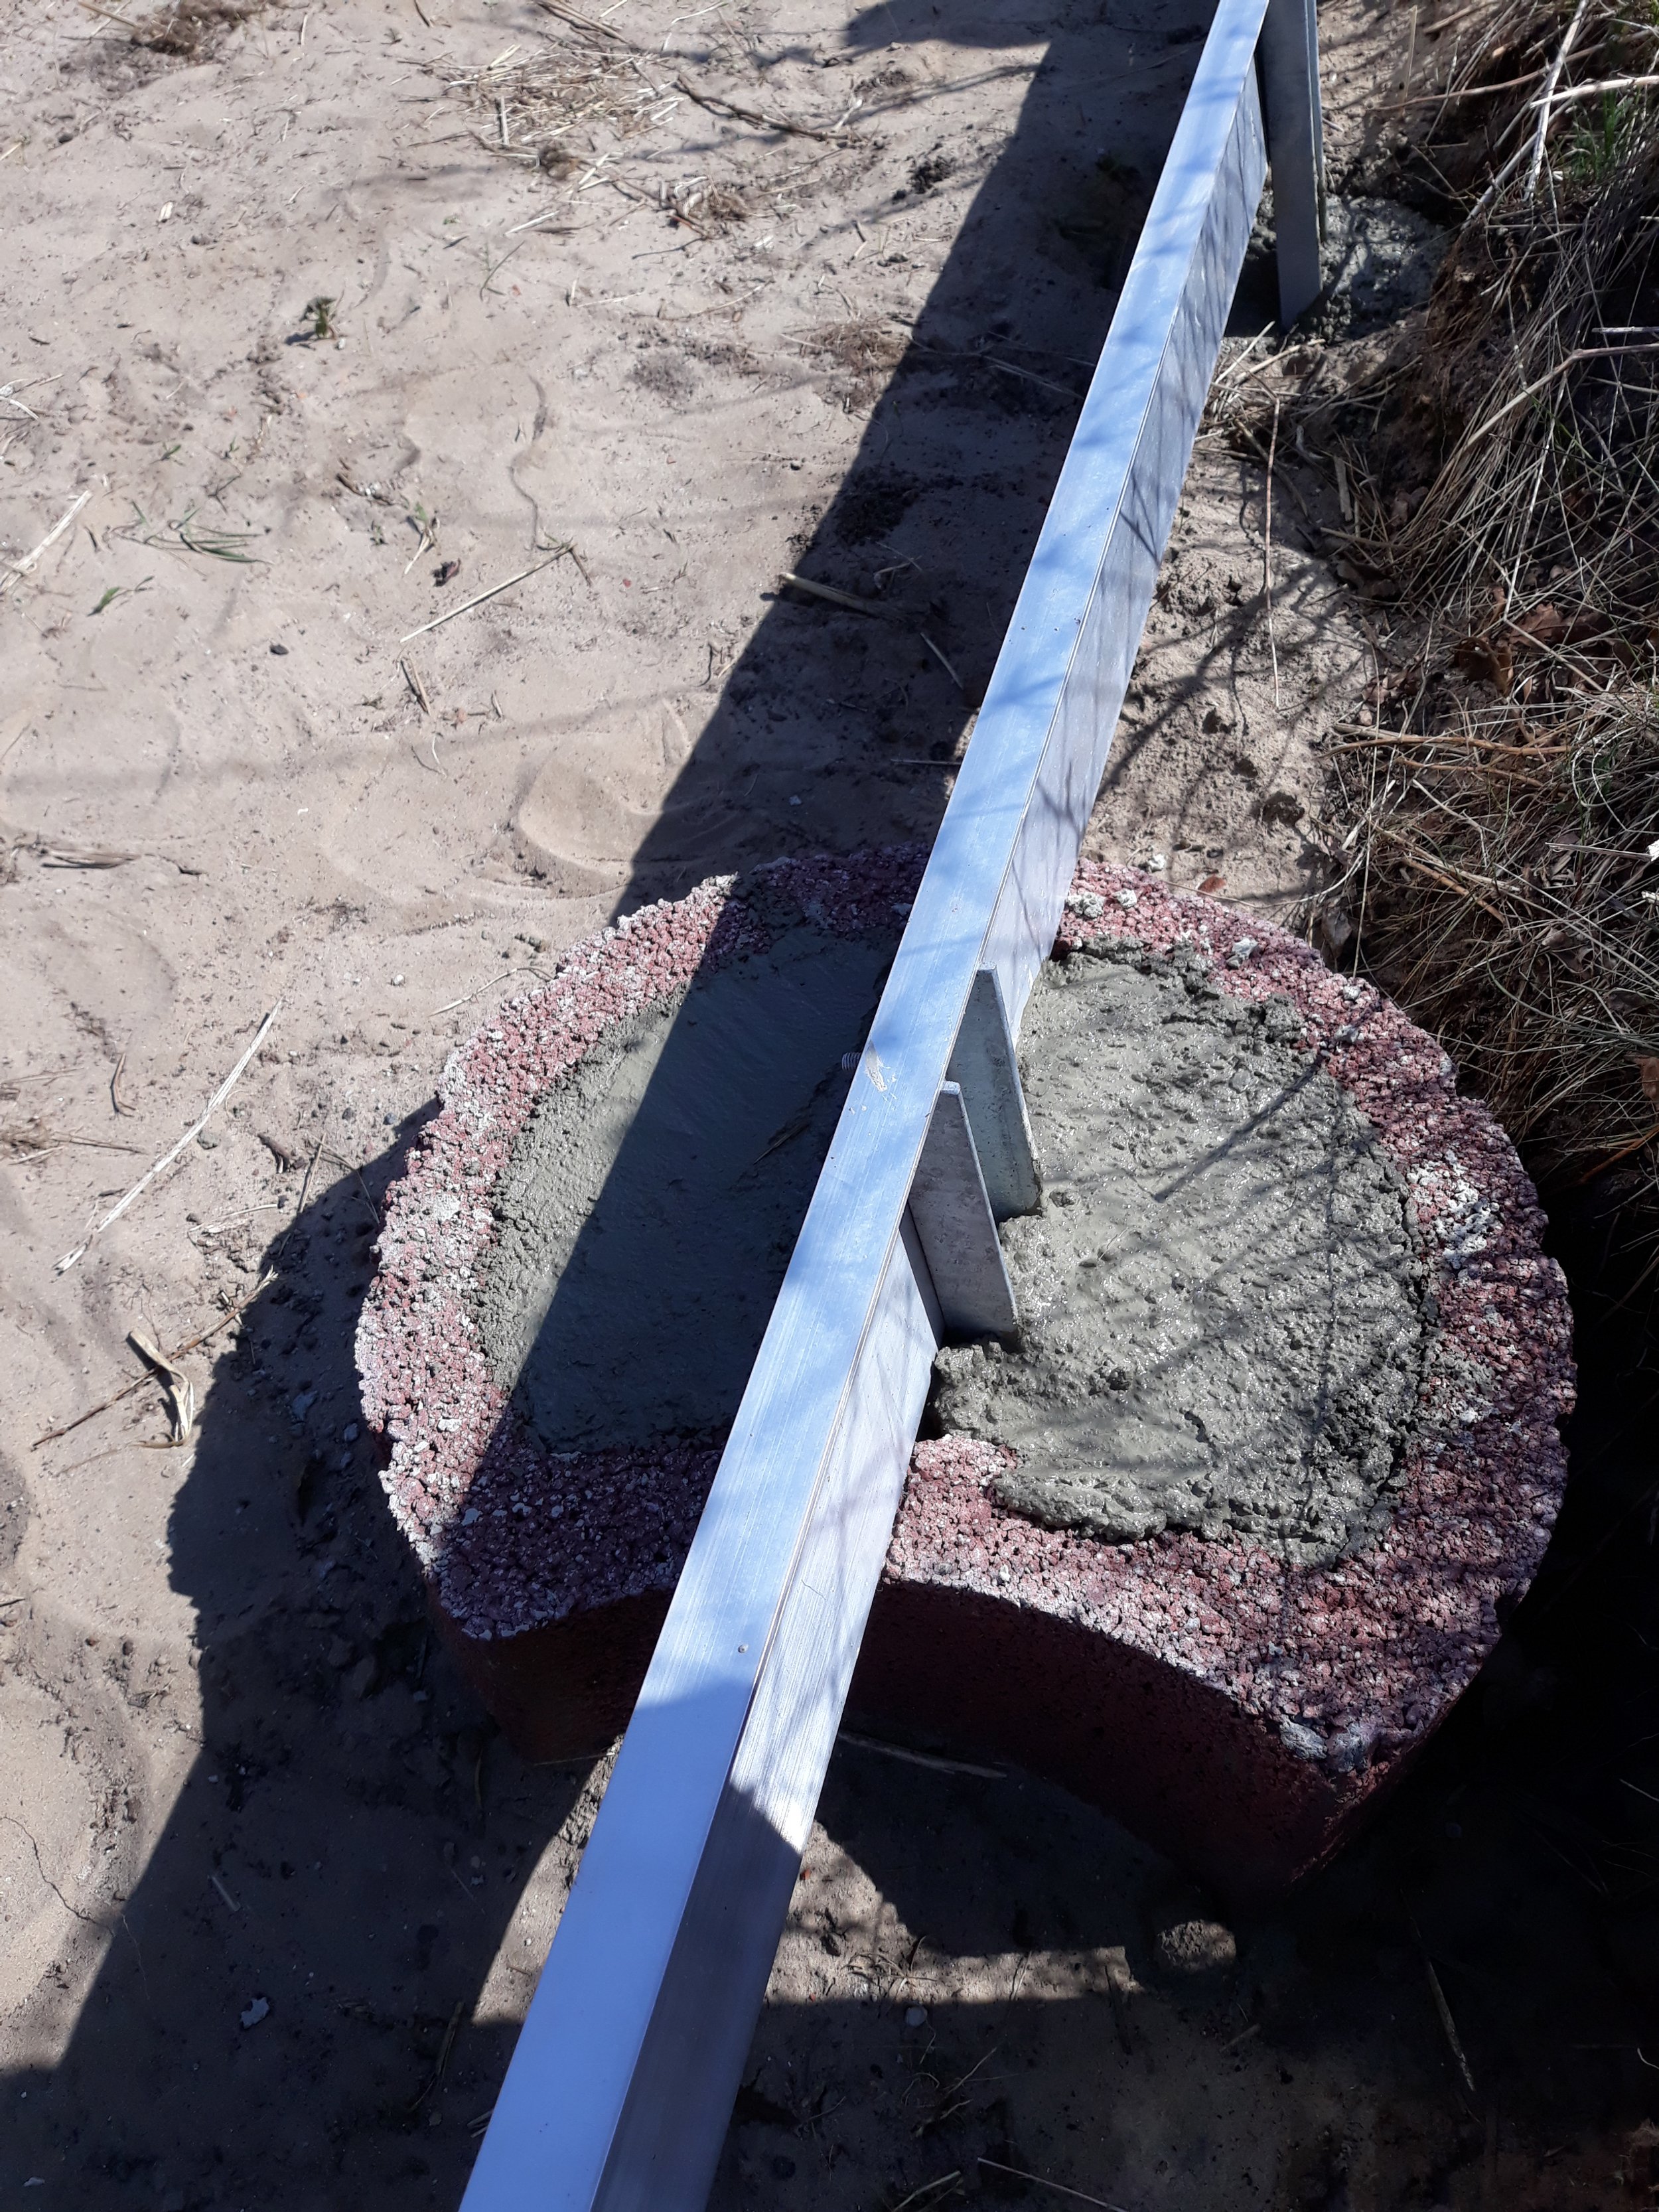
These heavy planting-rings will serve as deep-seated foundation. The base of the greenhouse lays on them, anchors inside the rings and further, deeper to the ground, and then the rings will be filled with concrete.
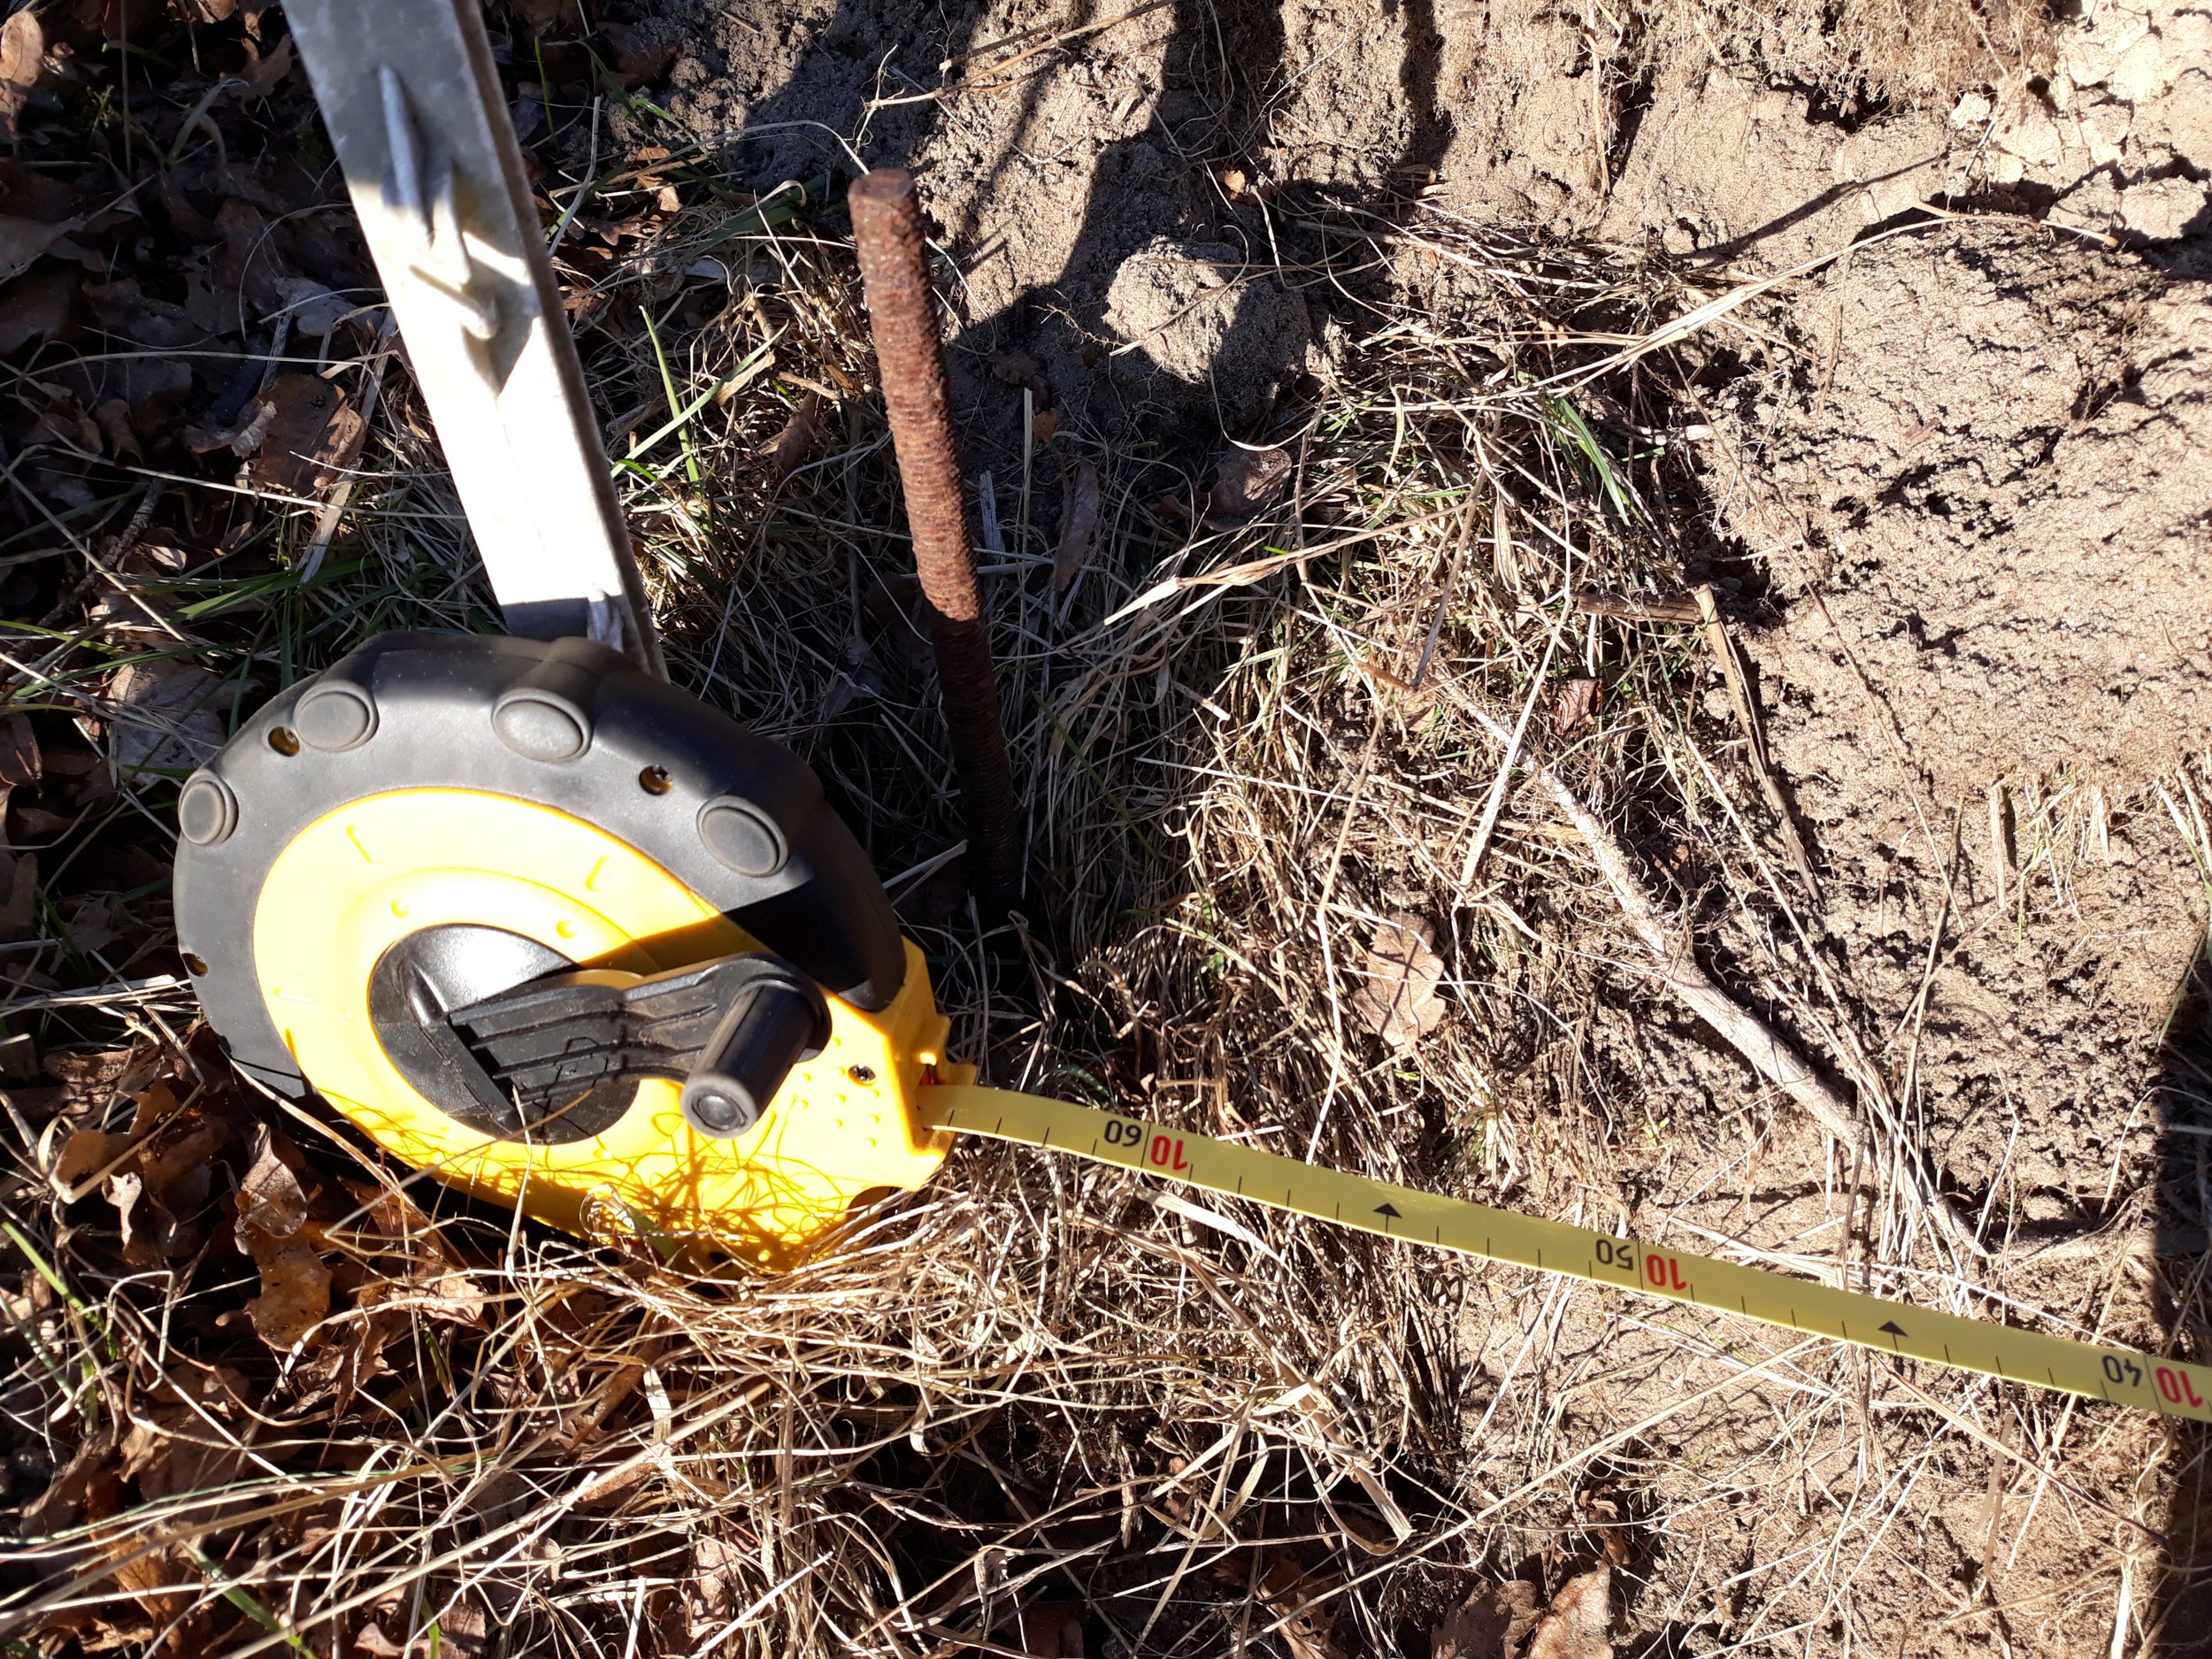

Leveling with the aid of good ol' Archimedes
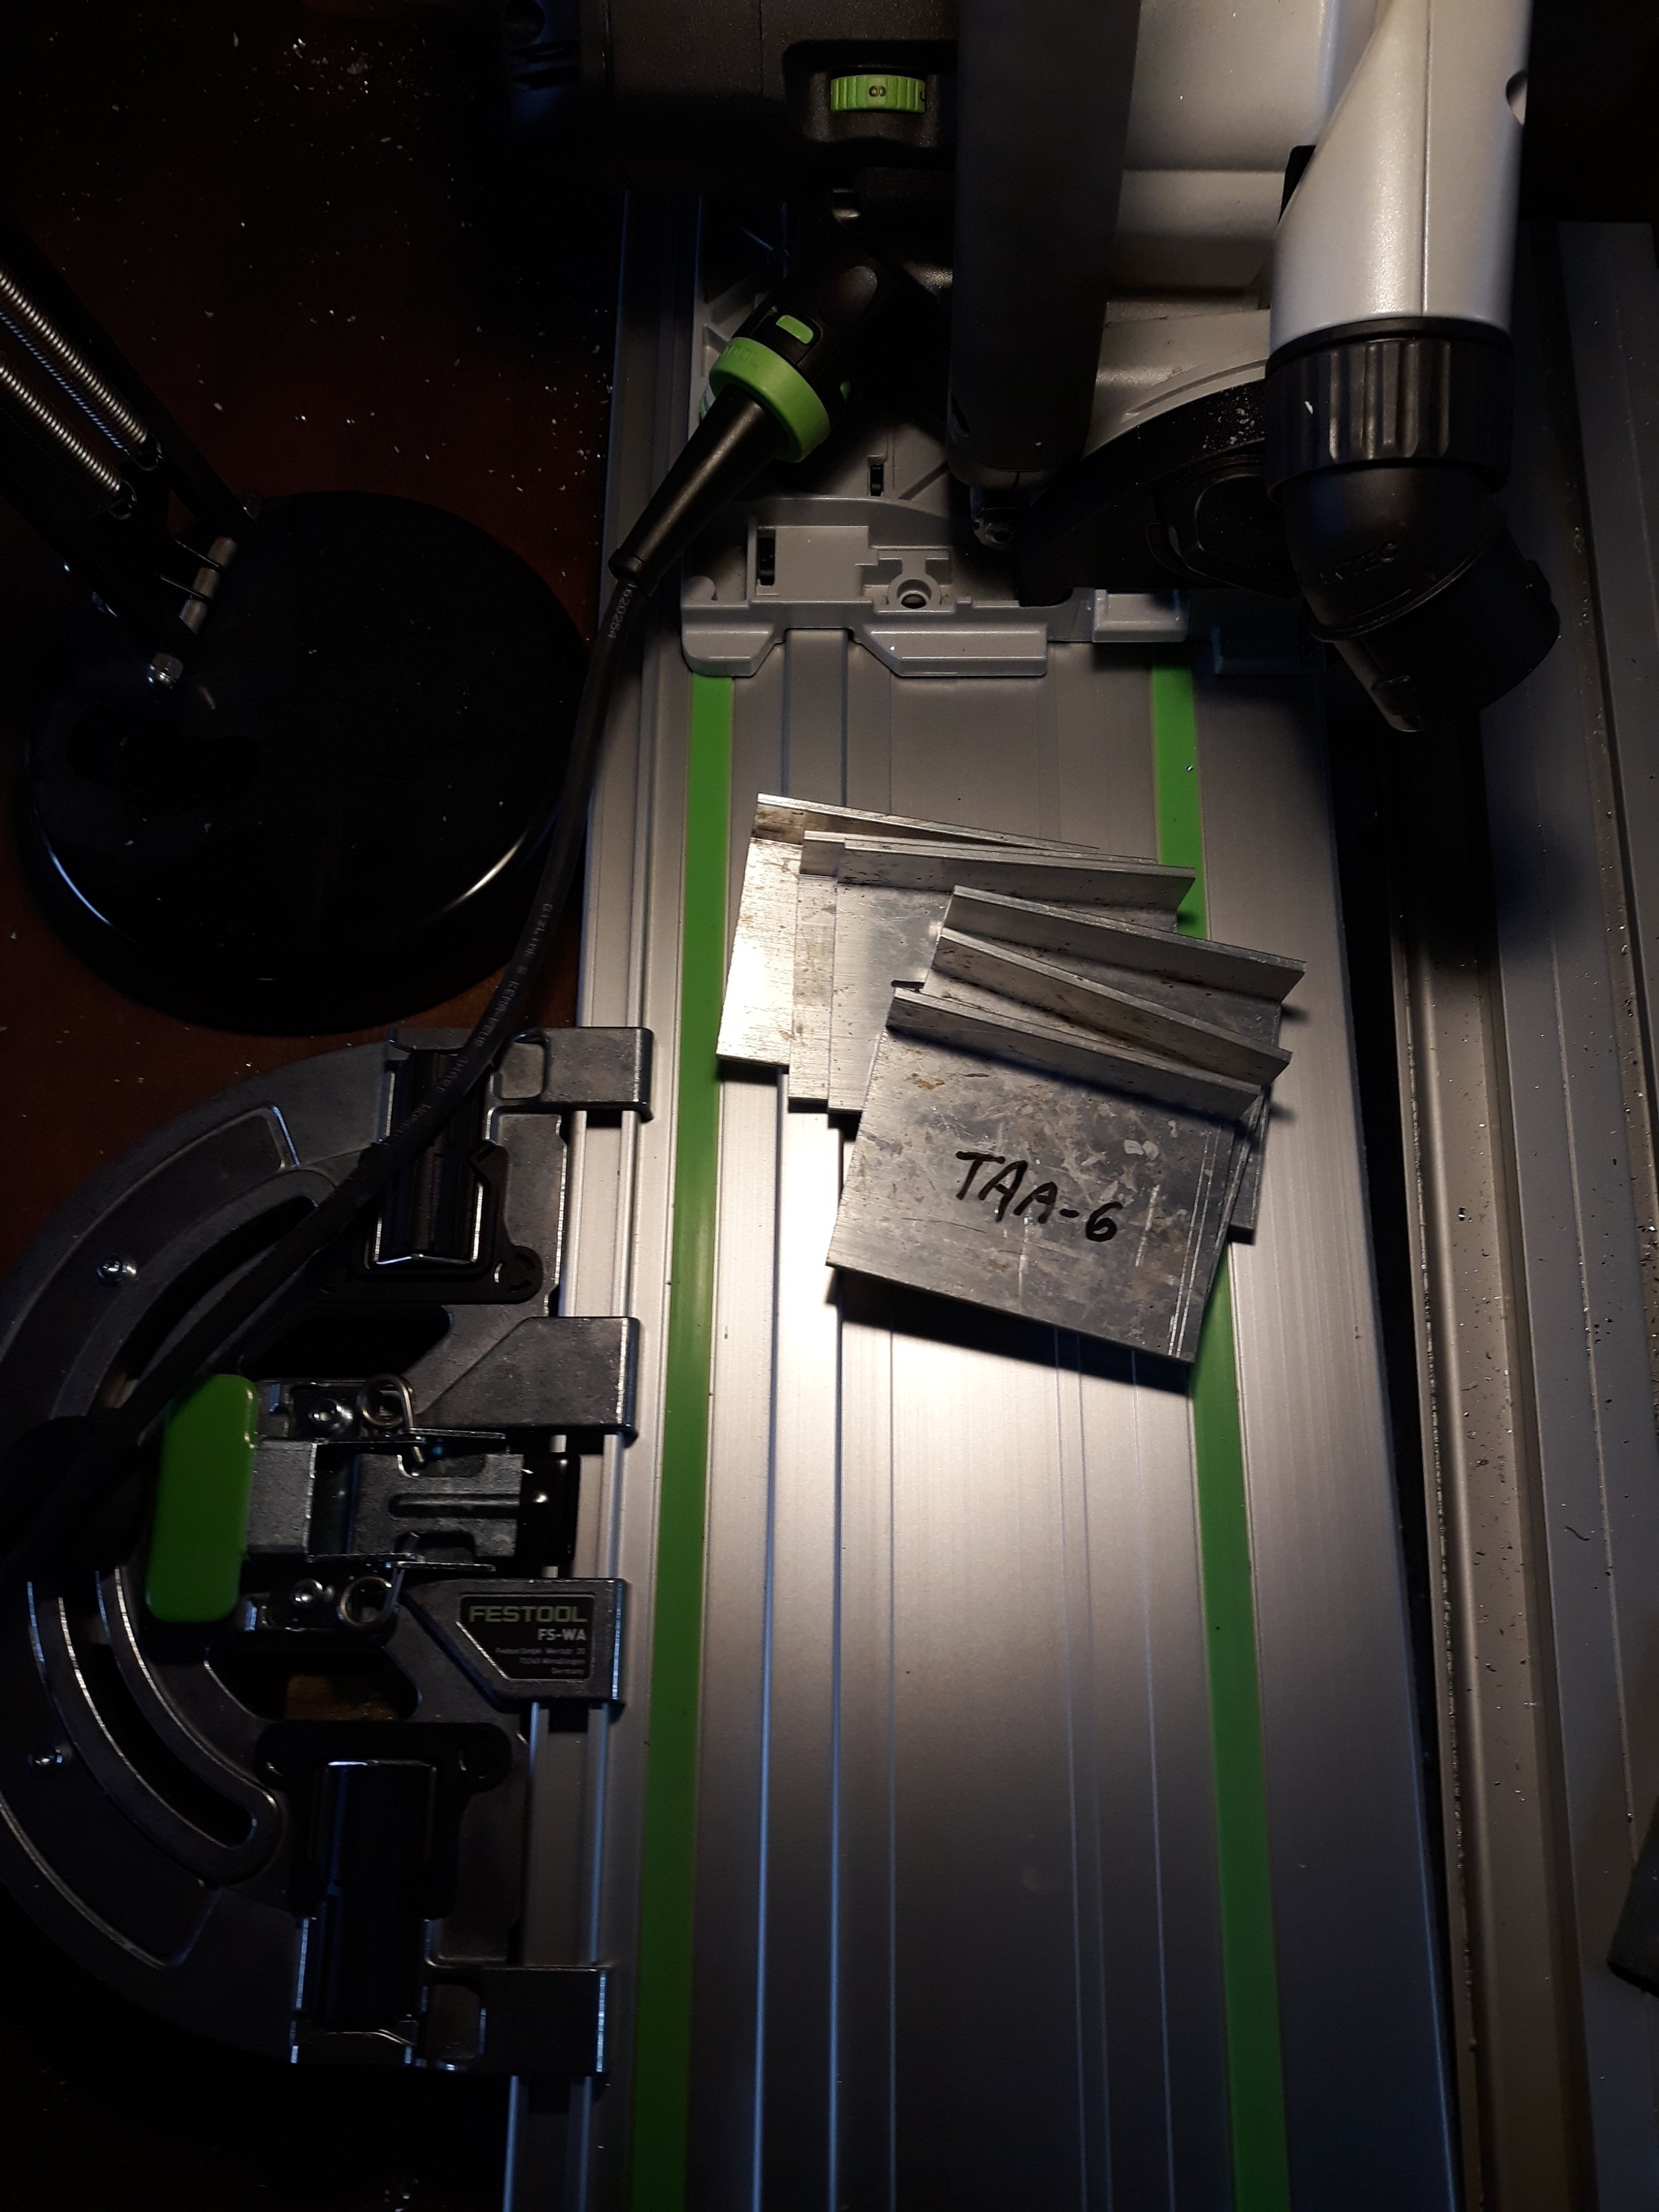
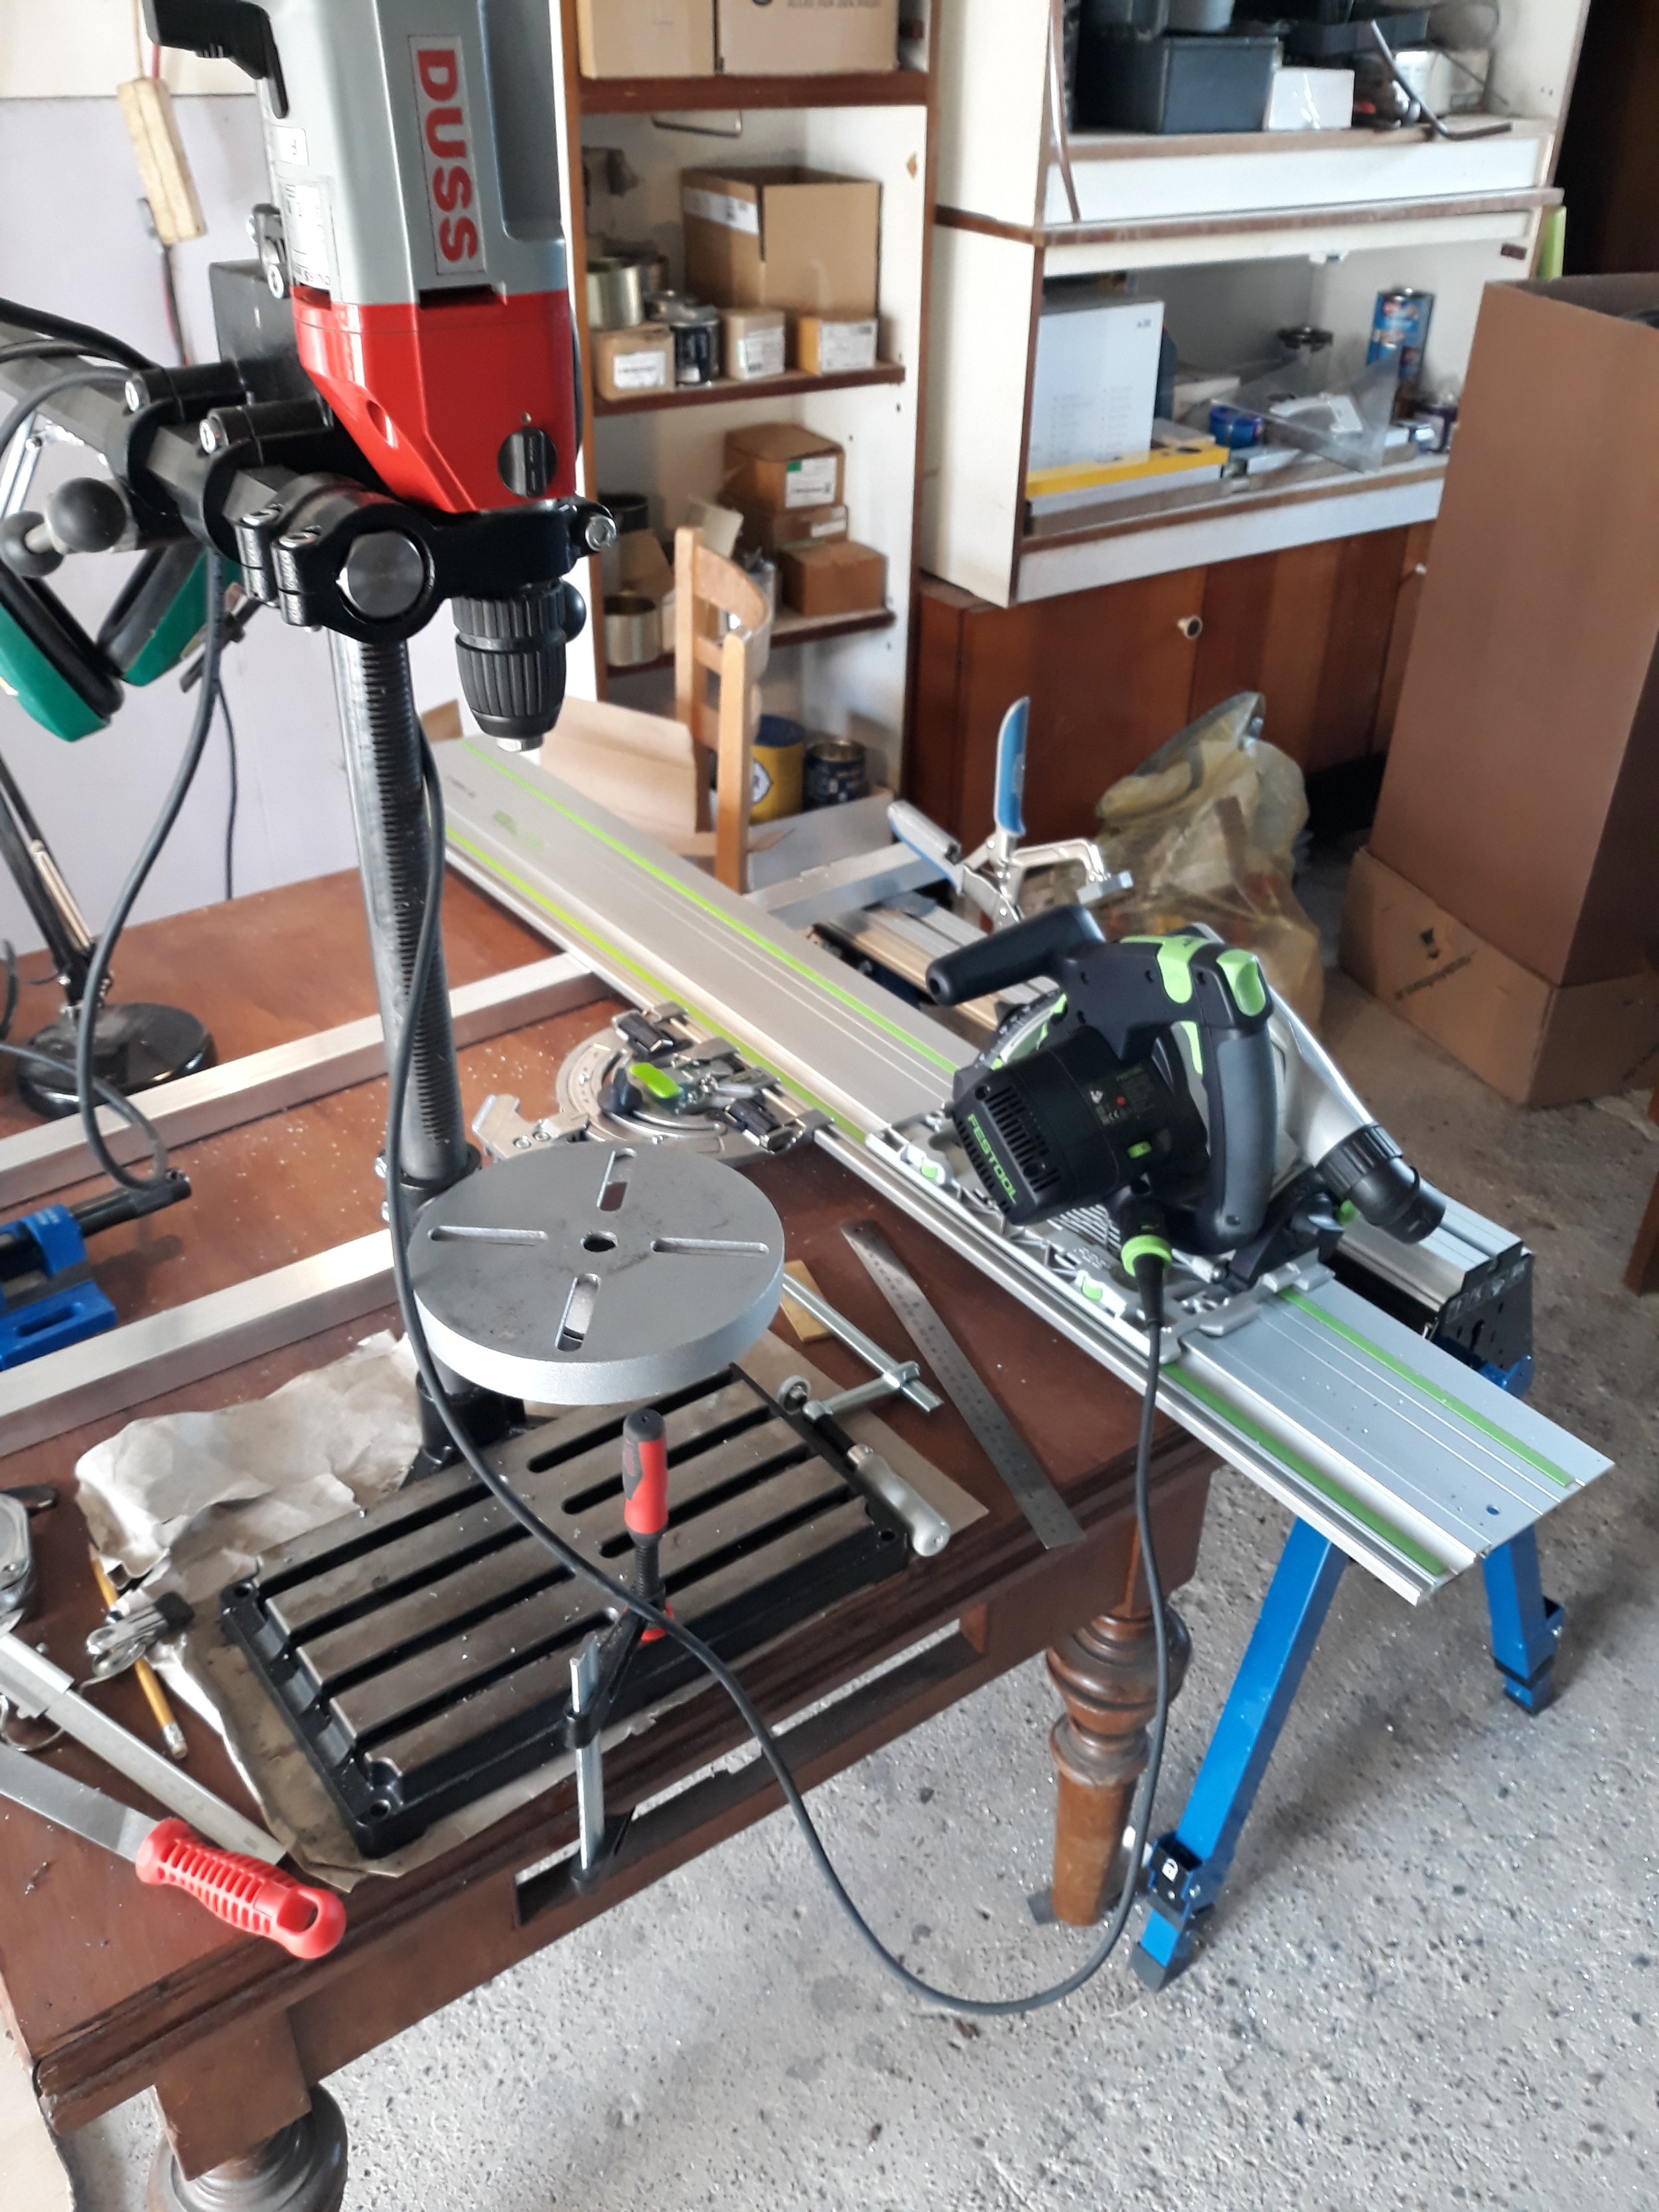
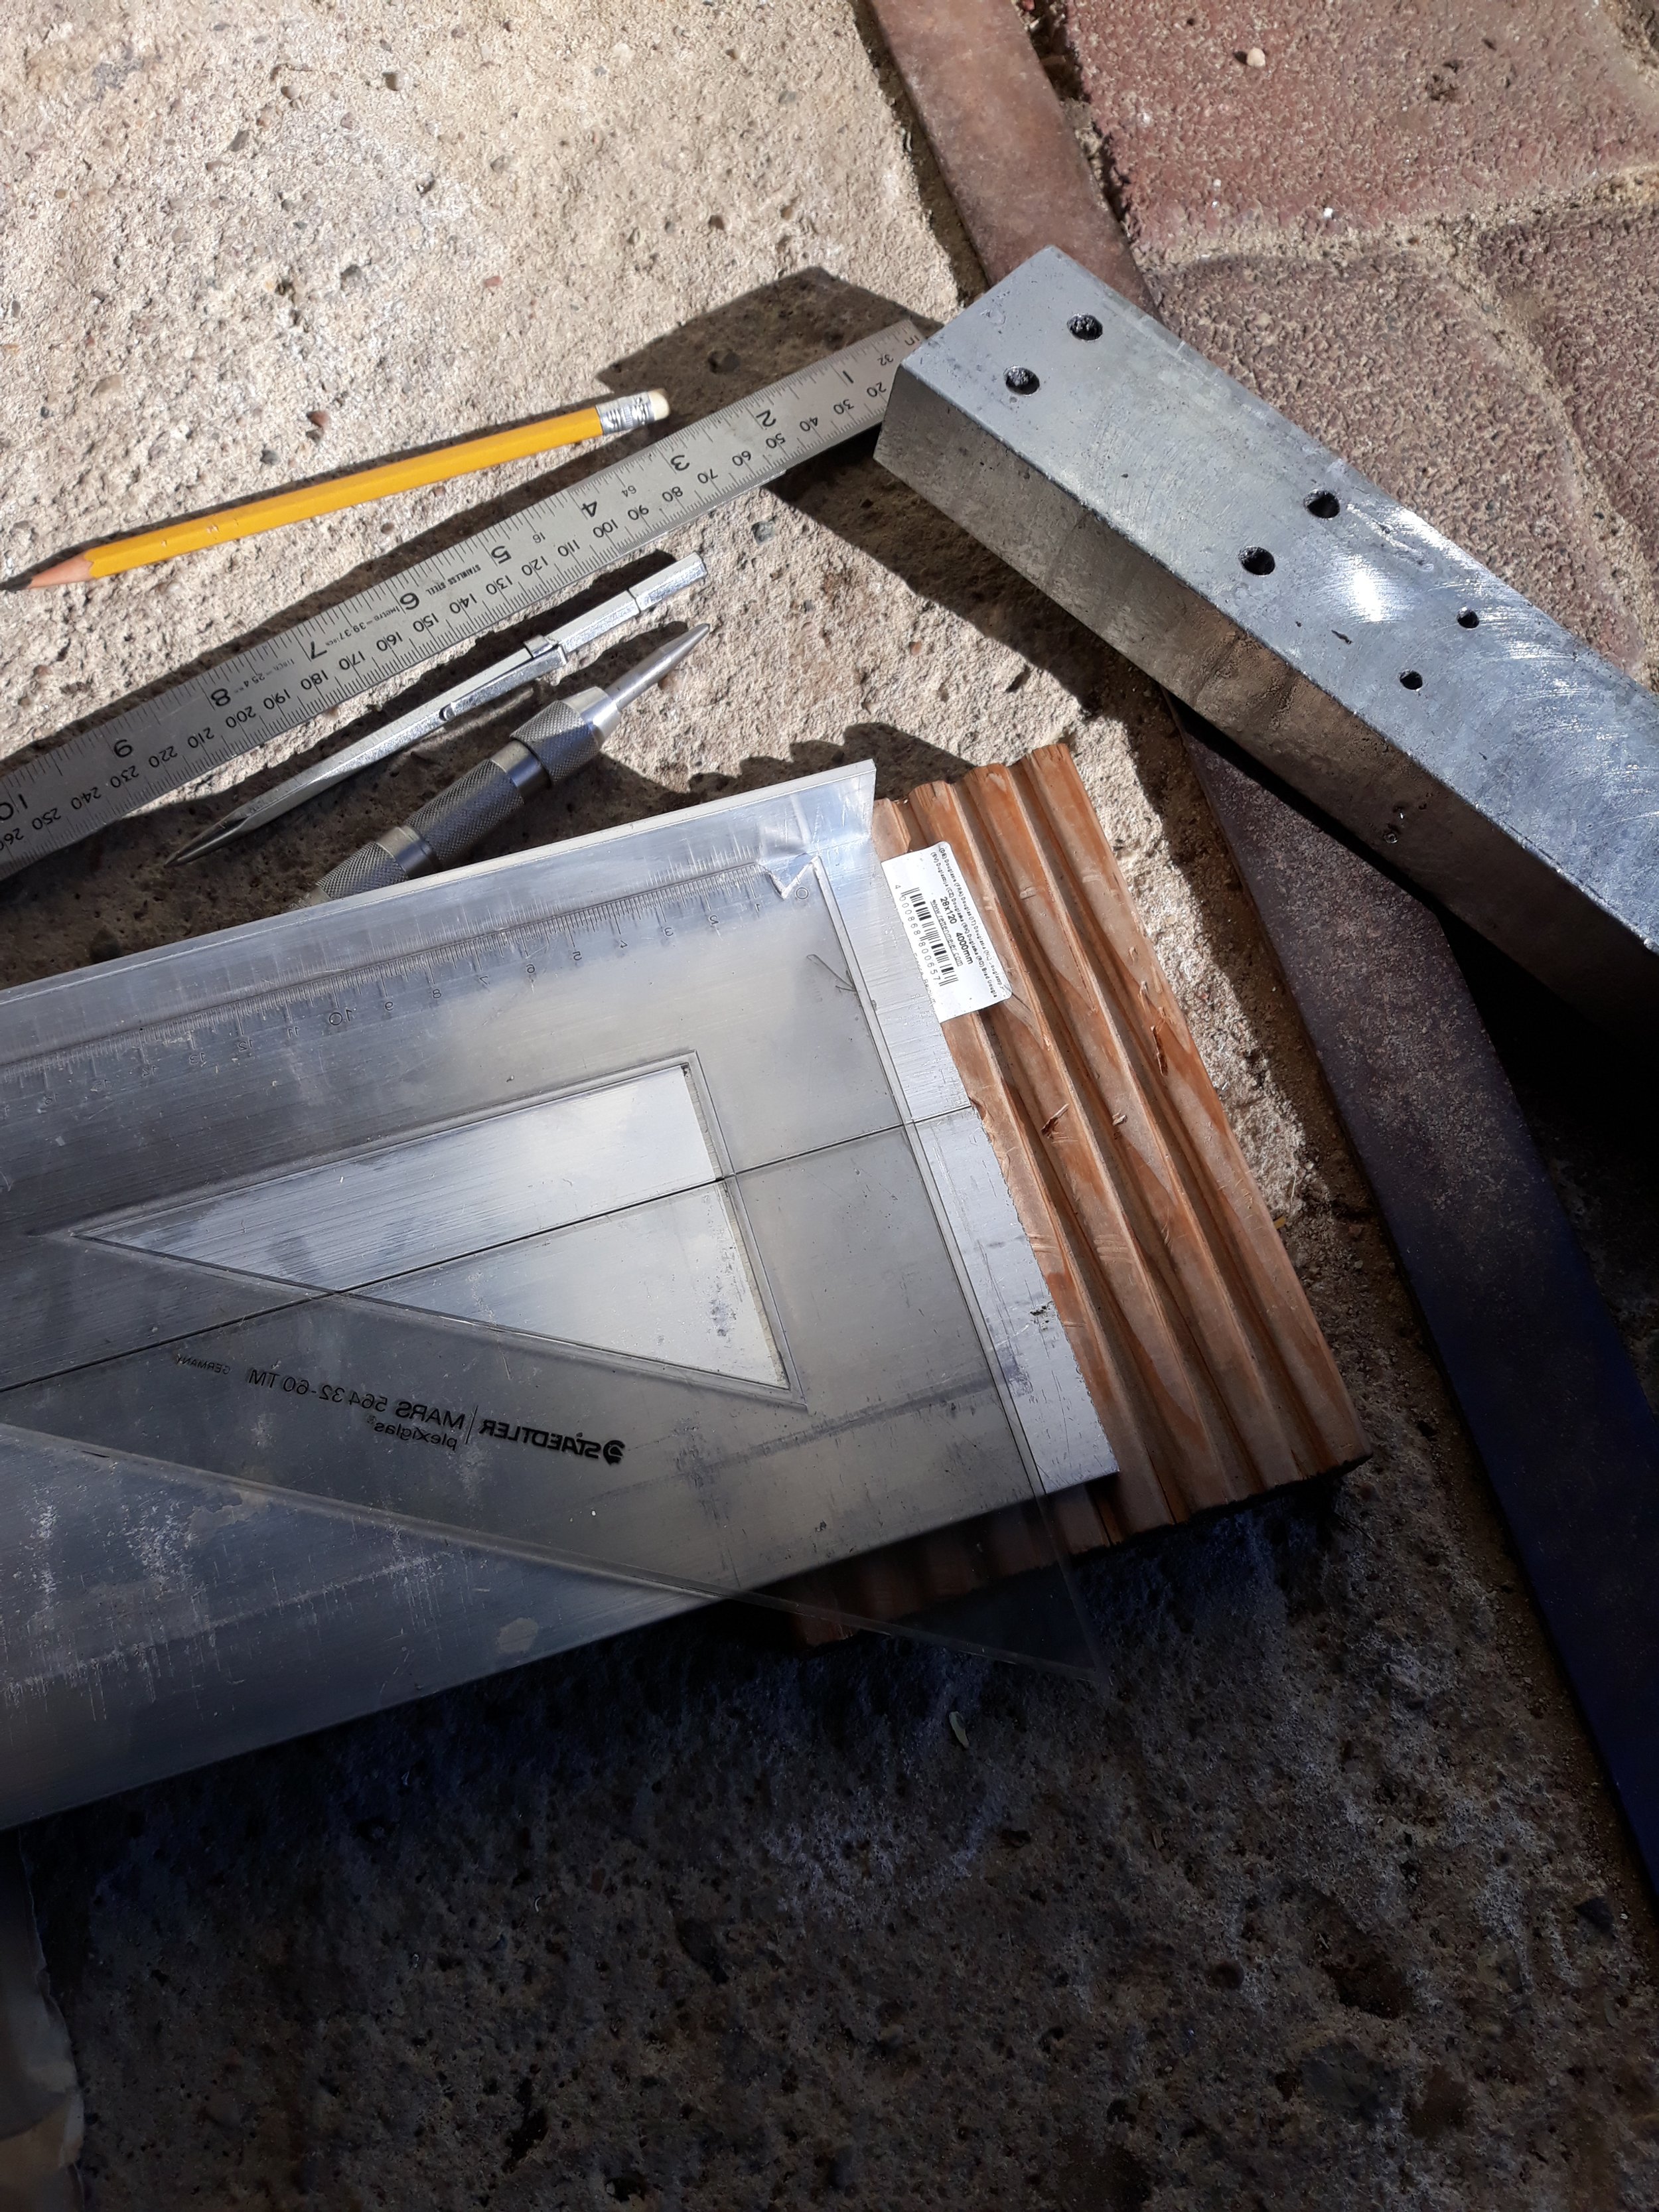
Cutting and numbering aluminum parts
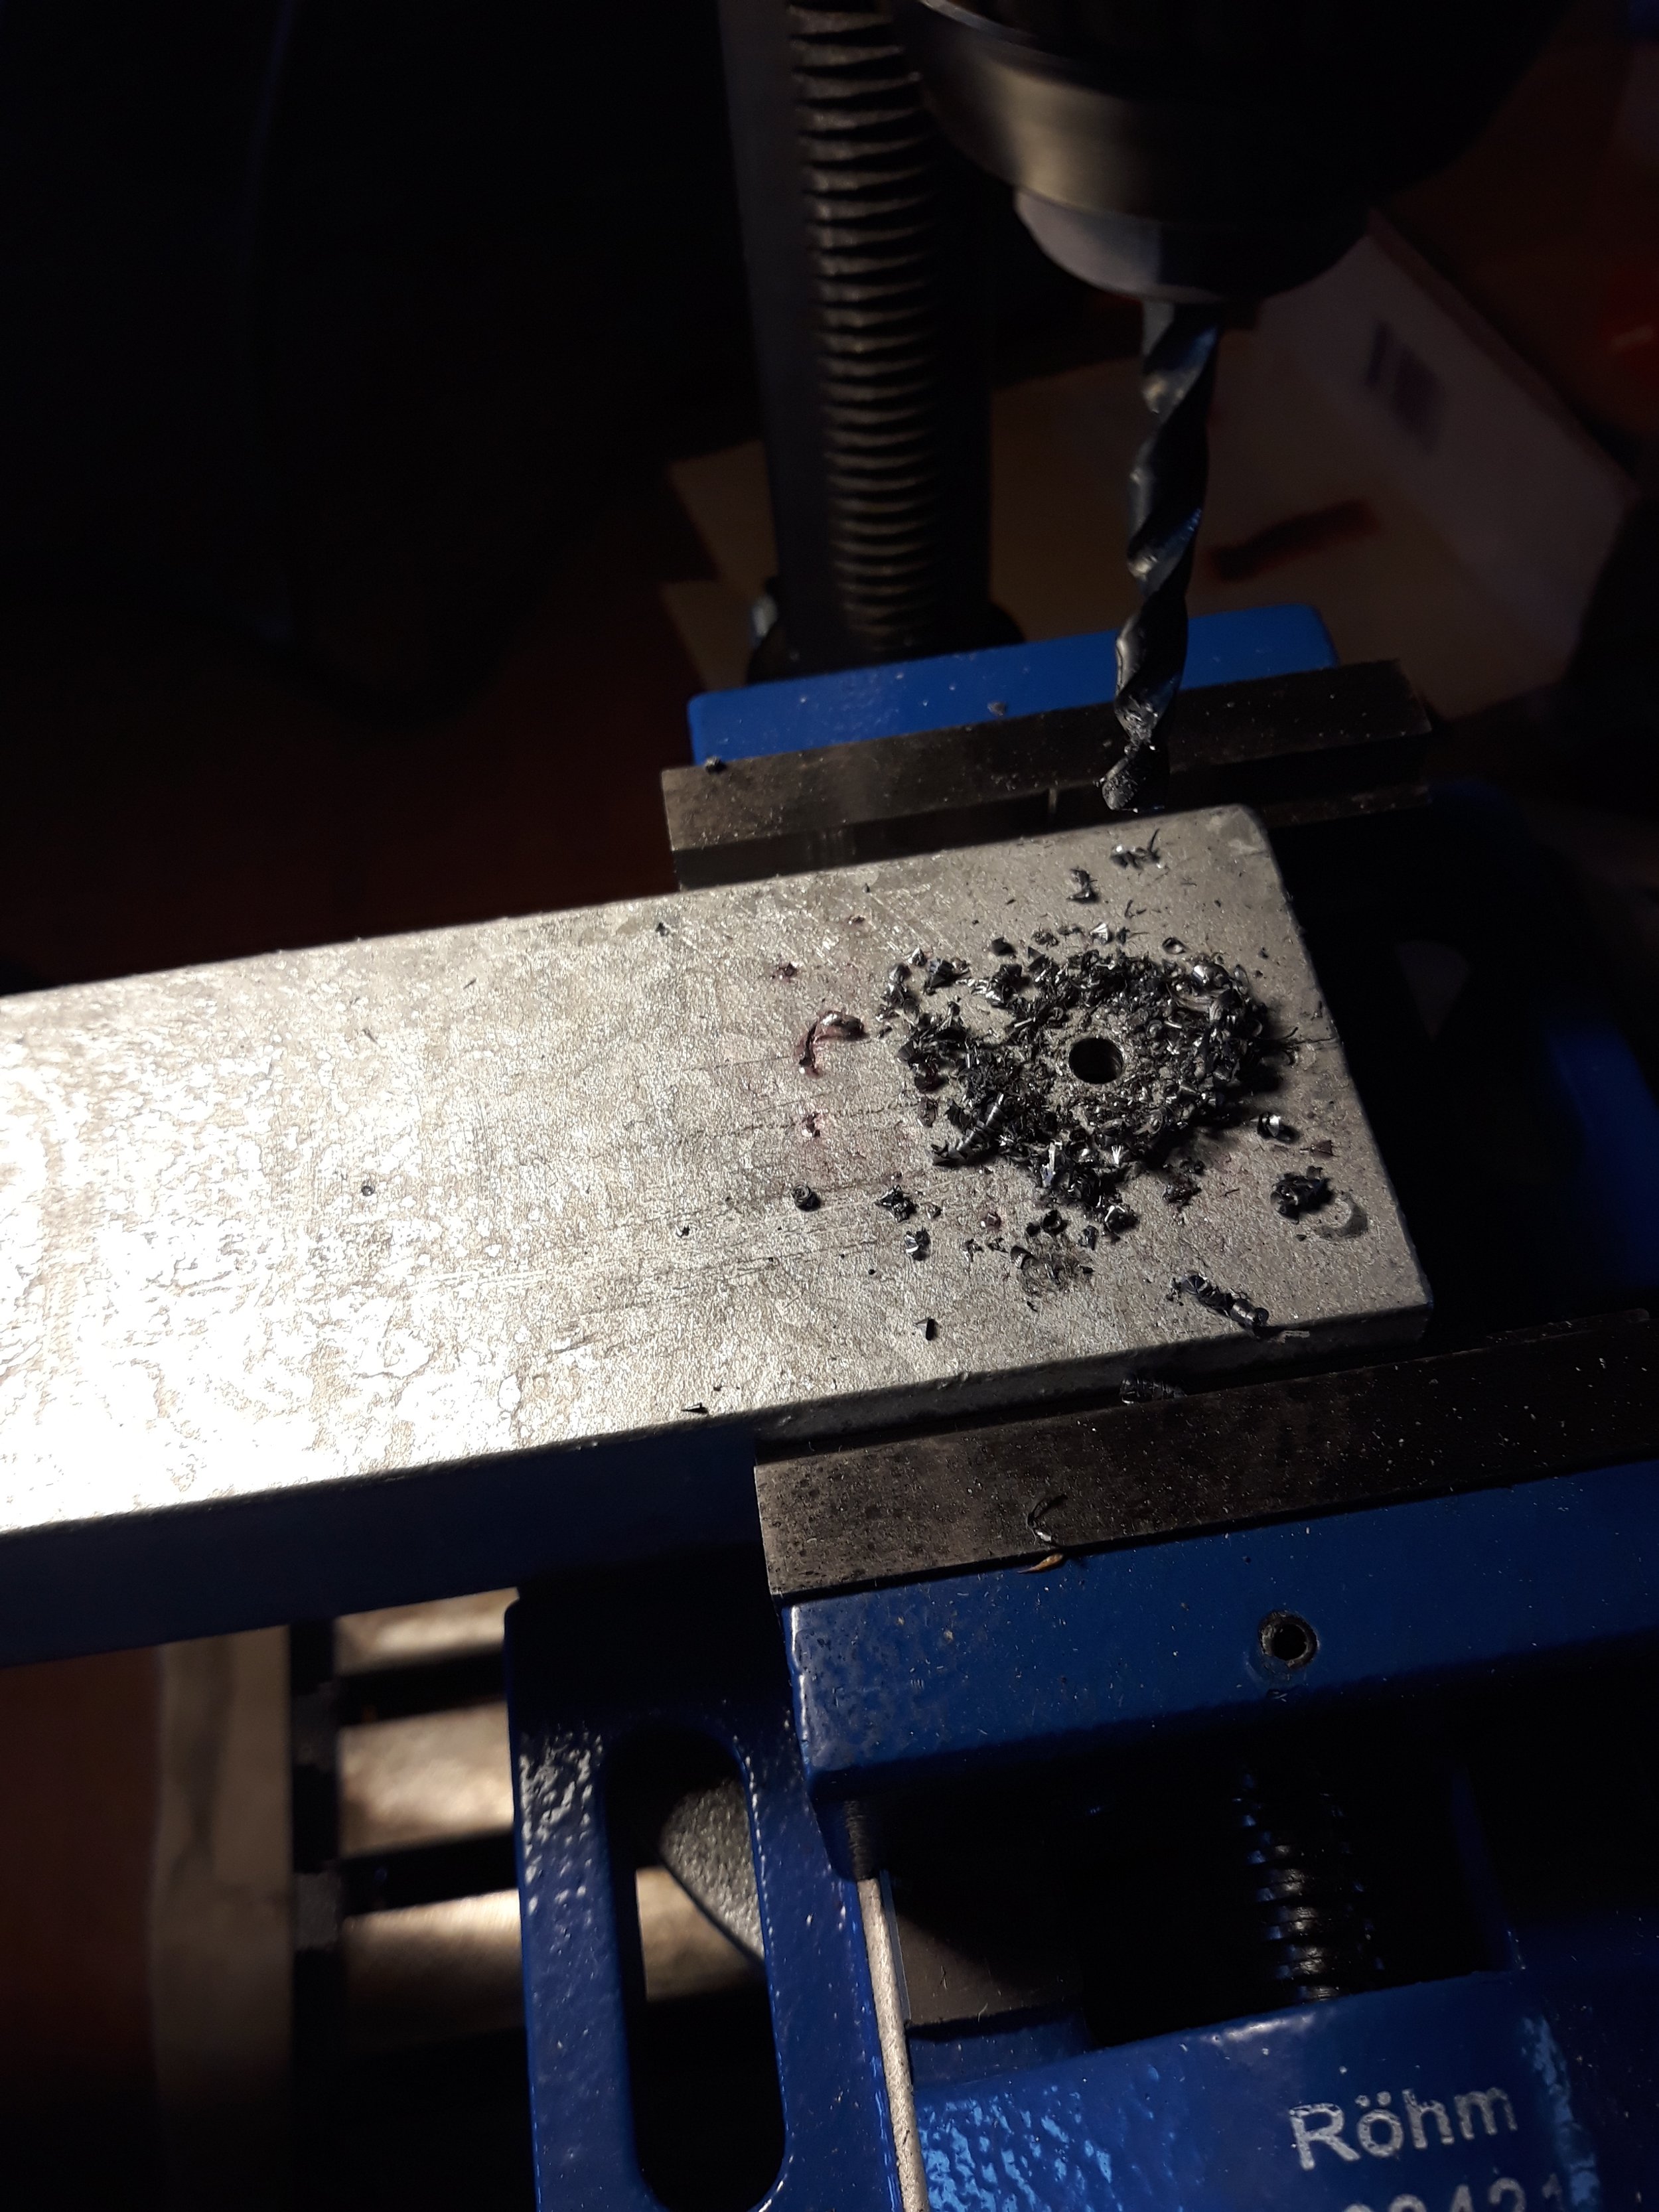
Drilling in the anchors, galvanized steel

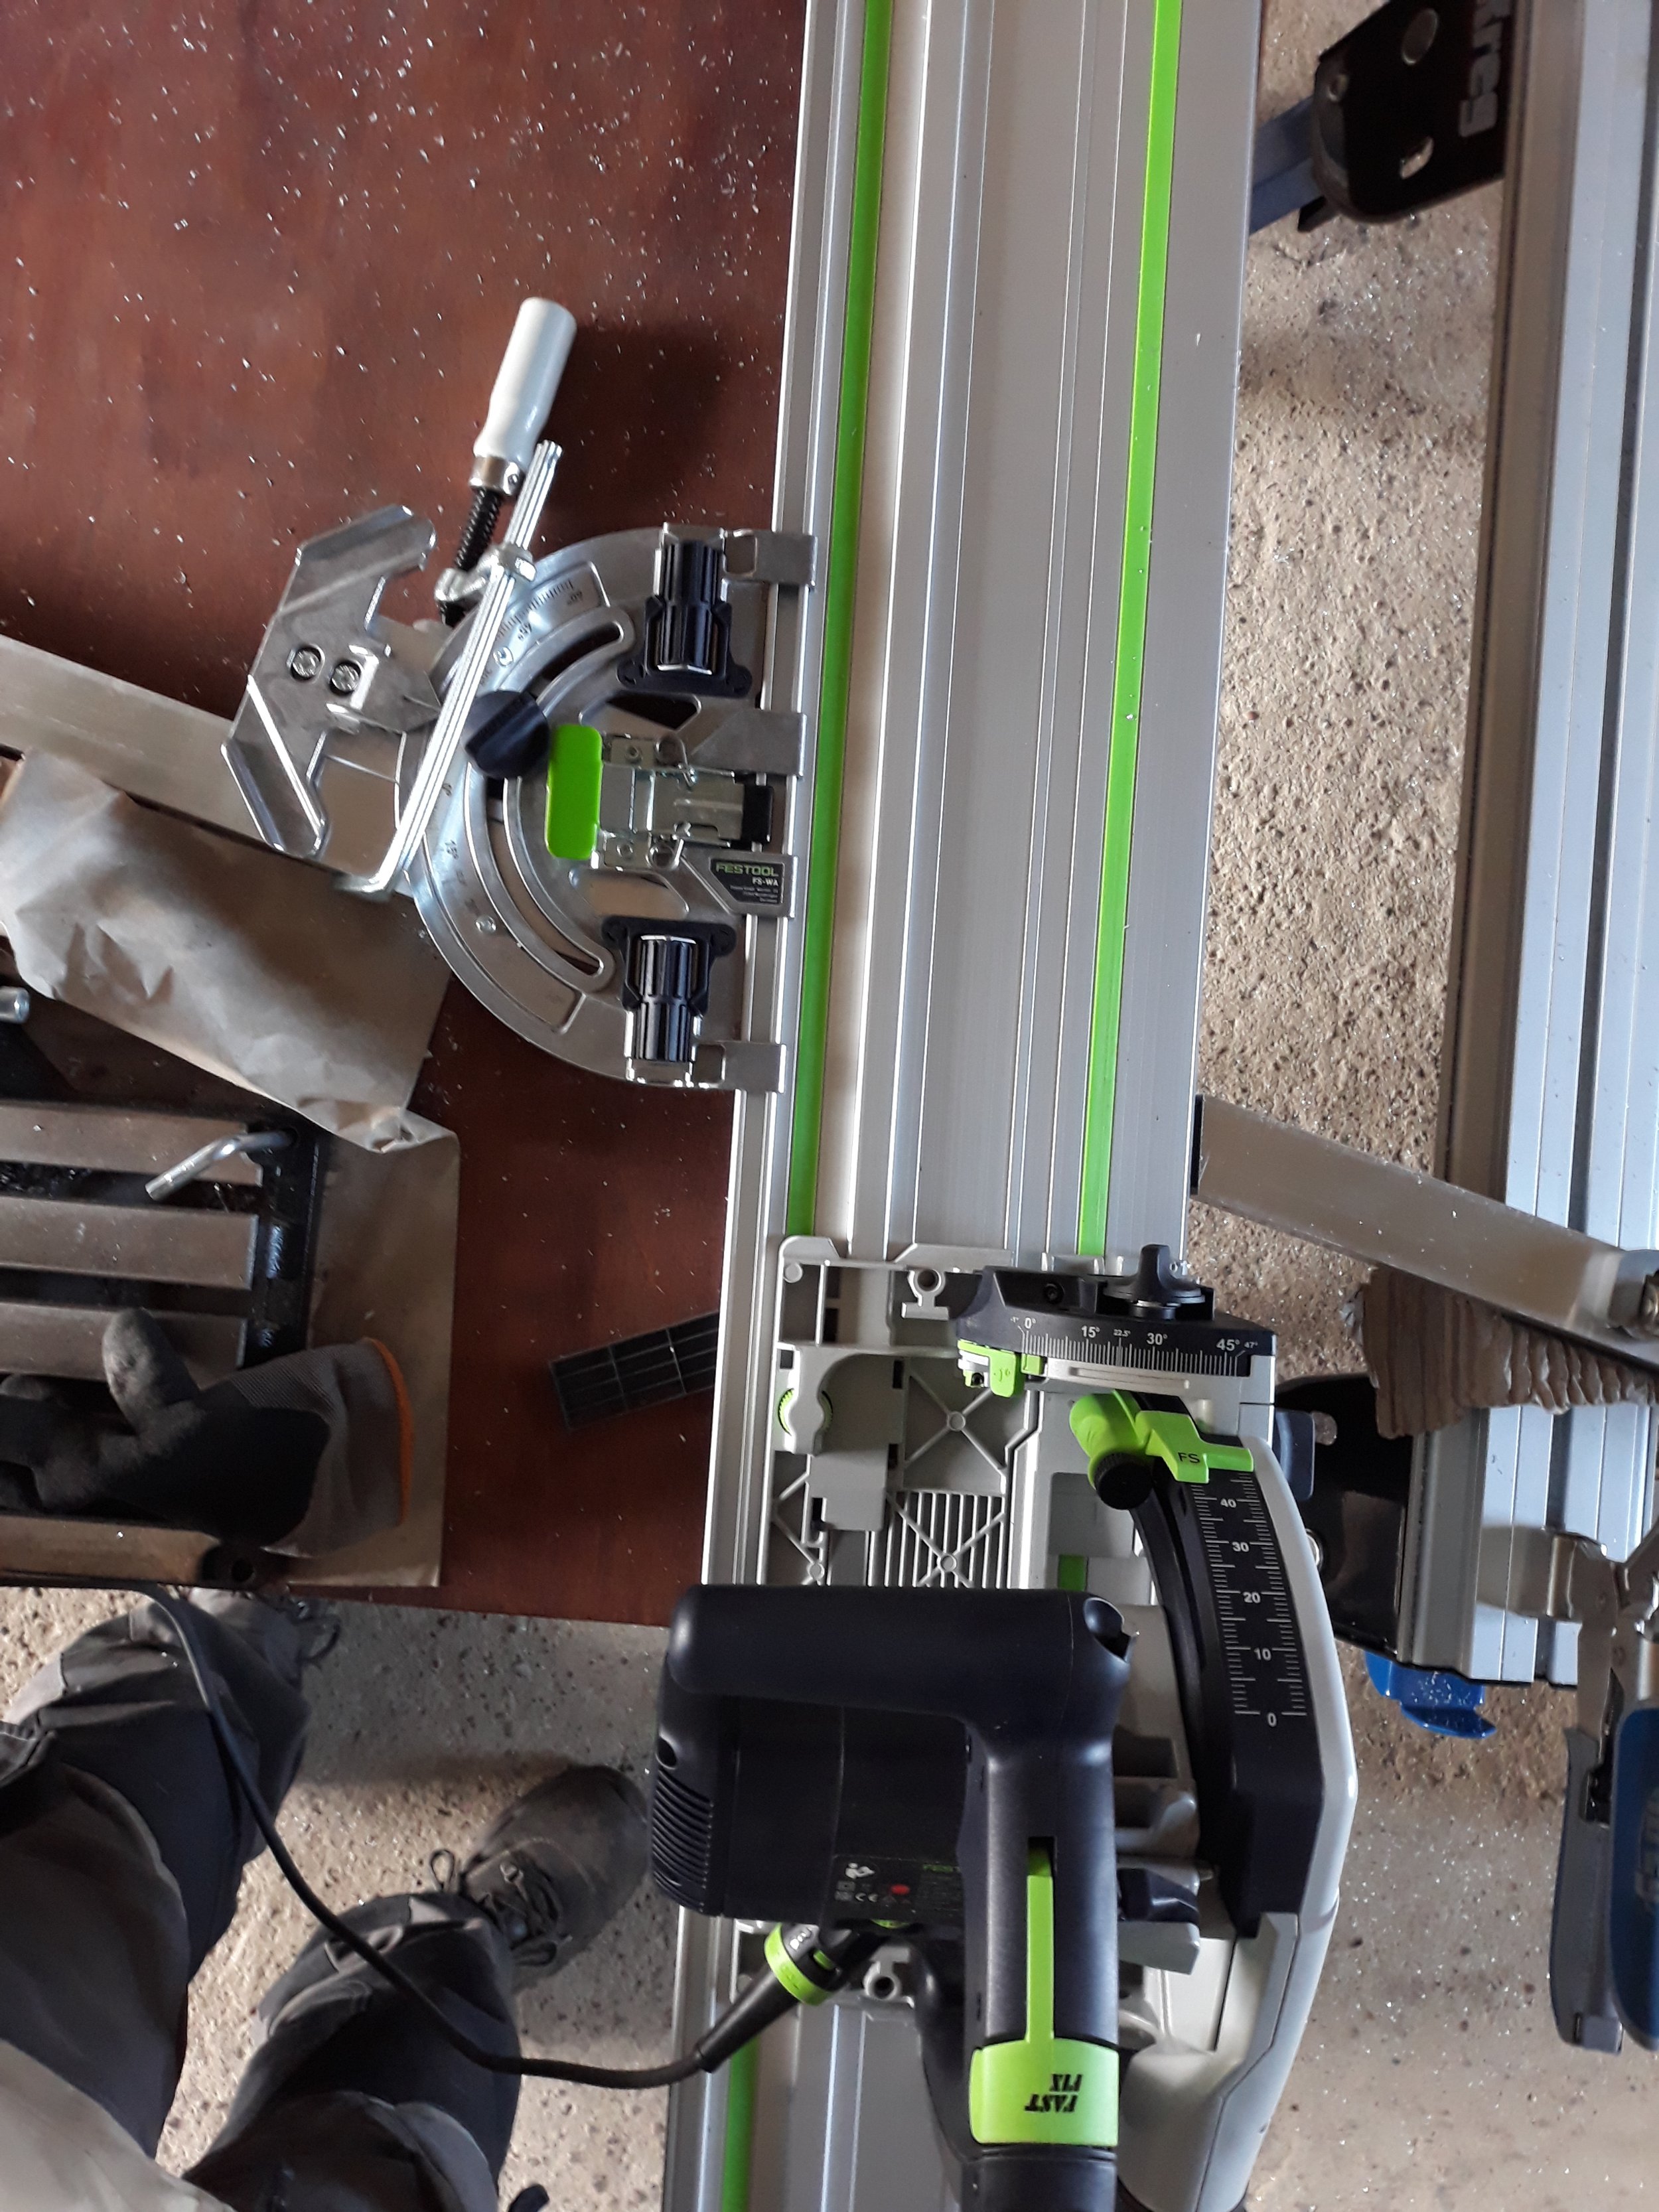


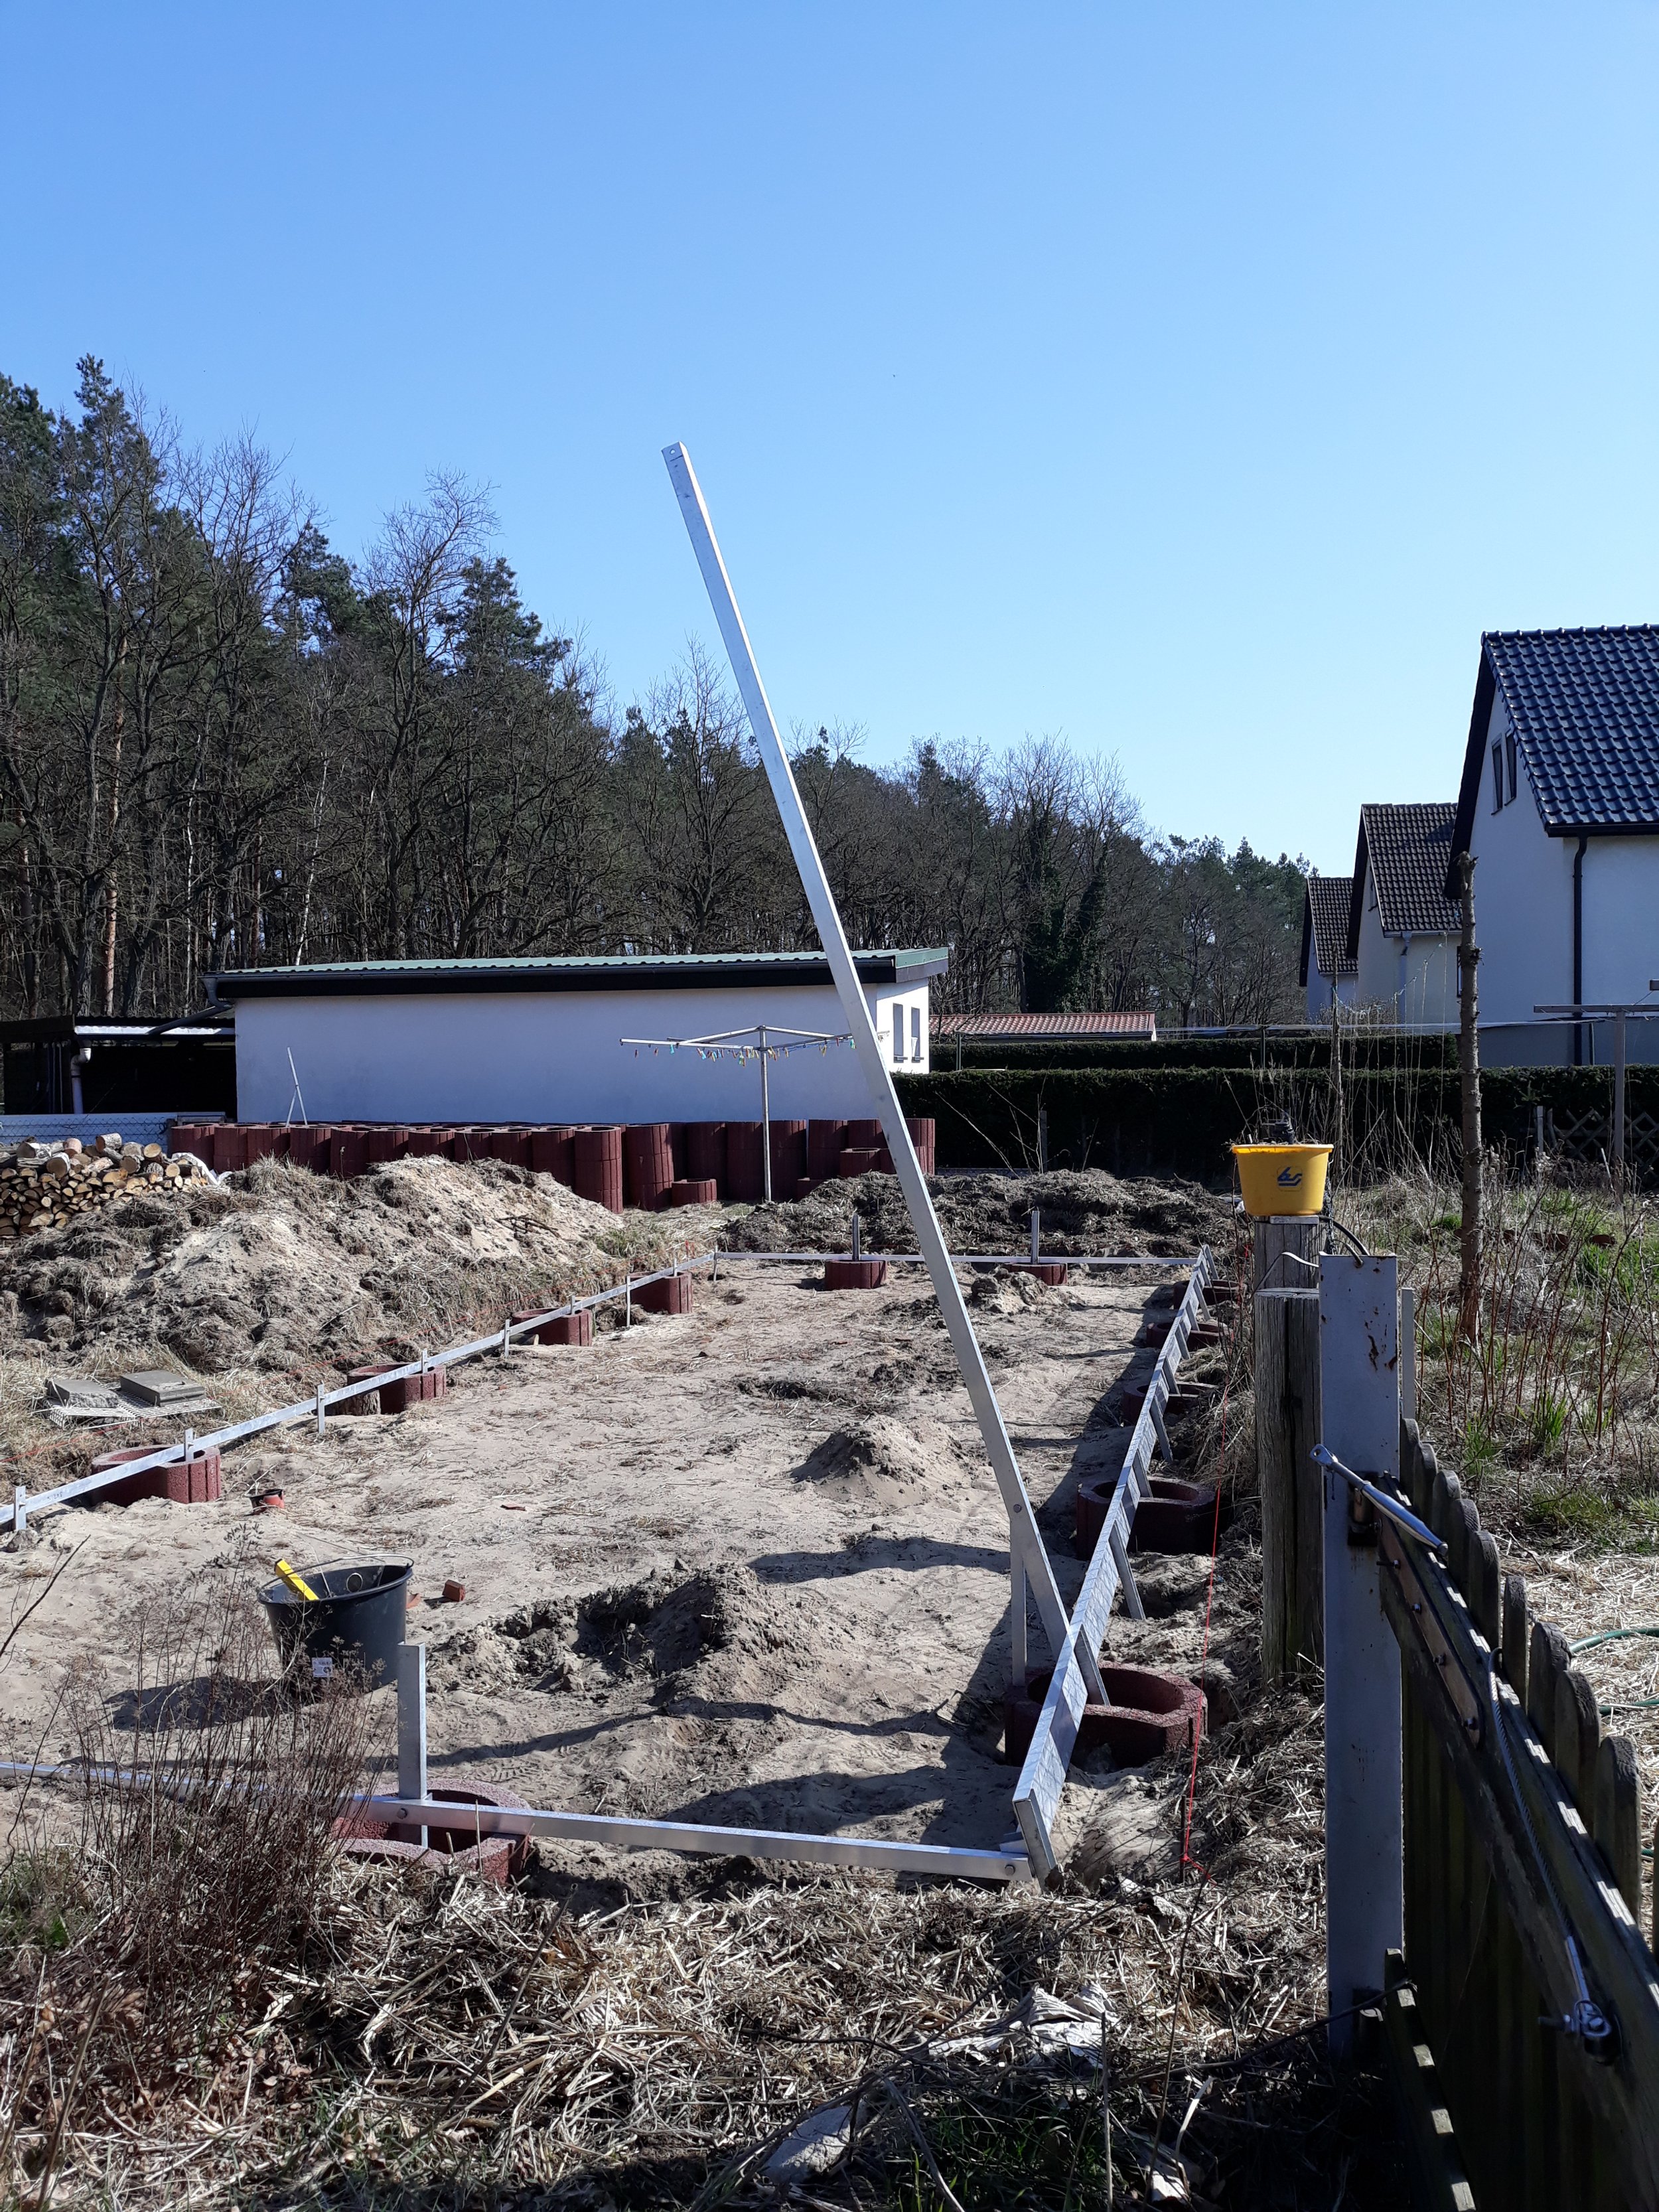
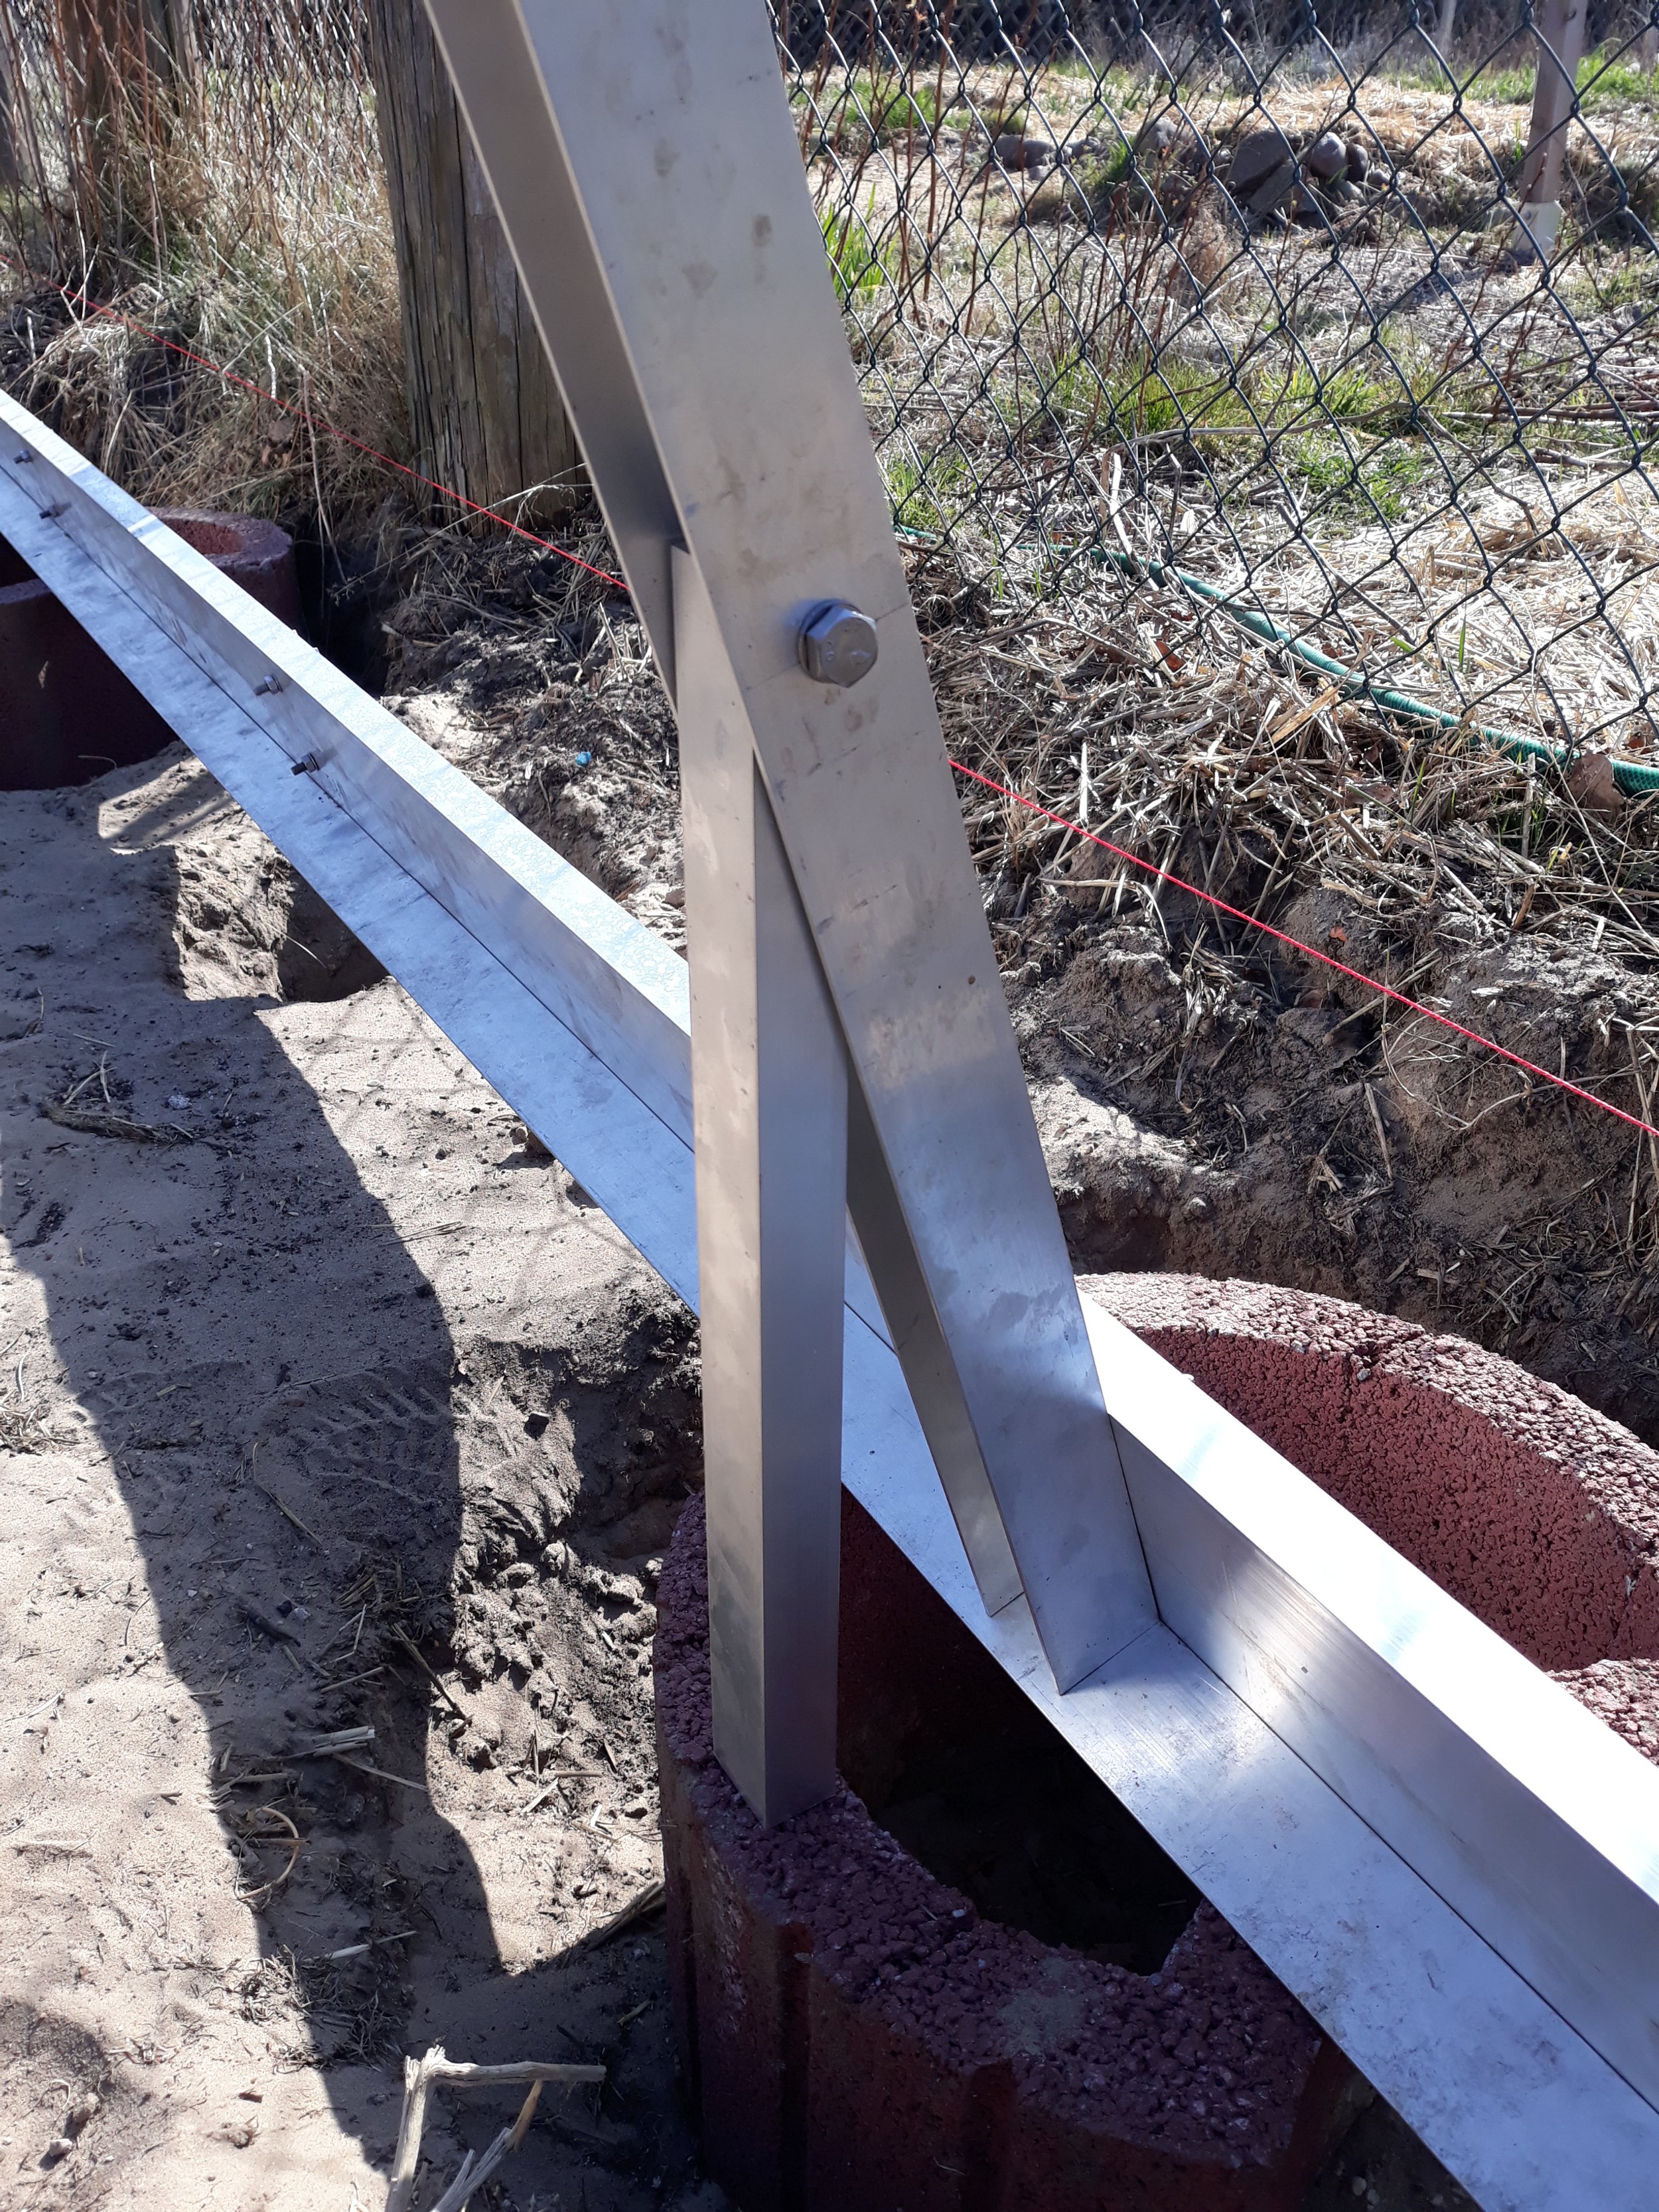

16.5 degrees, slant of front side
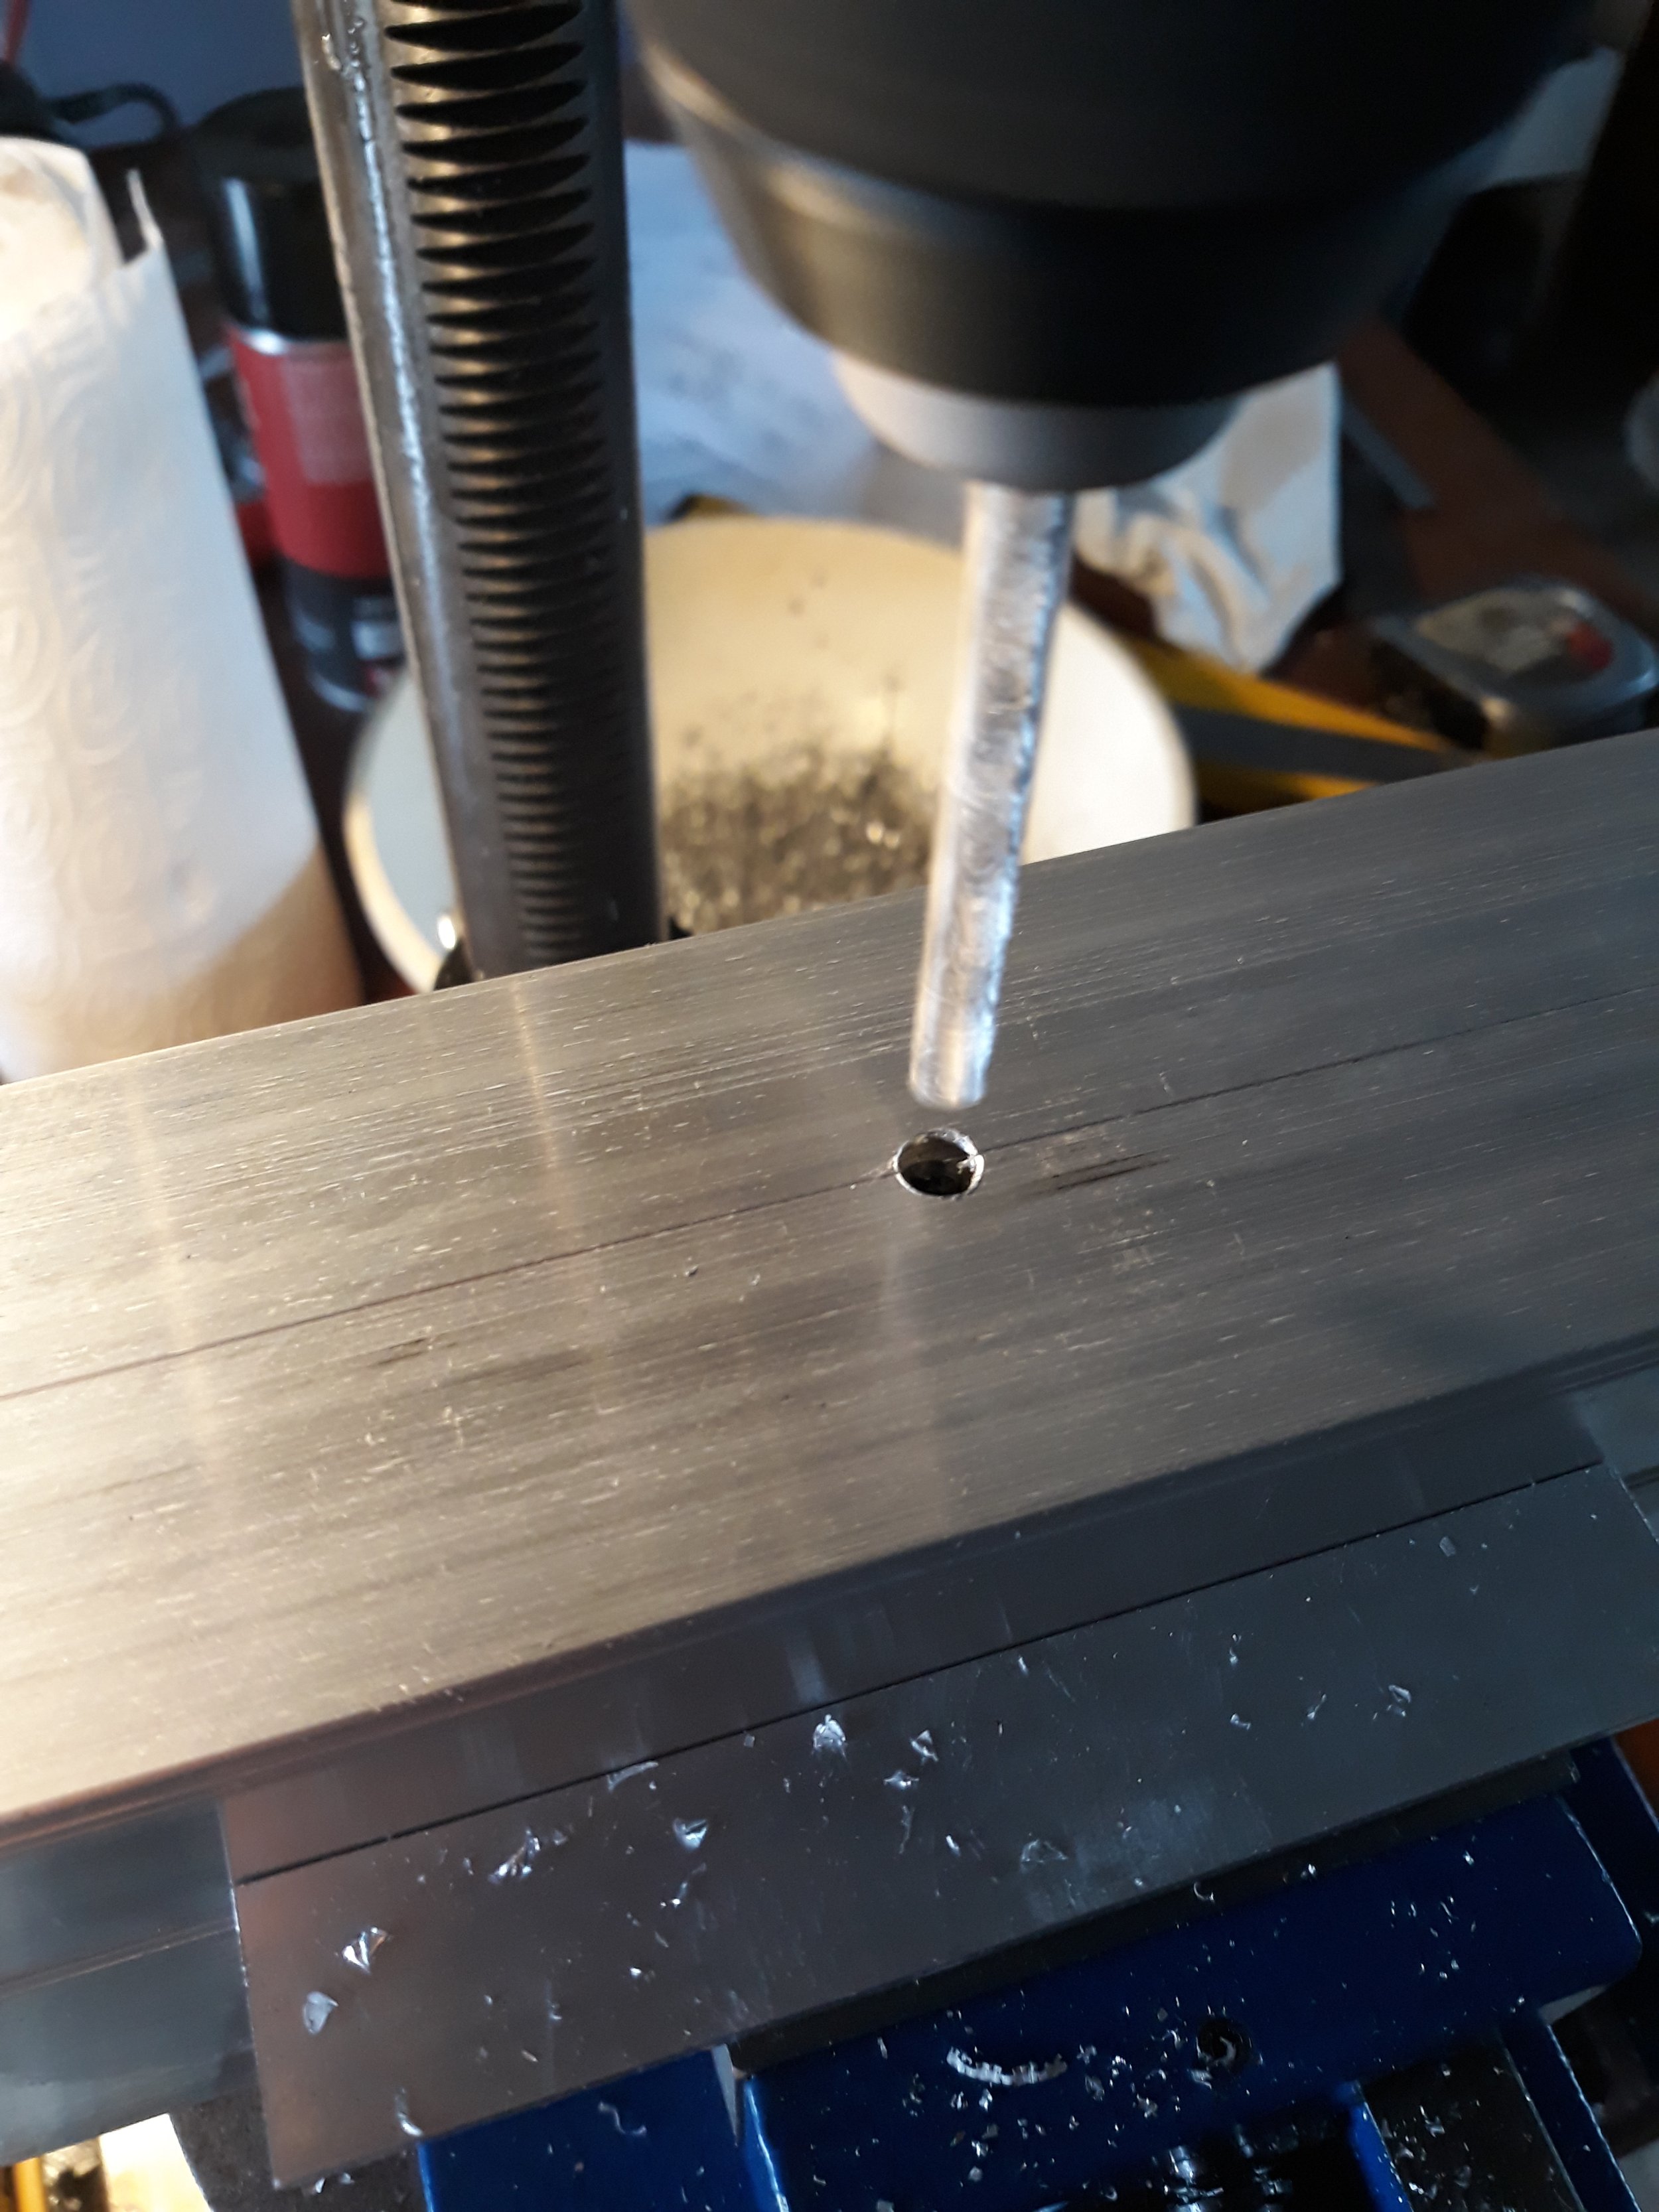
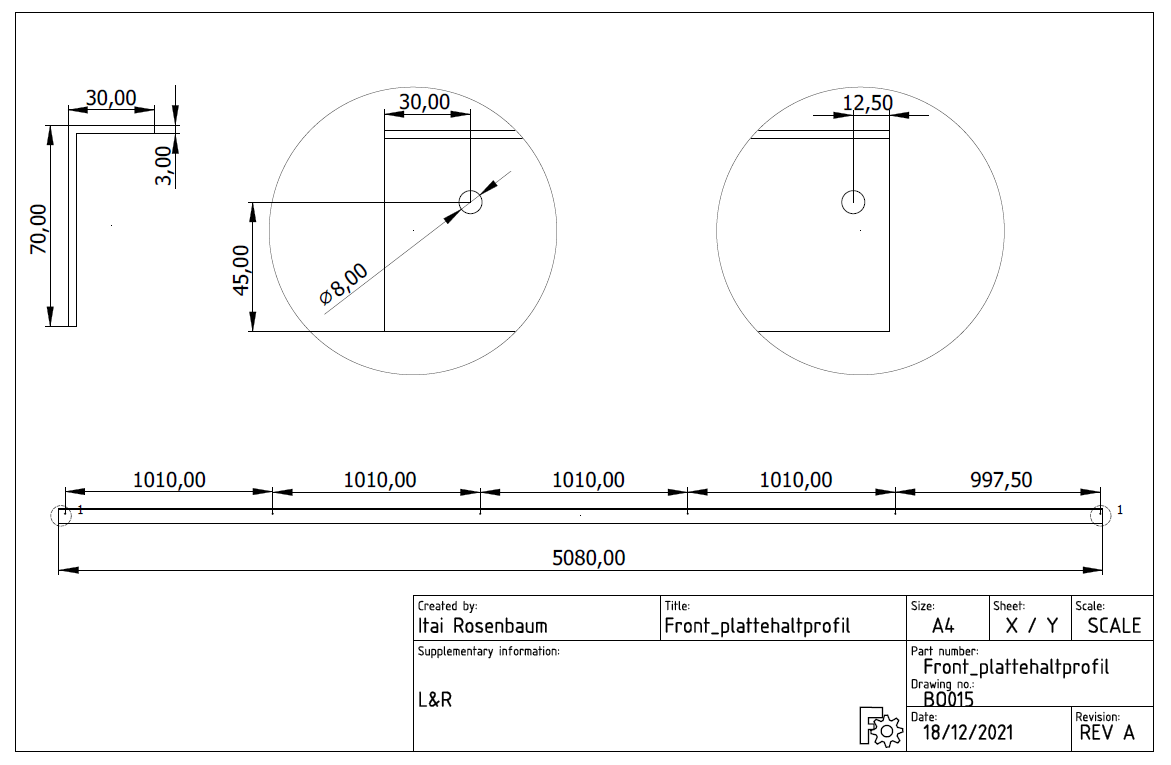
Drilling external profiles that hold the acrylic plates
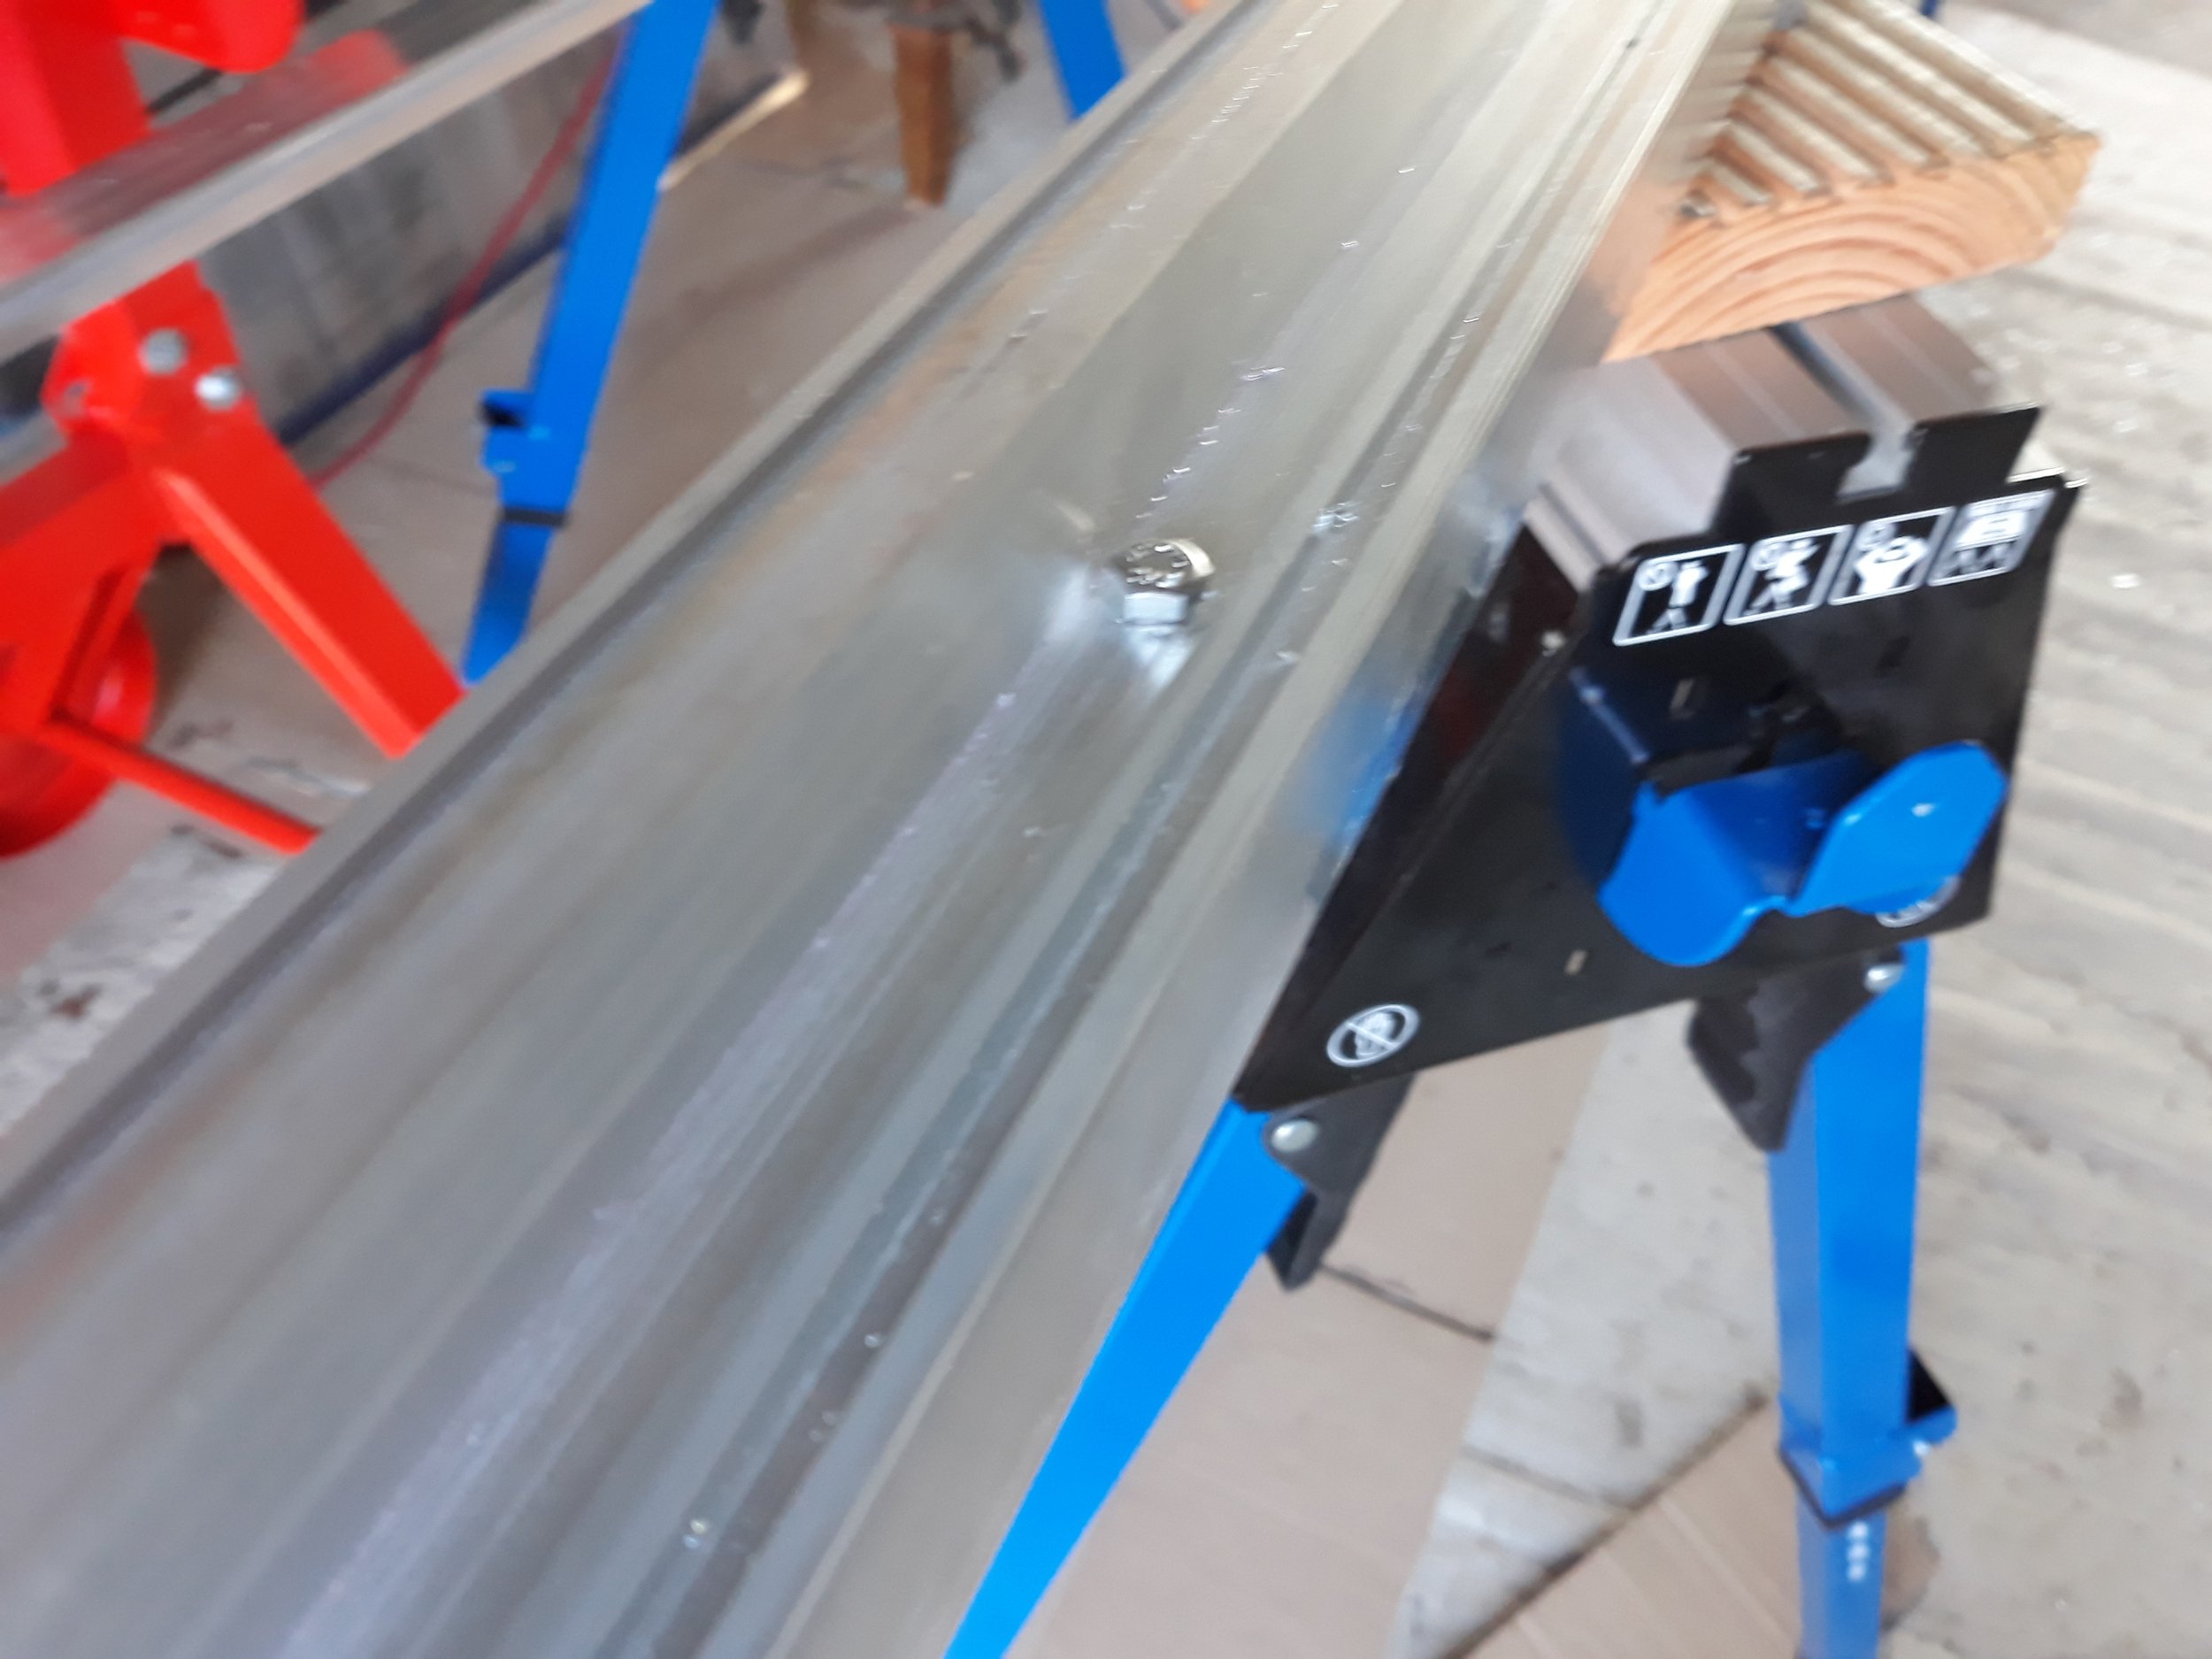
First, light attachment of lower part of external profile to the structure profil
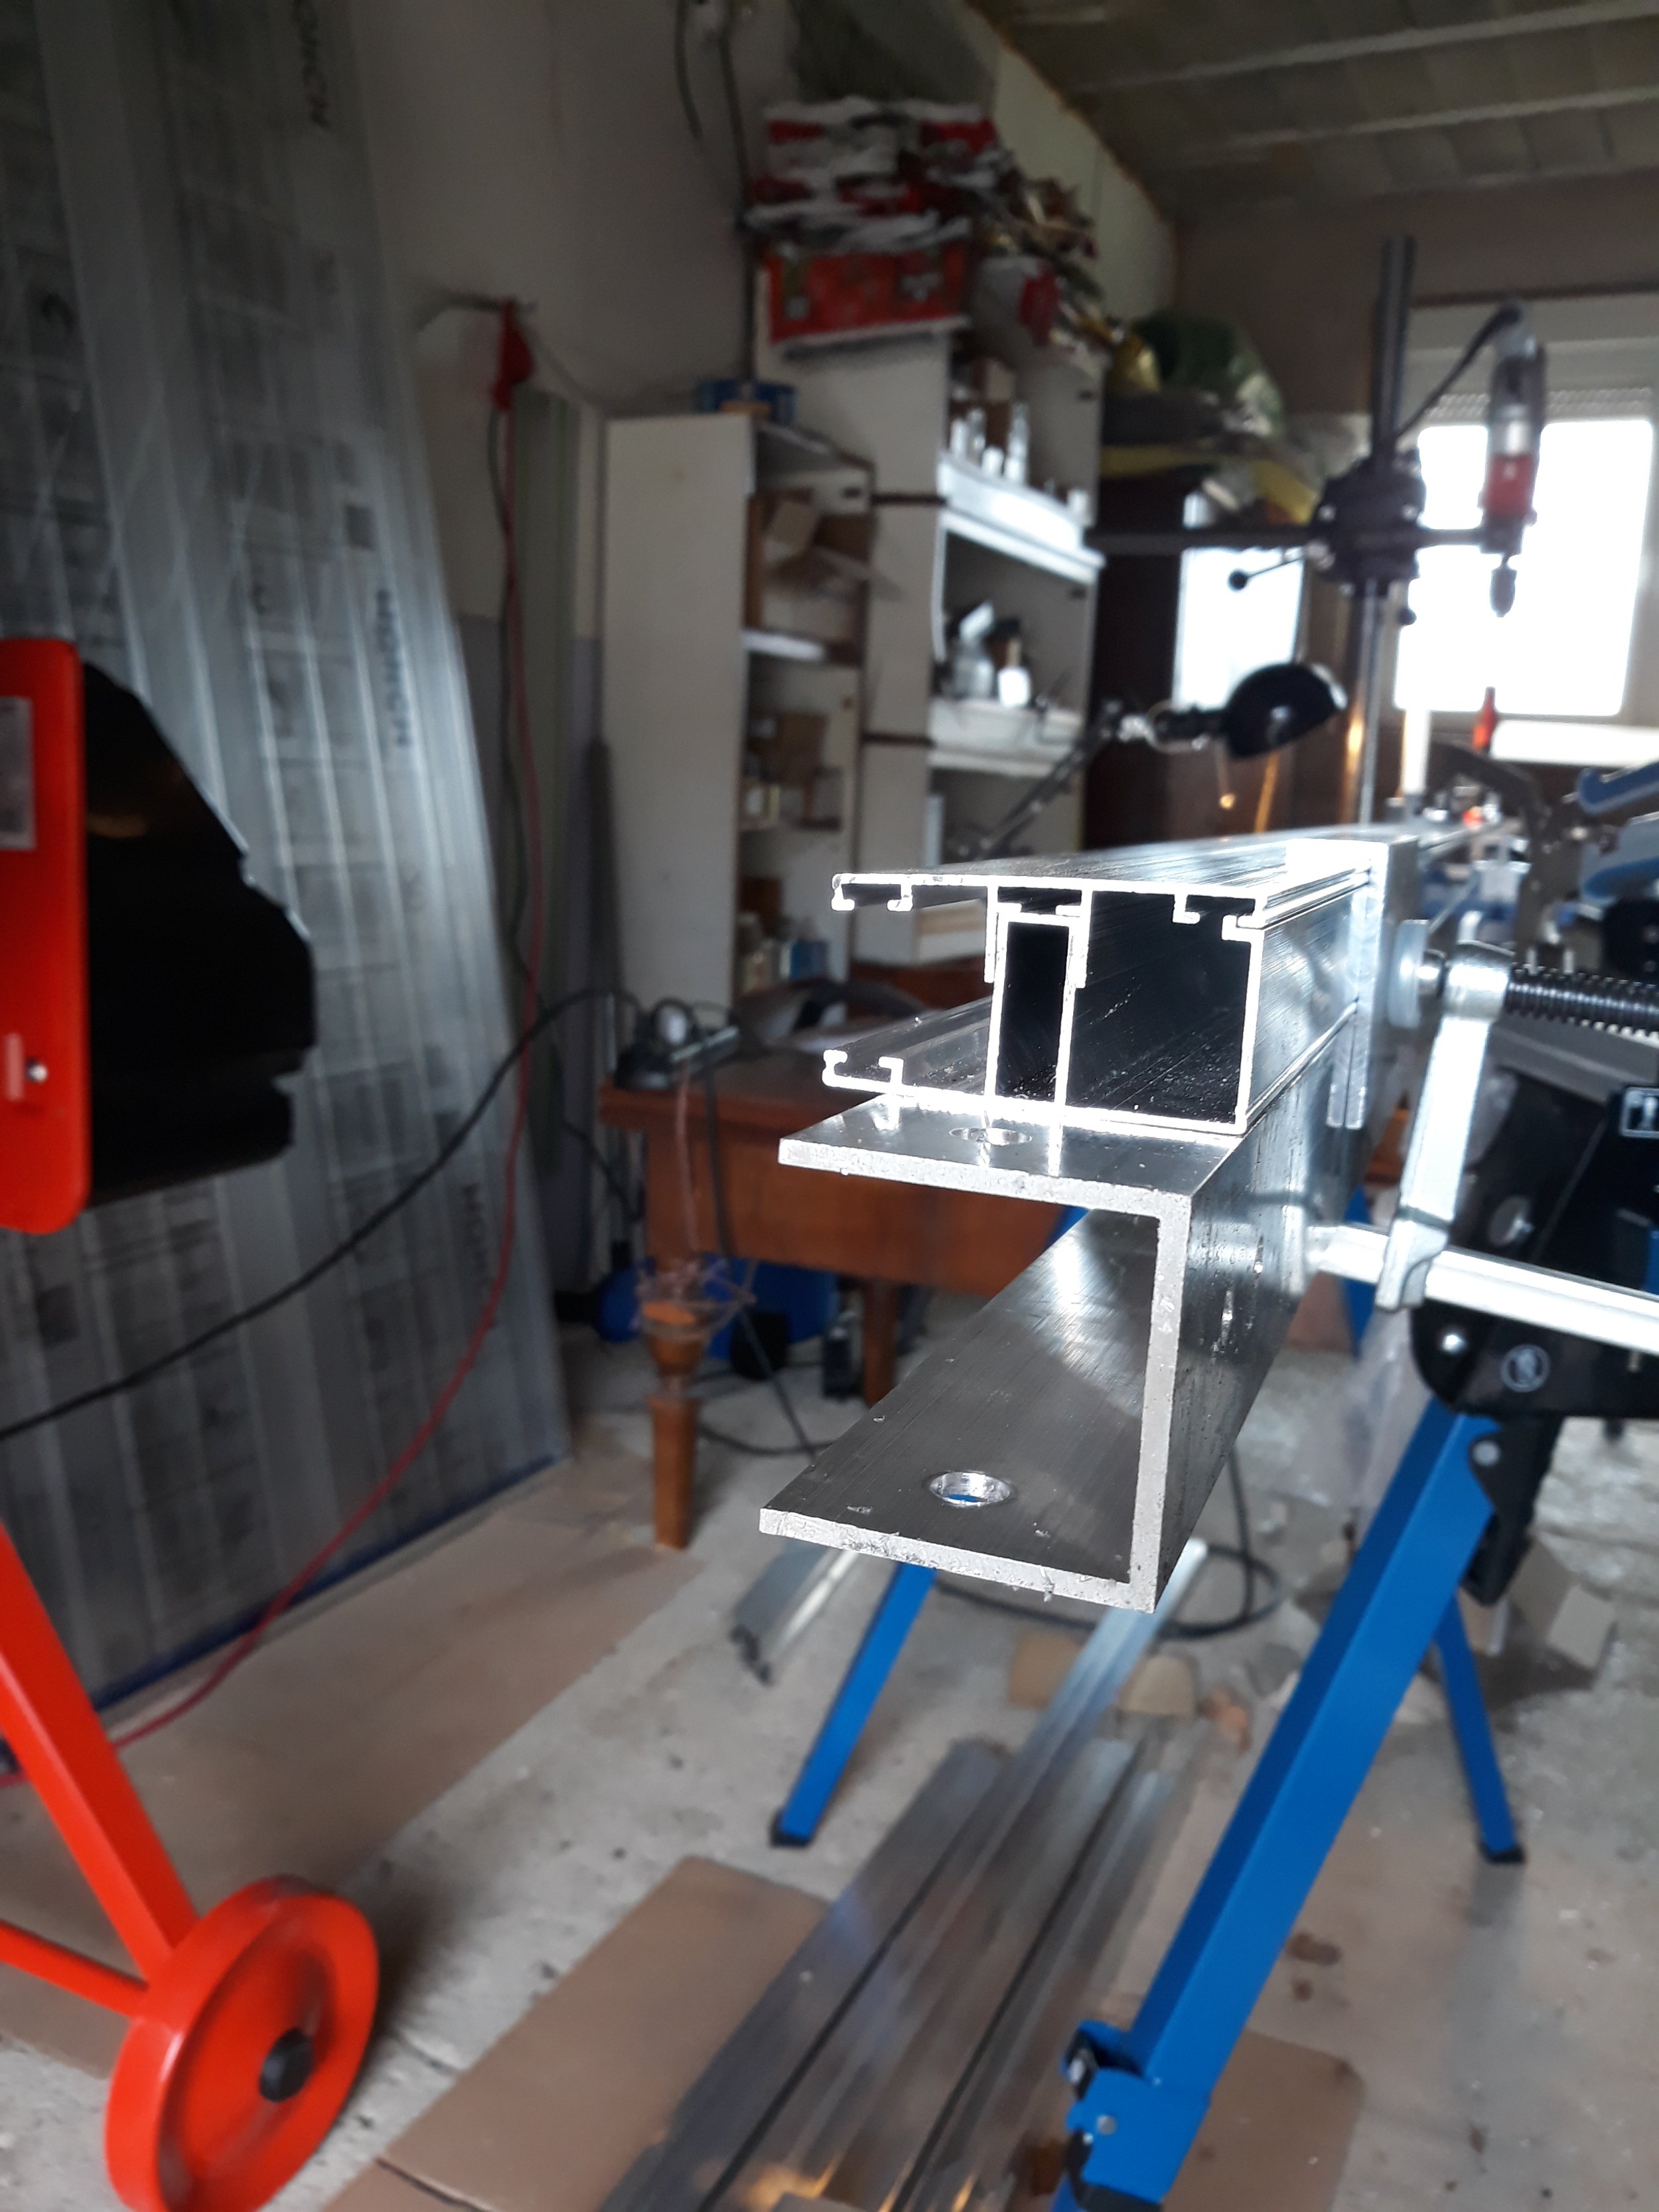
Both part of external profile are attached to structure profile

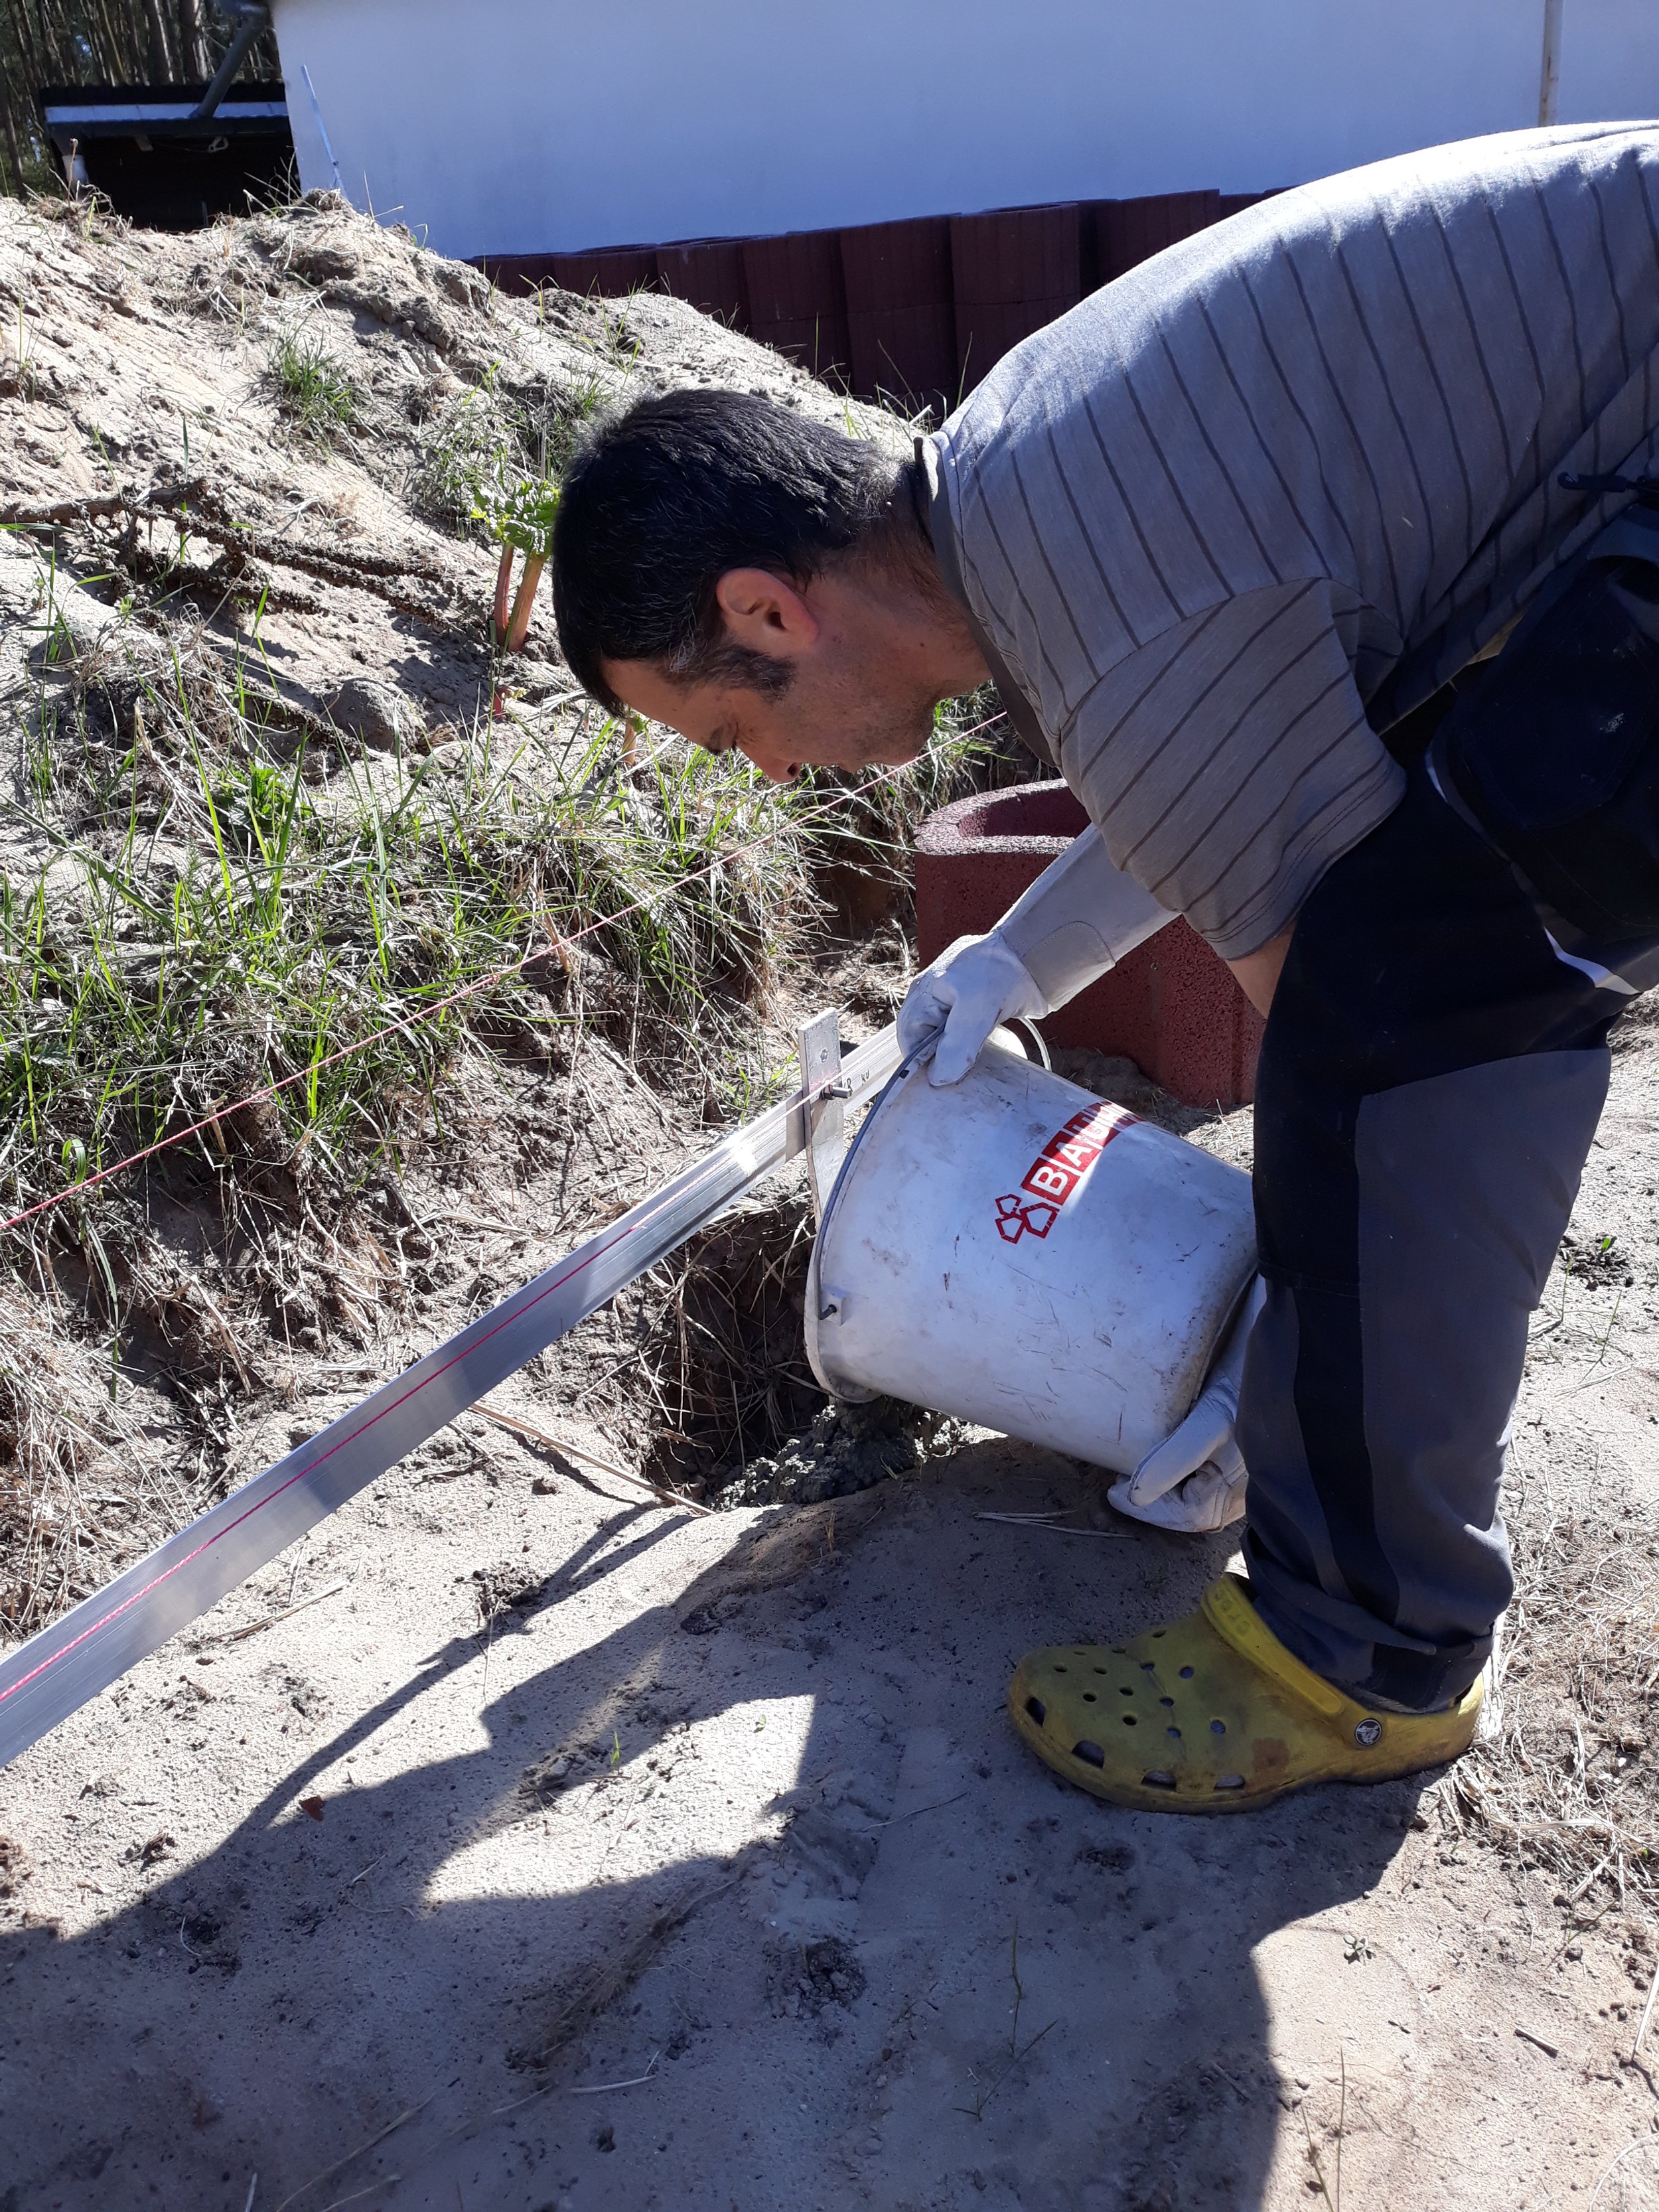
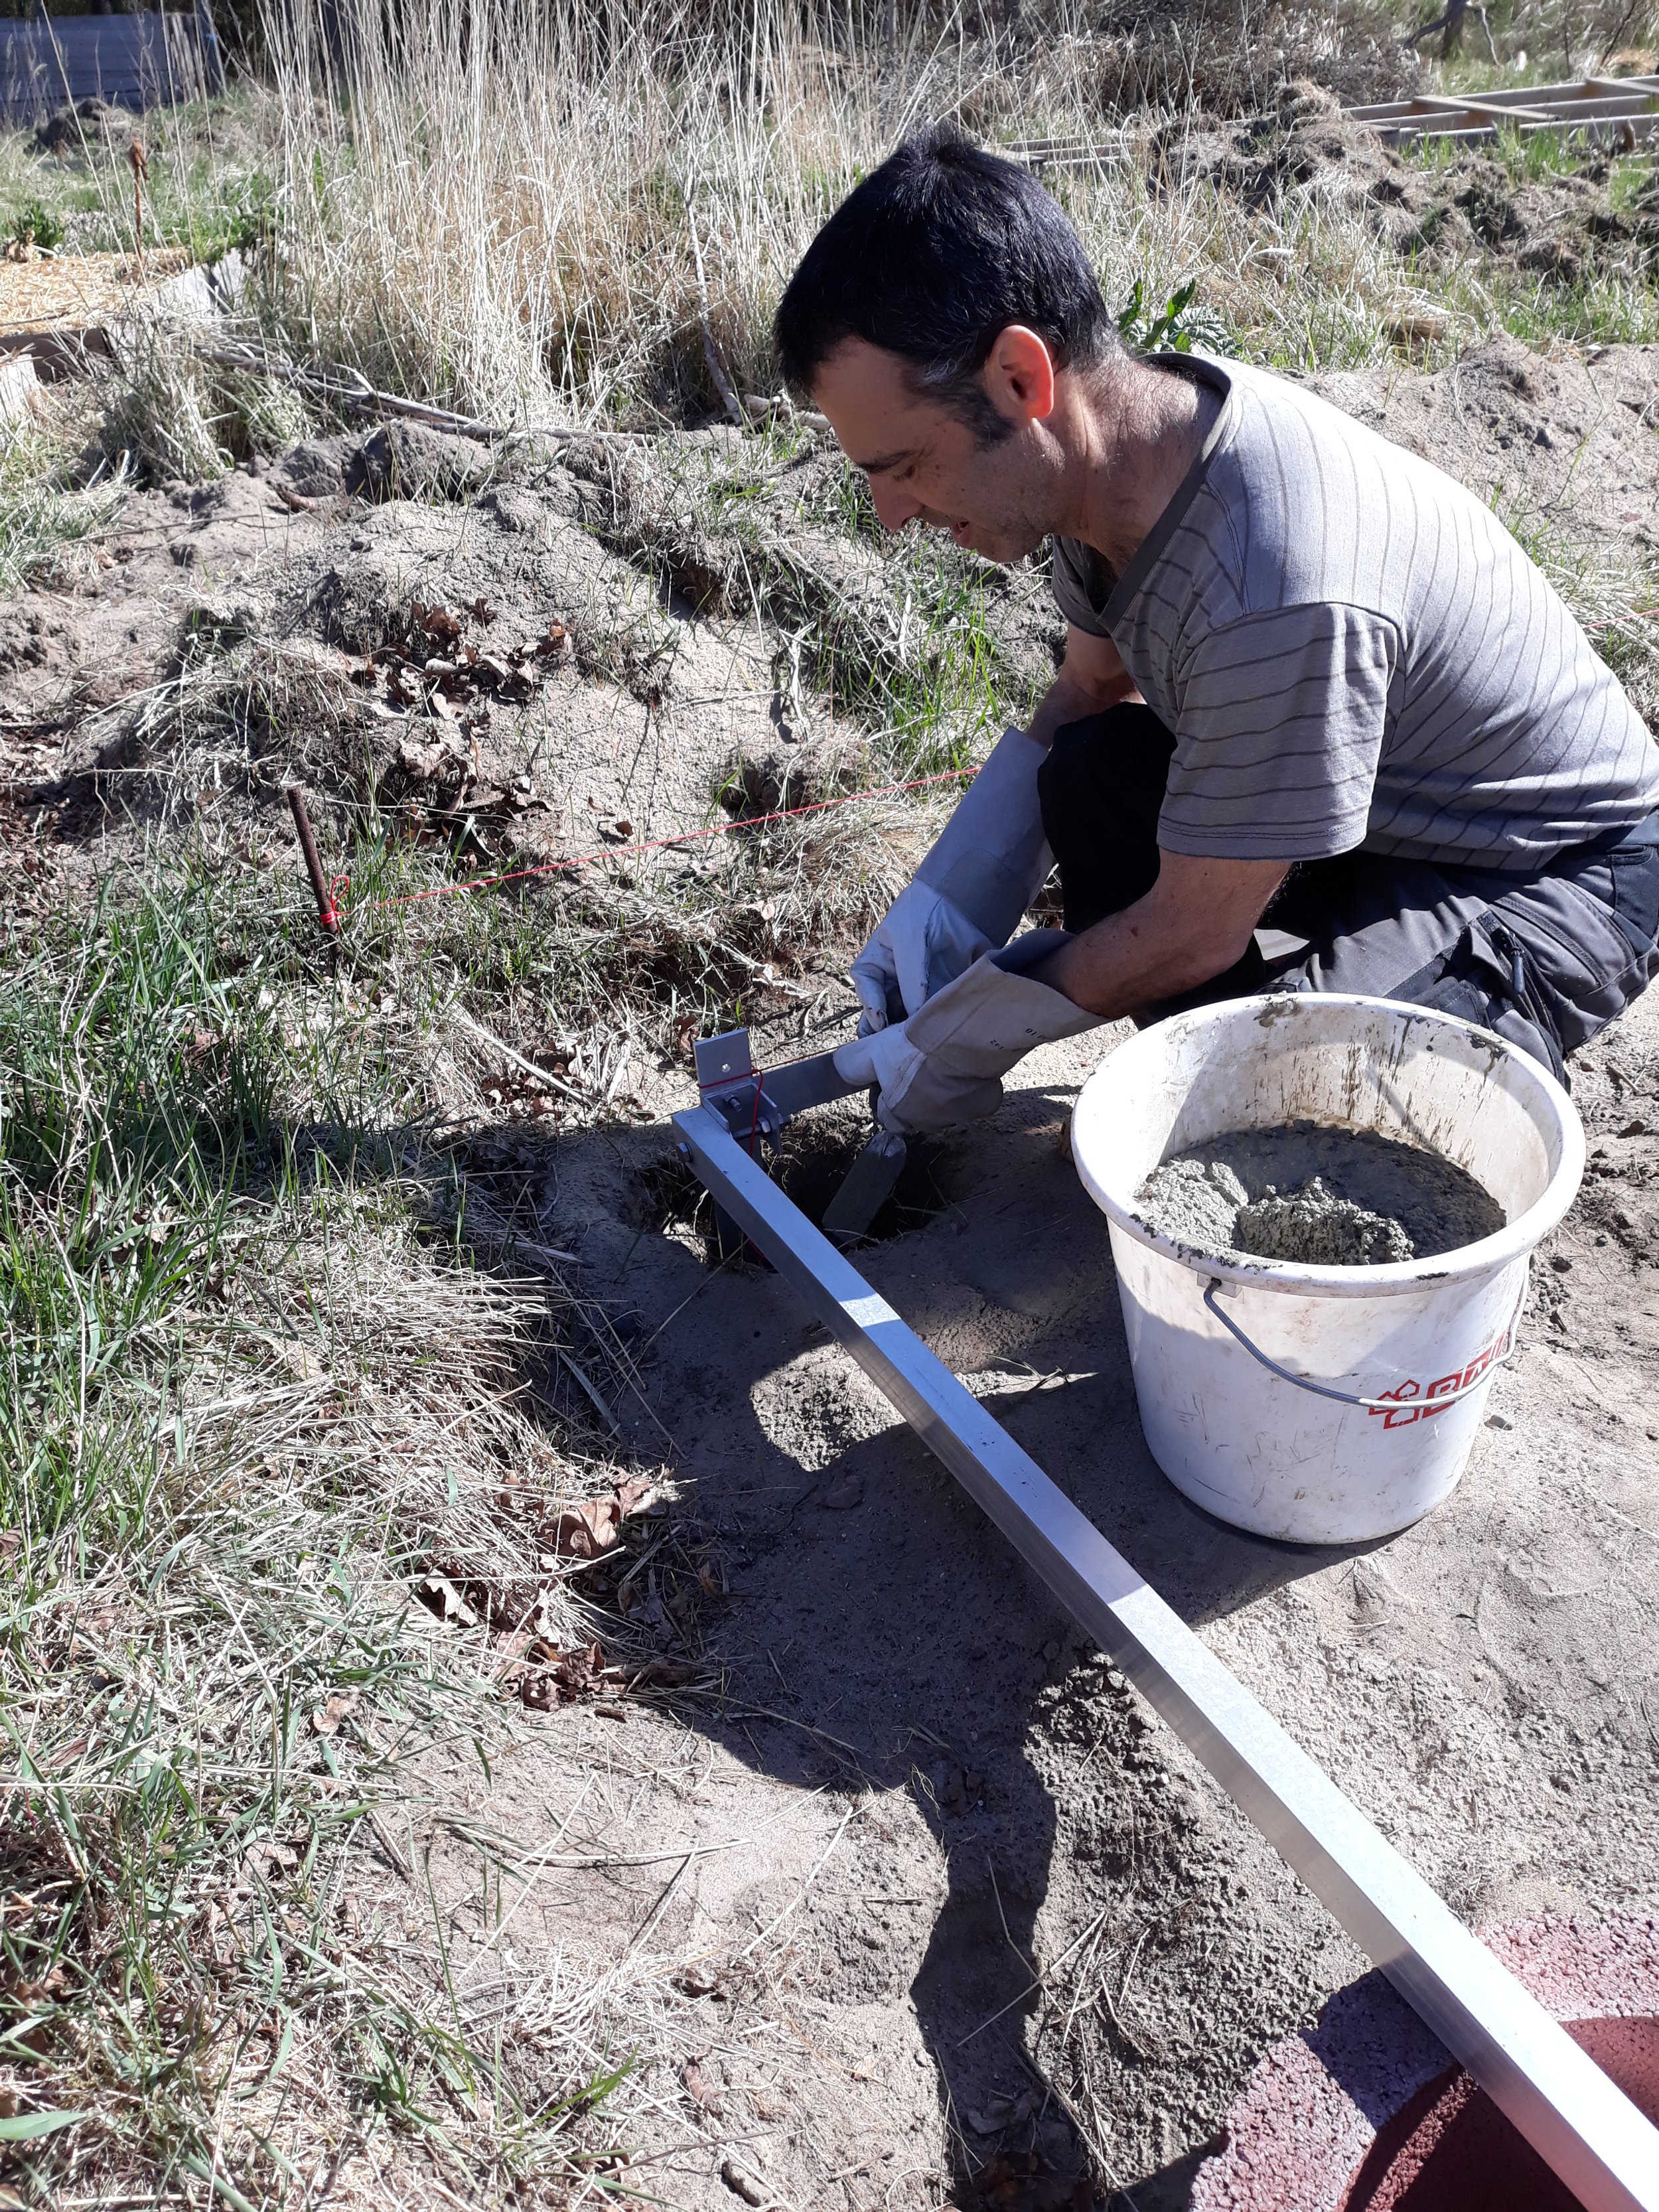
Concrete for the foundation-points



Structure
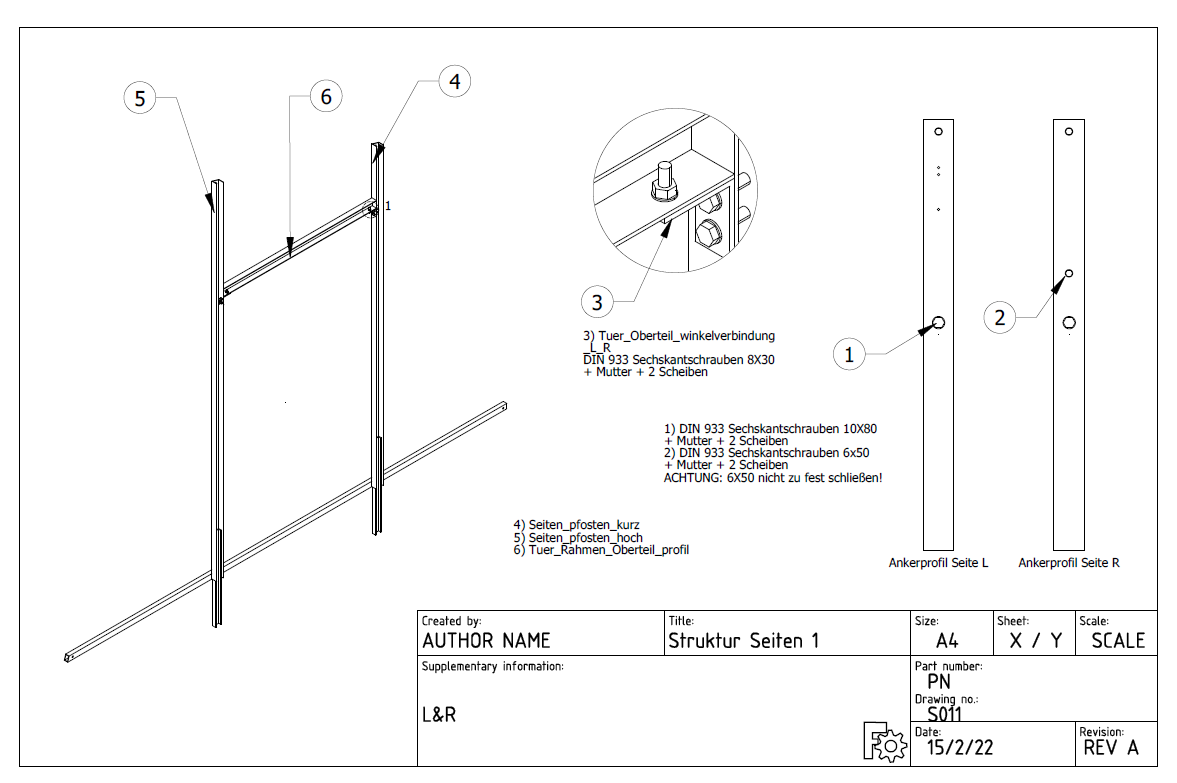
The structure is made mostly out of U profiles (3-4 mm), providing relative stability lengthwise. A second, lighter, two-part profile is then attached to the structural profile from outside. These external profiles are specifically made to hold the acrylic (or any other glazing material), and are originally intended for carports, verandas and the like.

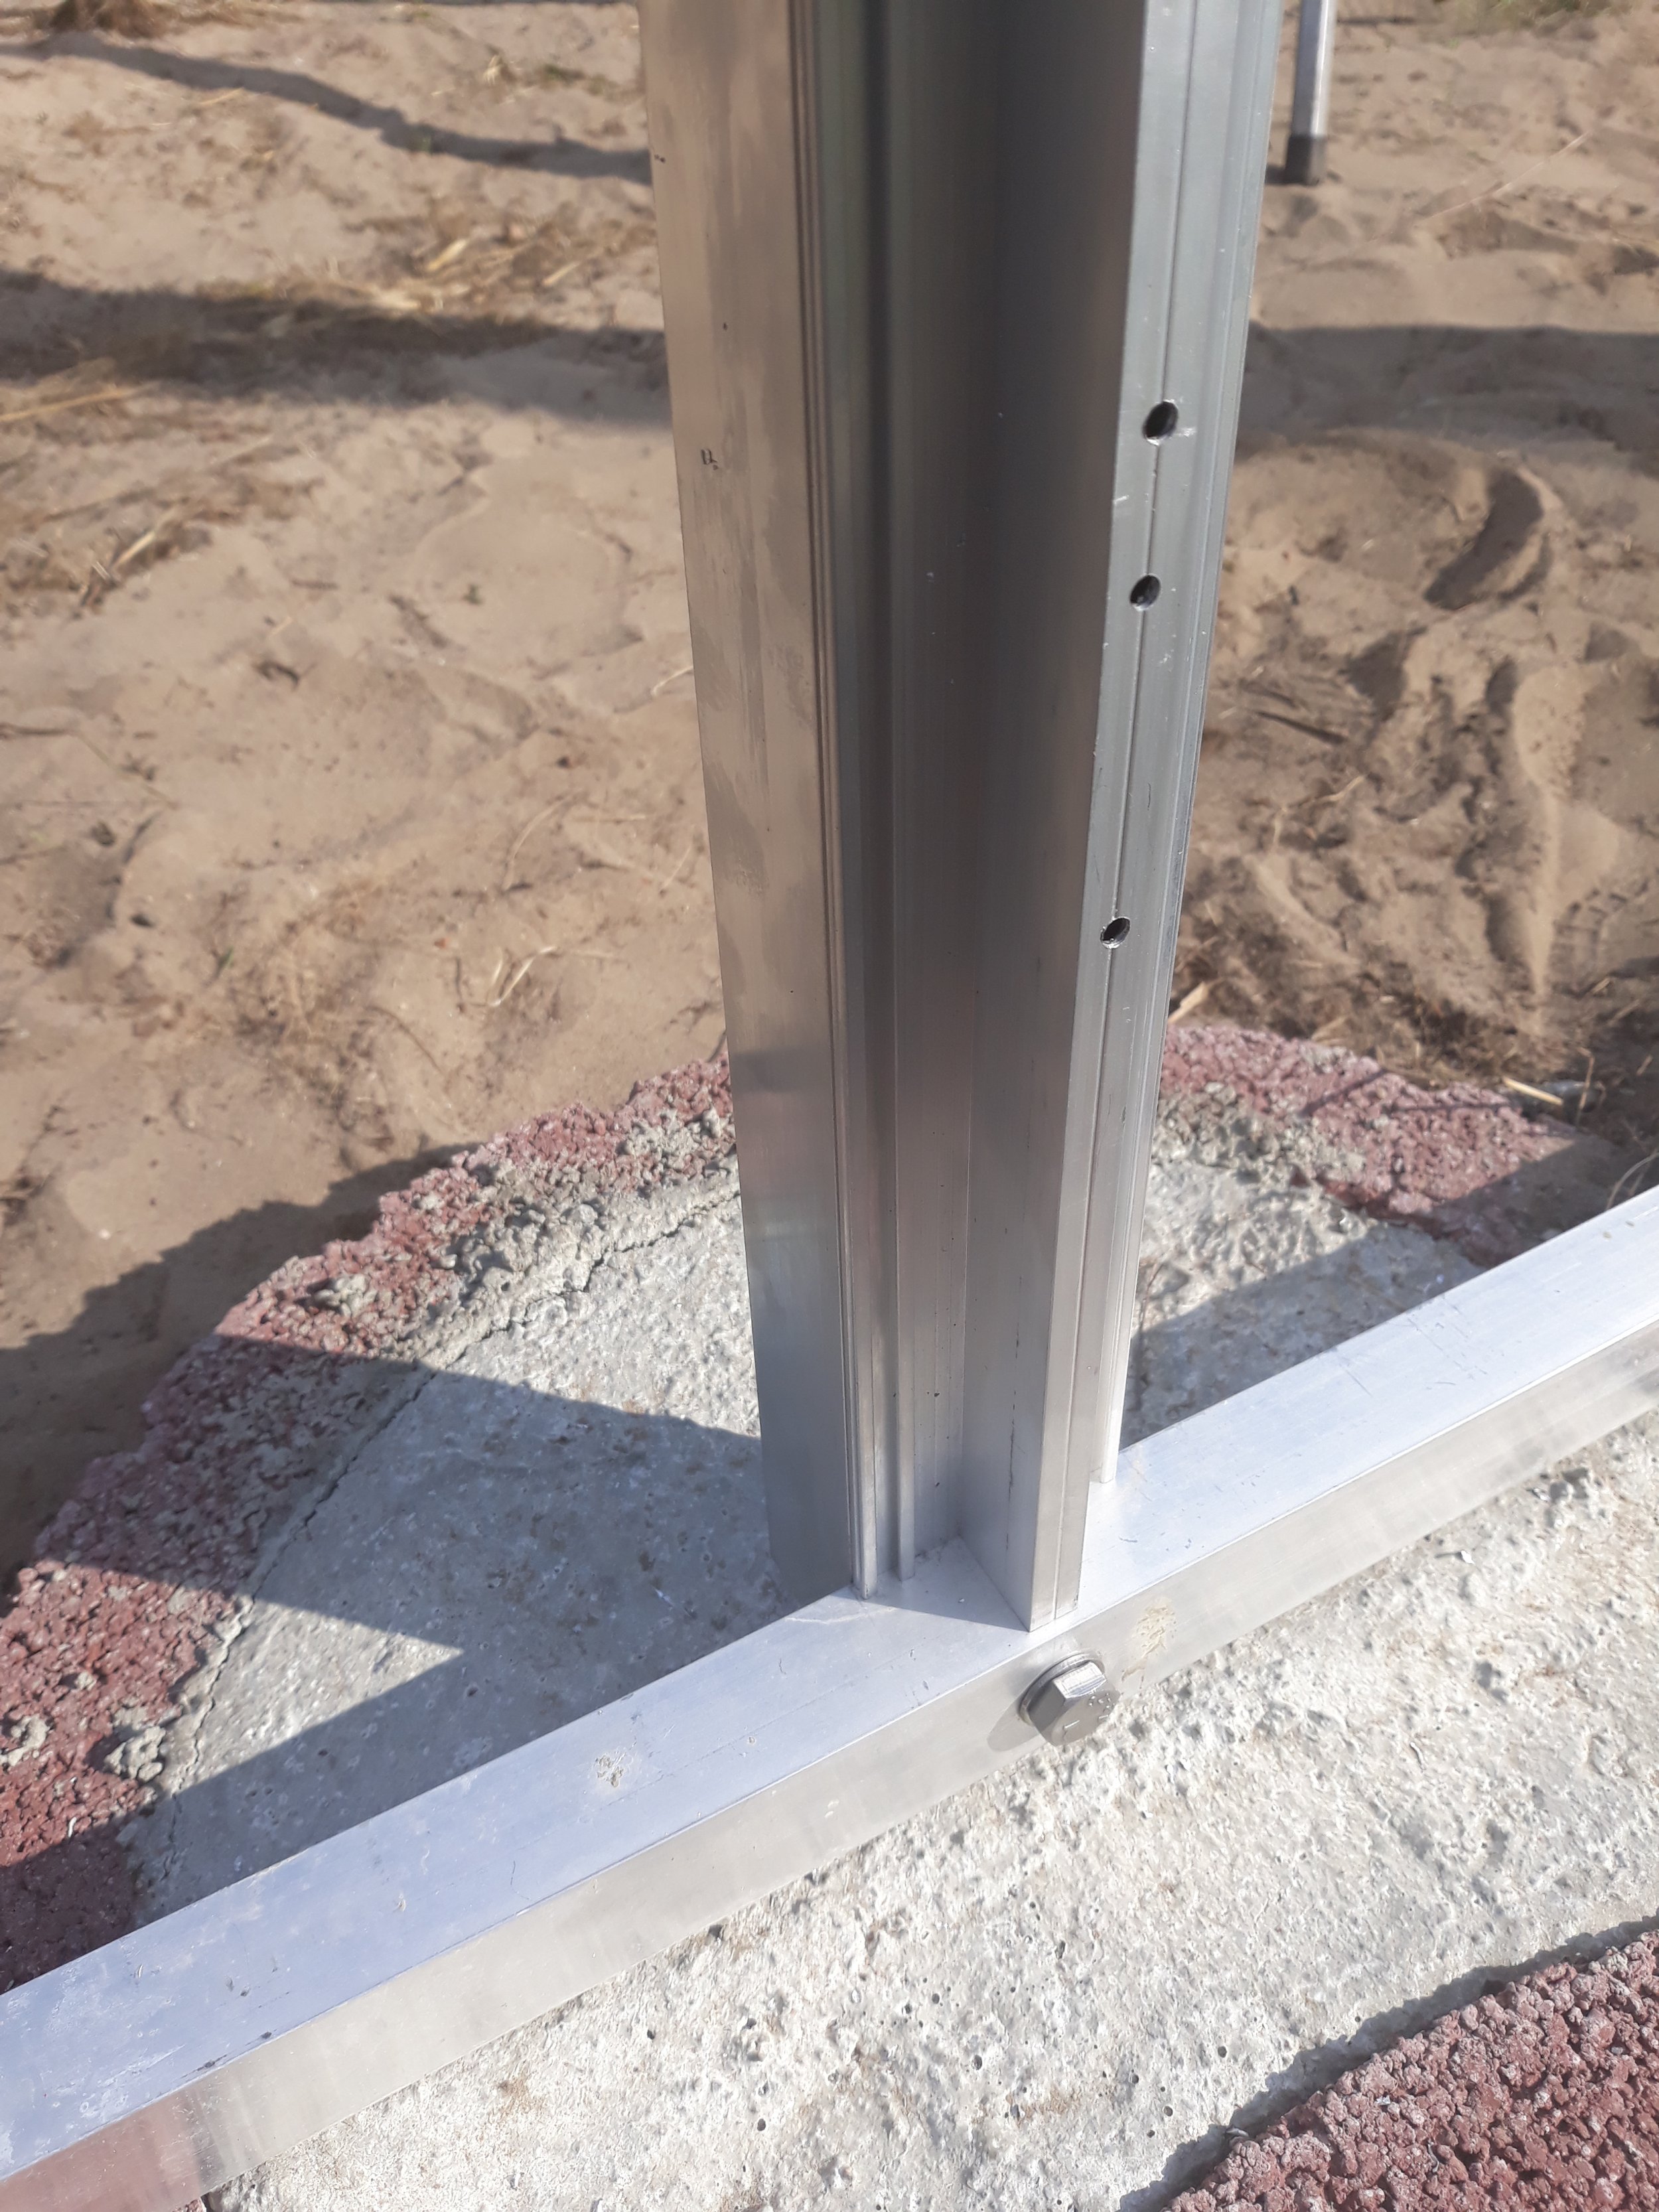
Side, attachment of post to ground anchor, from outside the greenhouse


Side, attachment of post to ground anchor, from inside the greenhouse


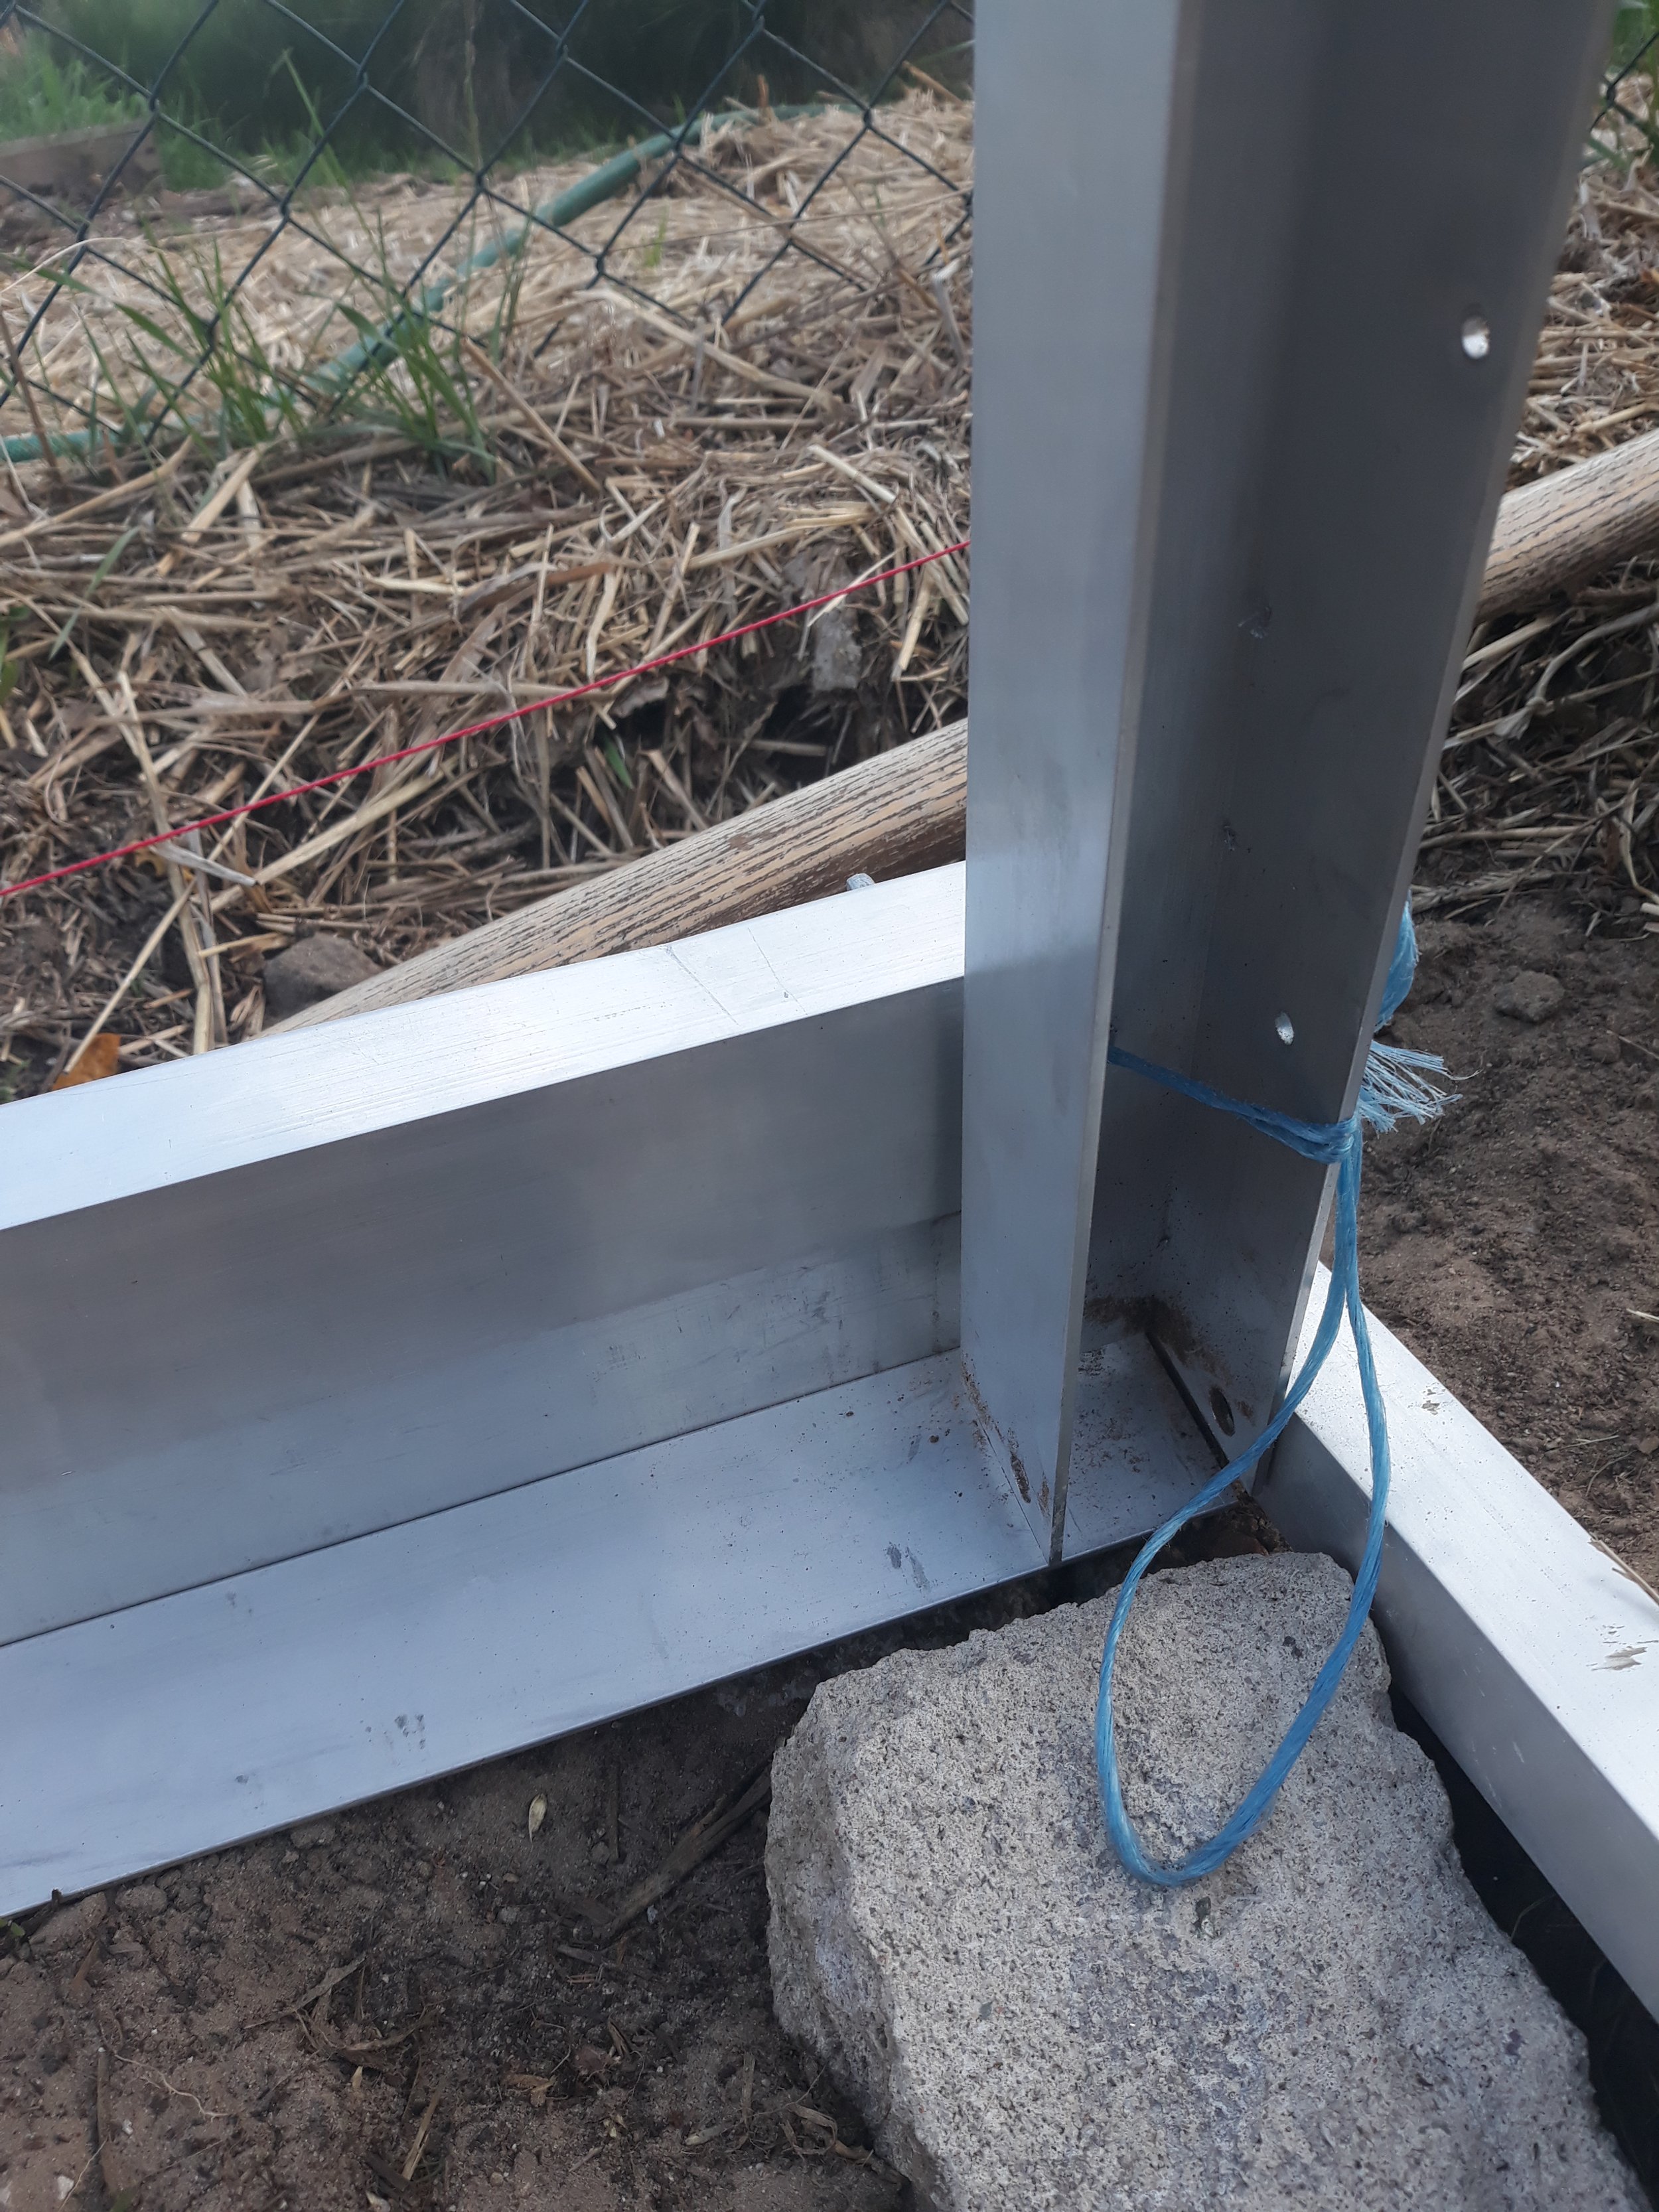
Disaster. Front pole does not reach the frame. The foundation might have to be dug and raised a few millimeters.

You pay heavily for inaccuracies
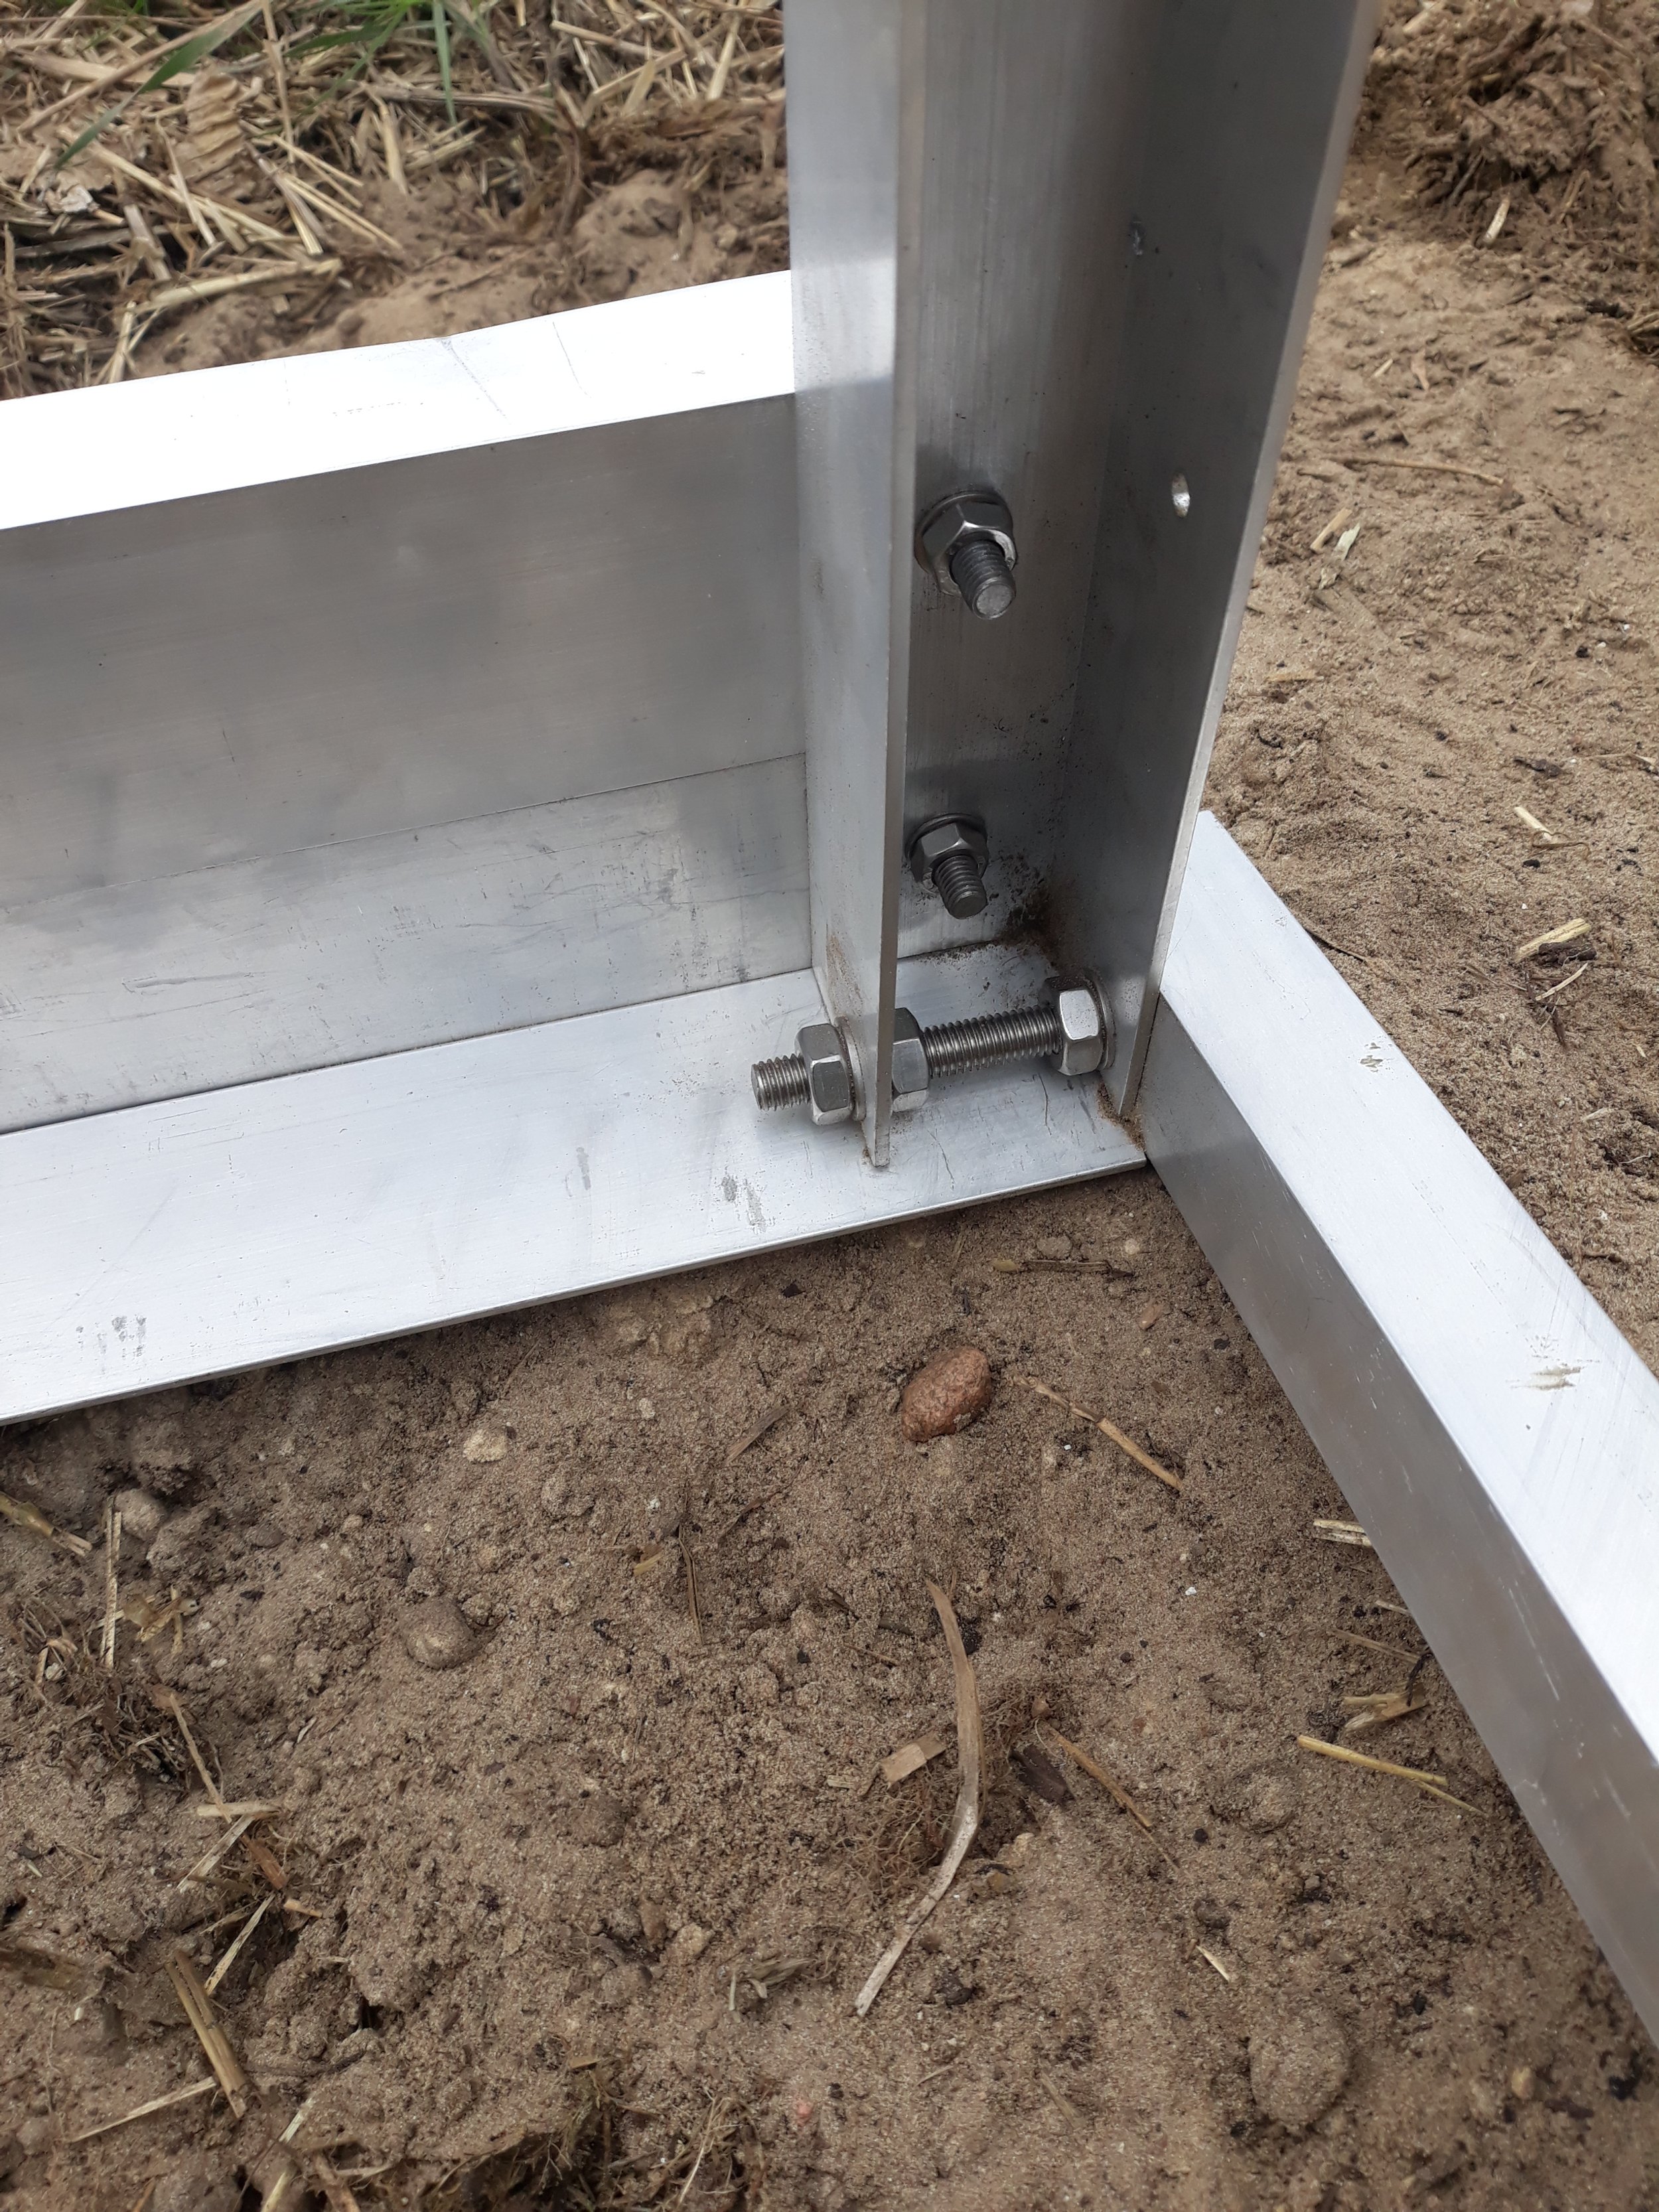
But it worked out

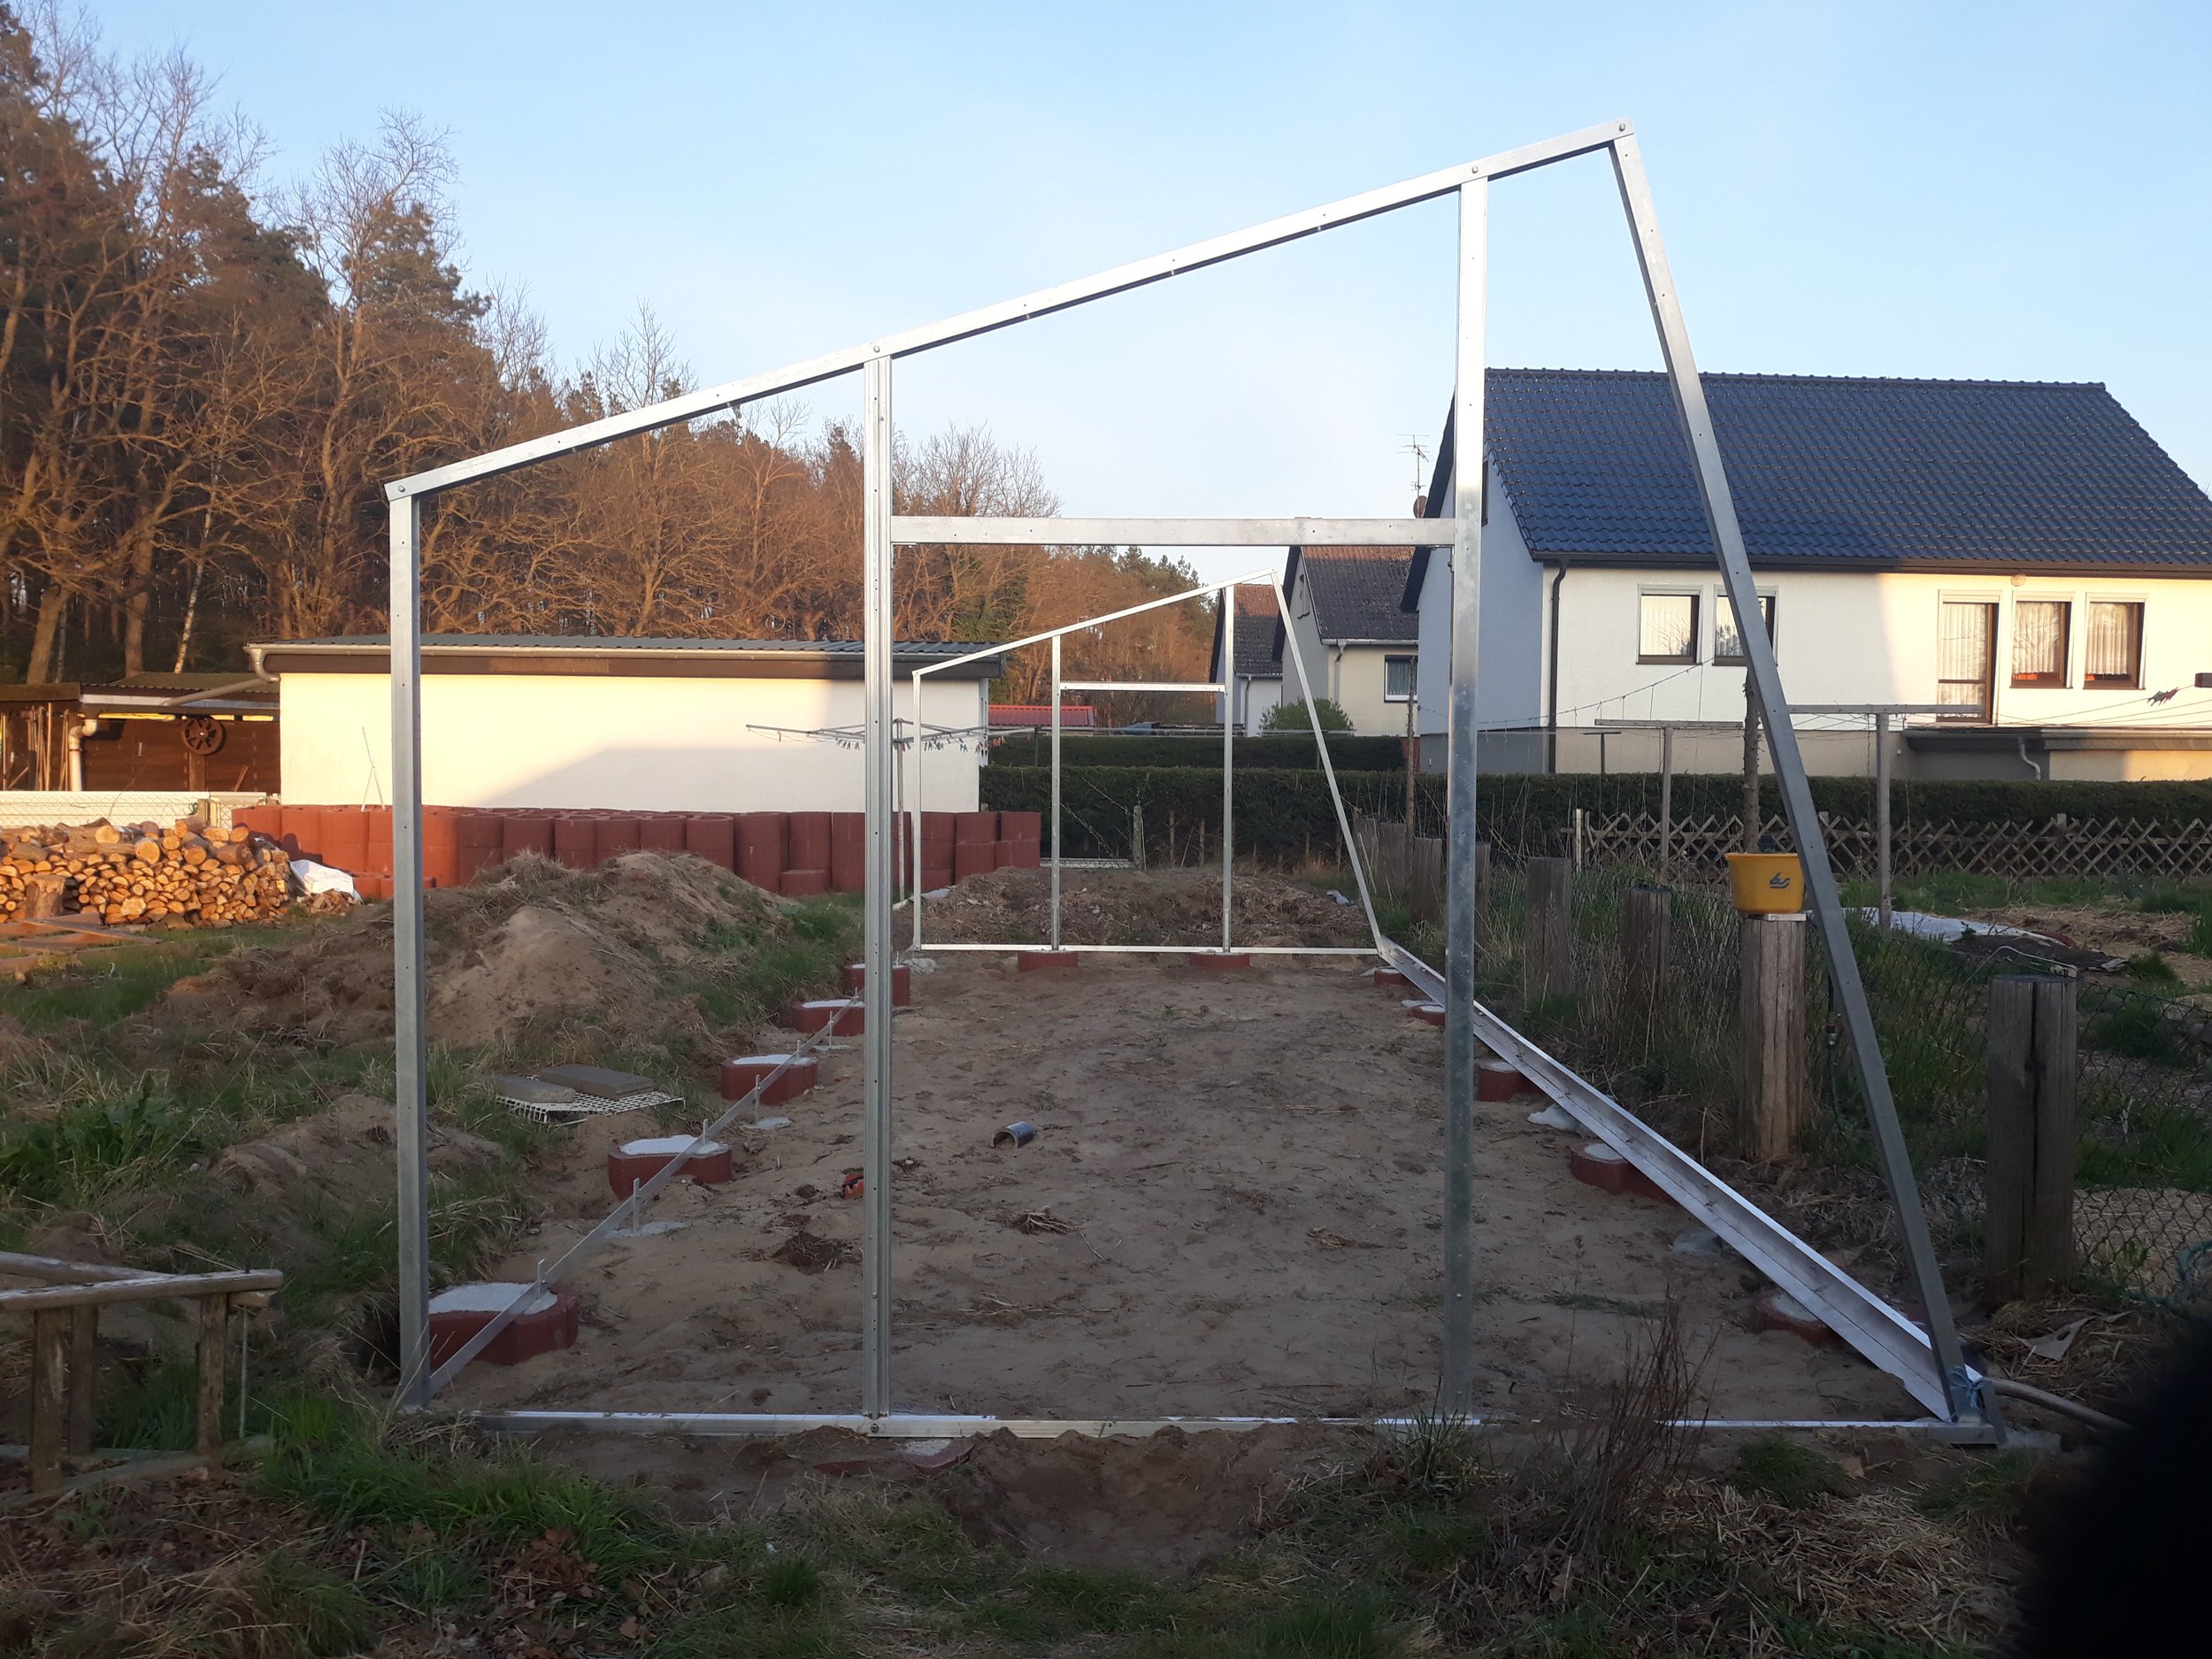

Questionable protection against voles--the net runs only 50 cm deep.


All back posts are in place, some details yet to tweak

Not exactly what I meant

Temporary protection for the tomatoes. Far from ideal, but I had to plant them.


All main front and roof profiles are in place


Metal sheets
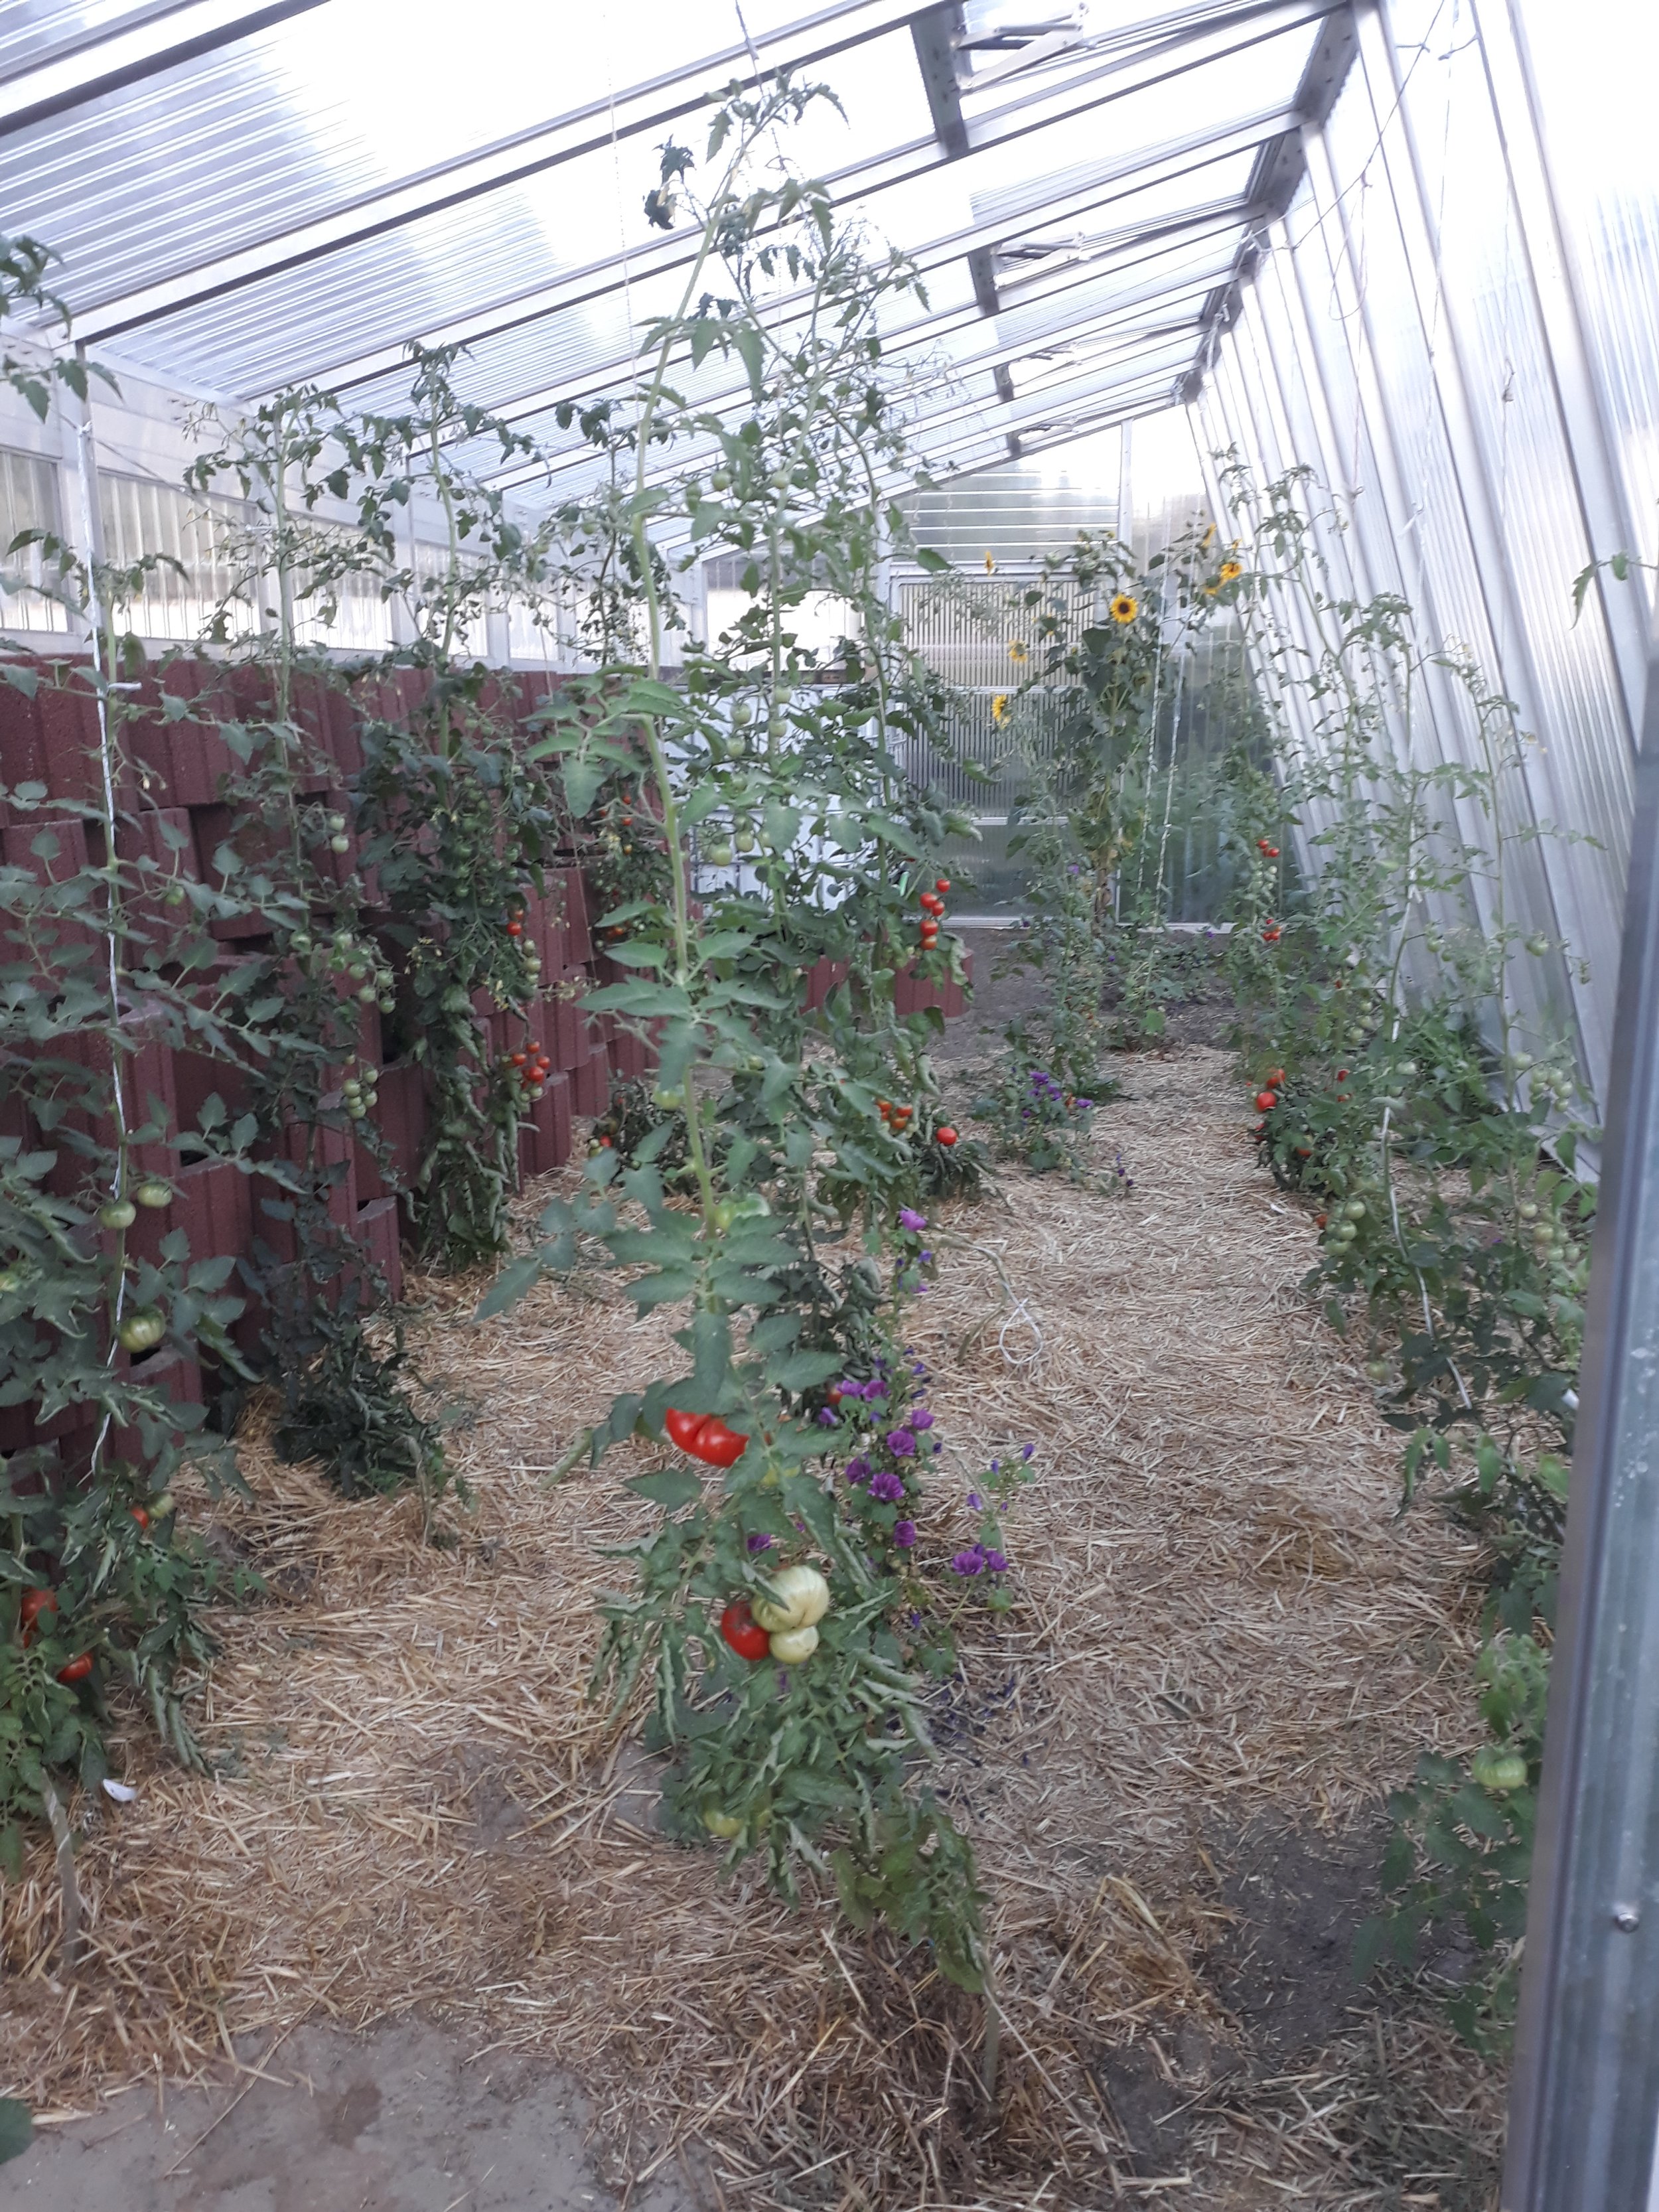
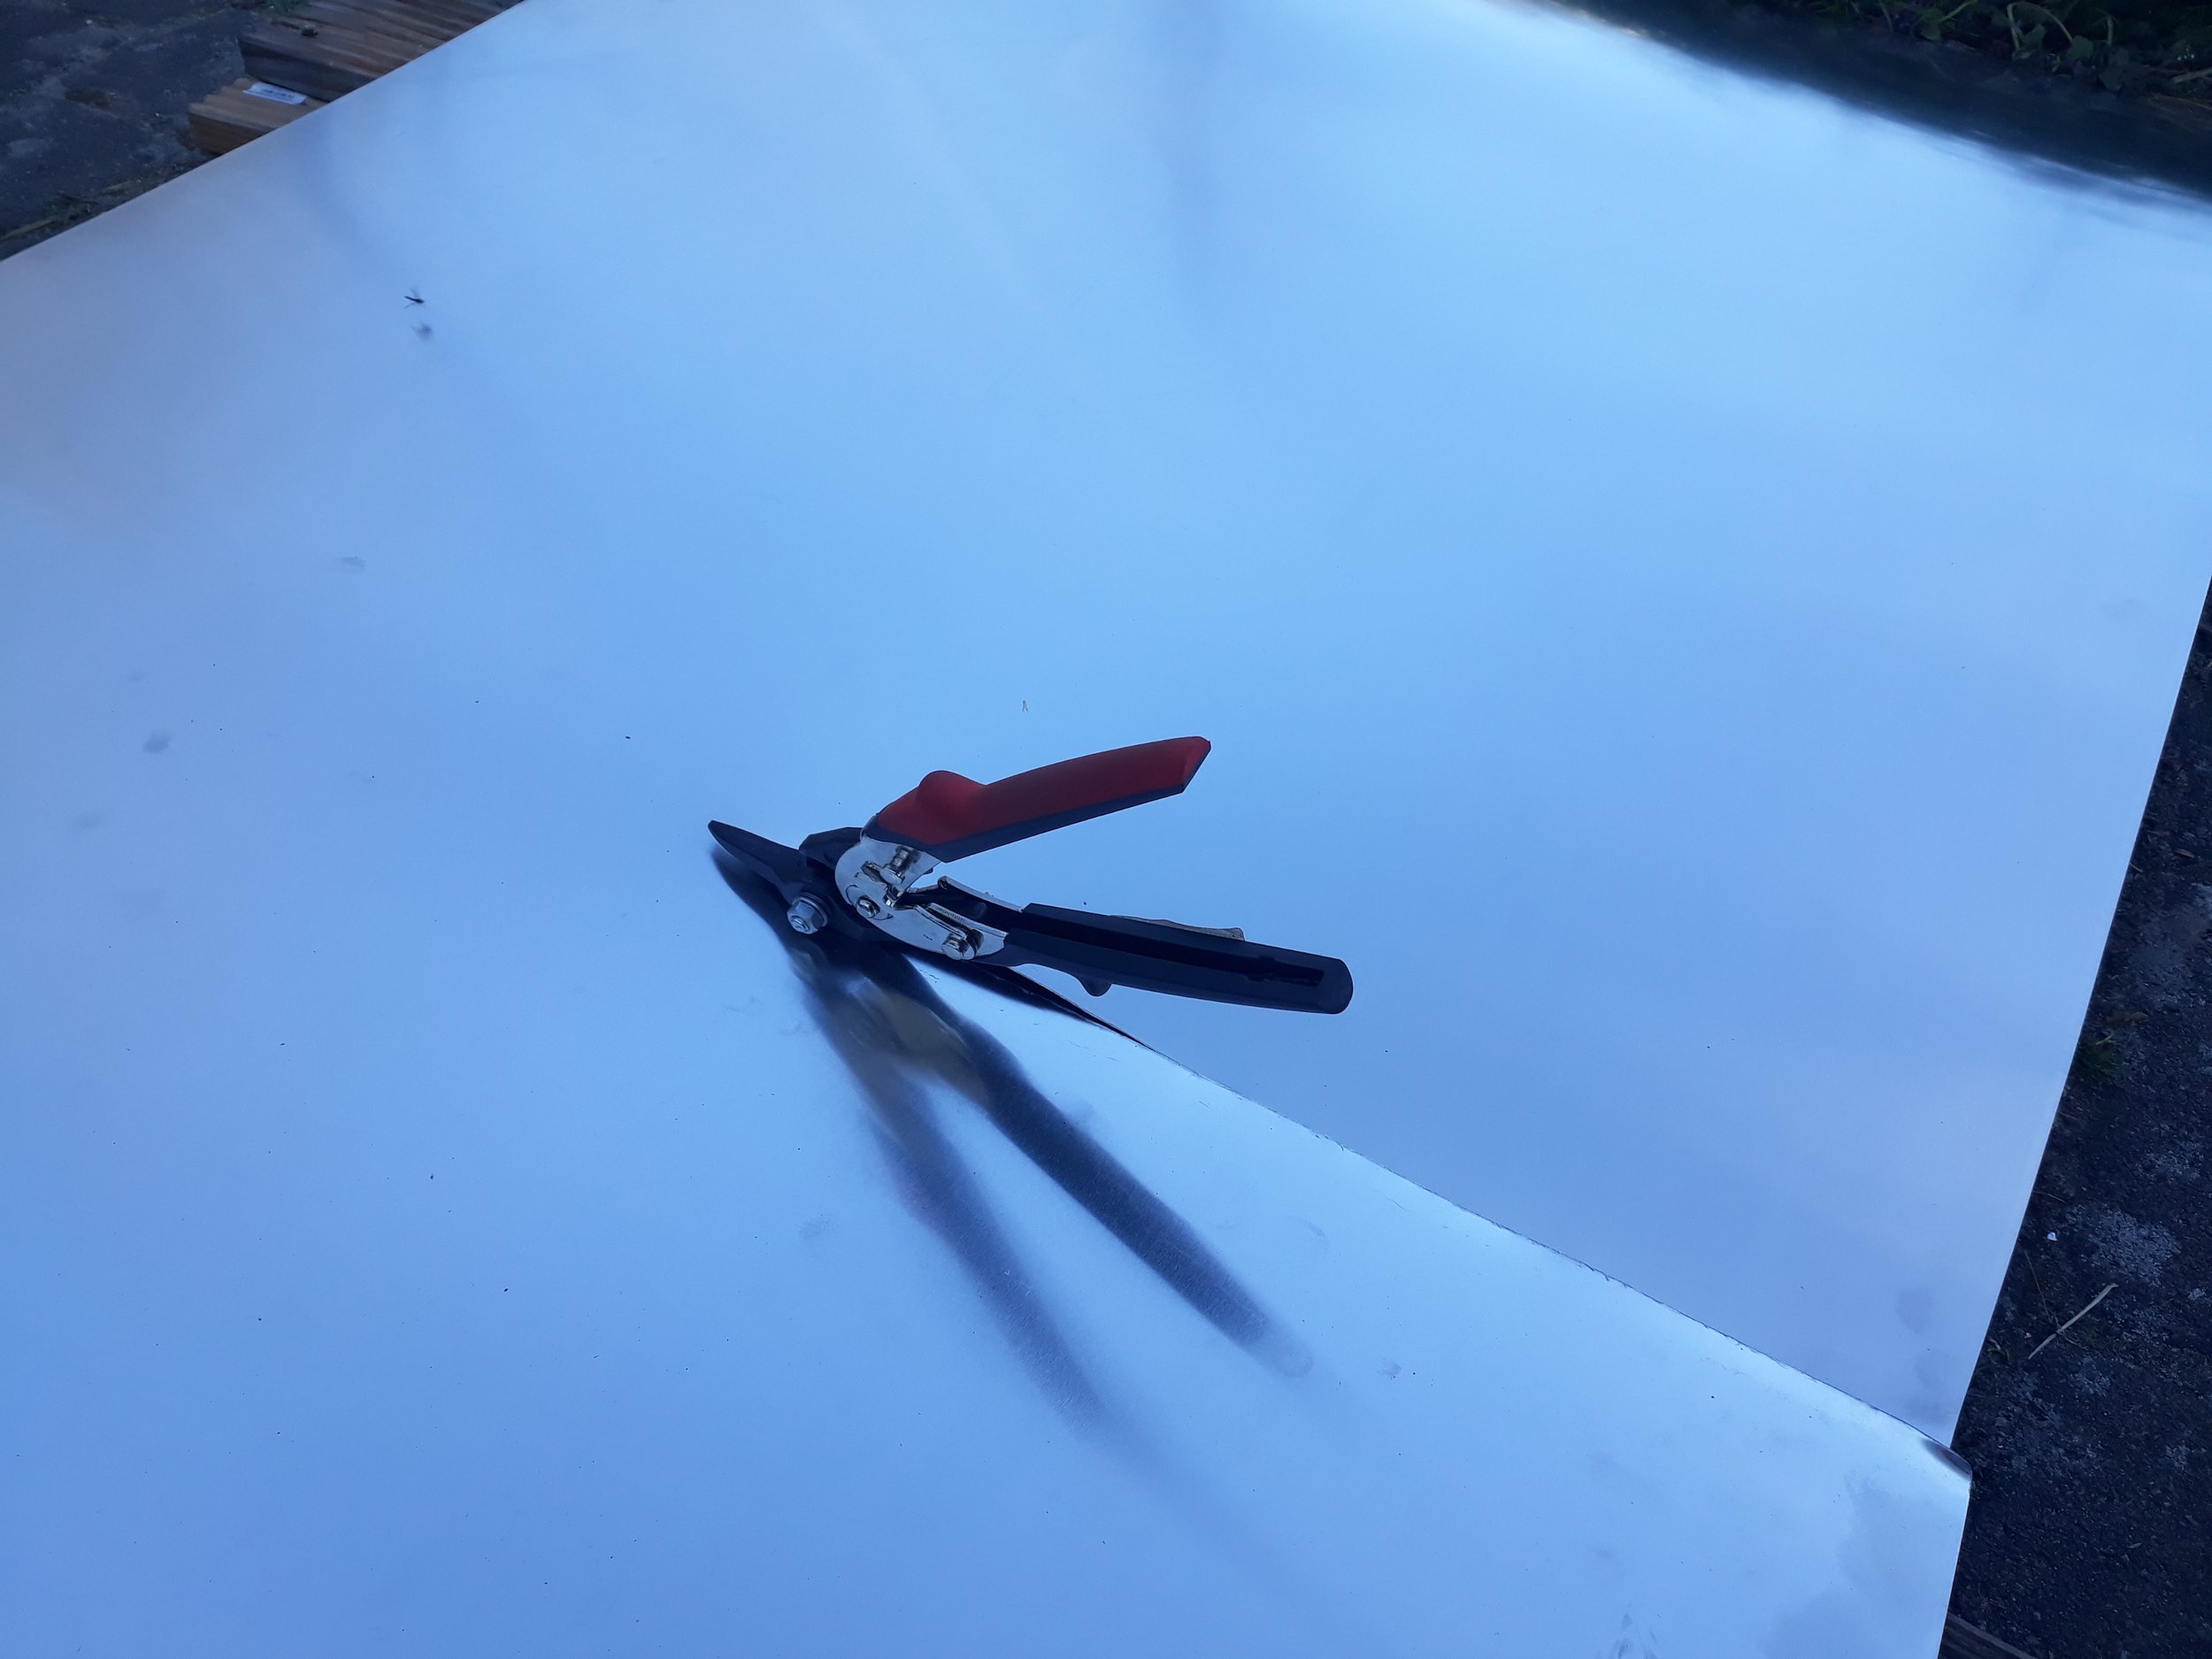
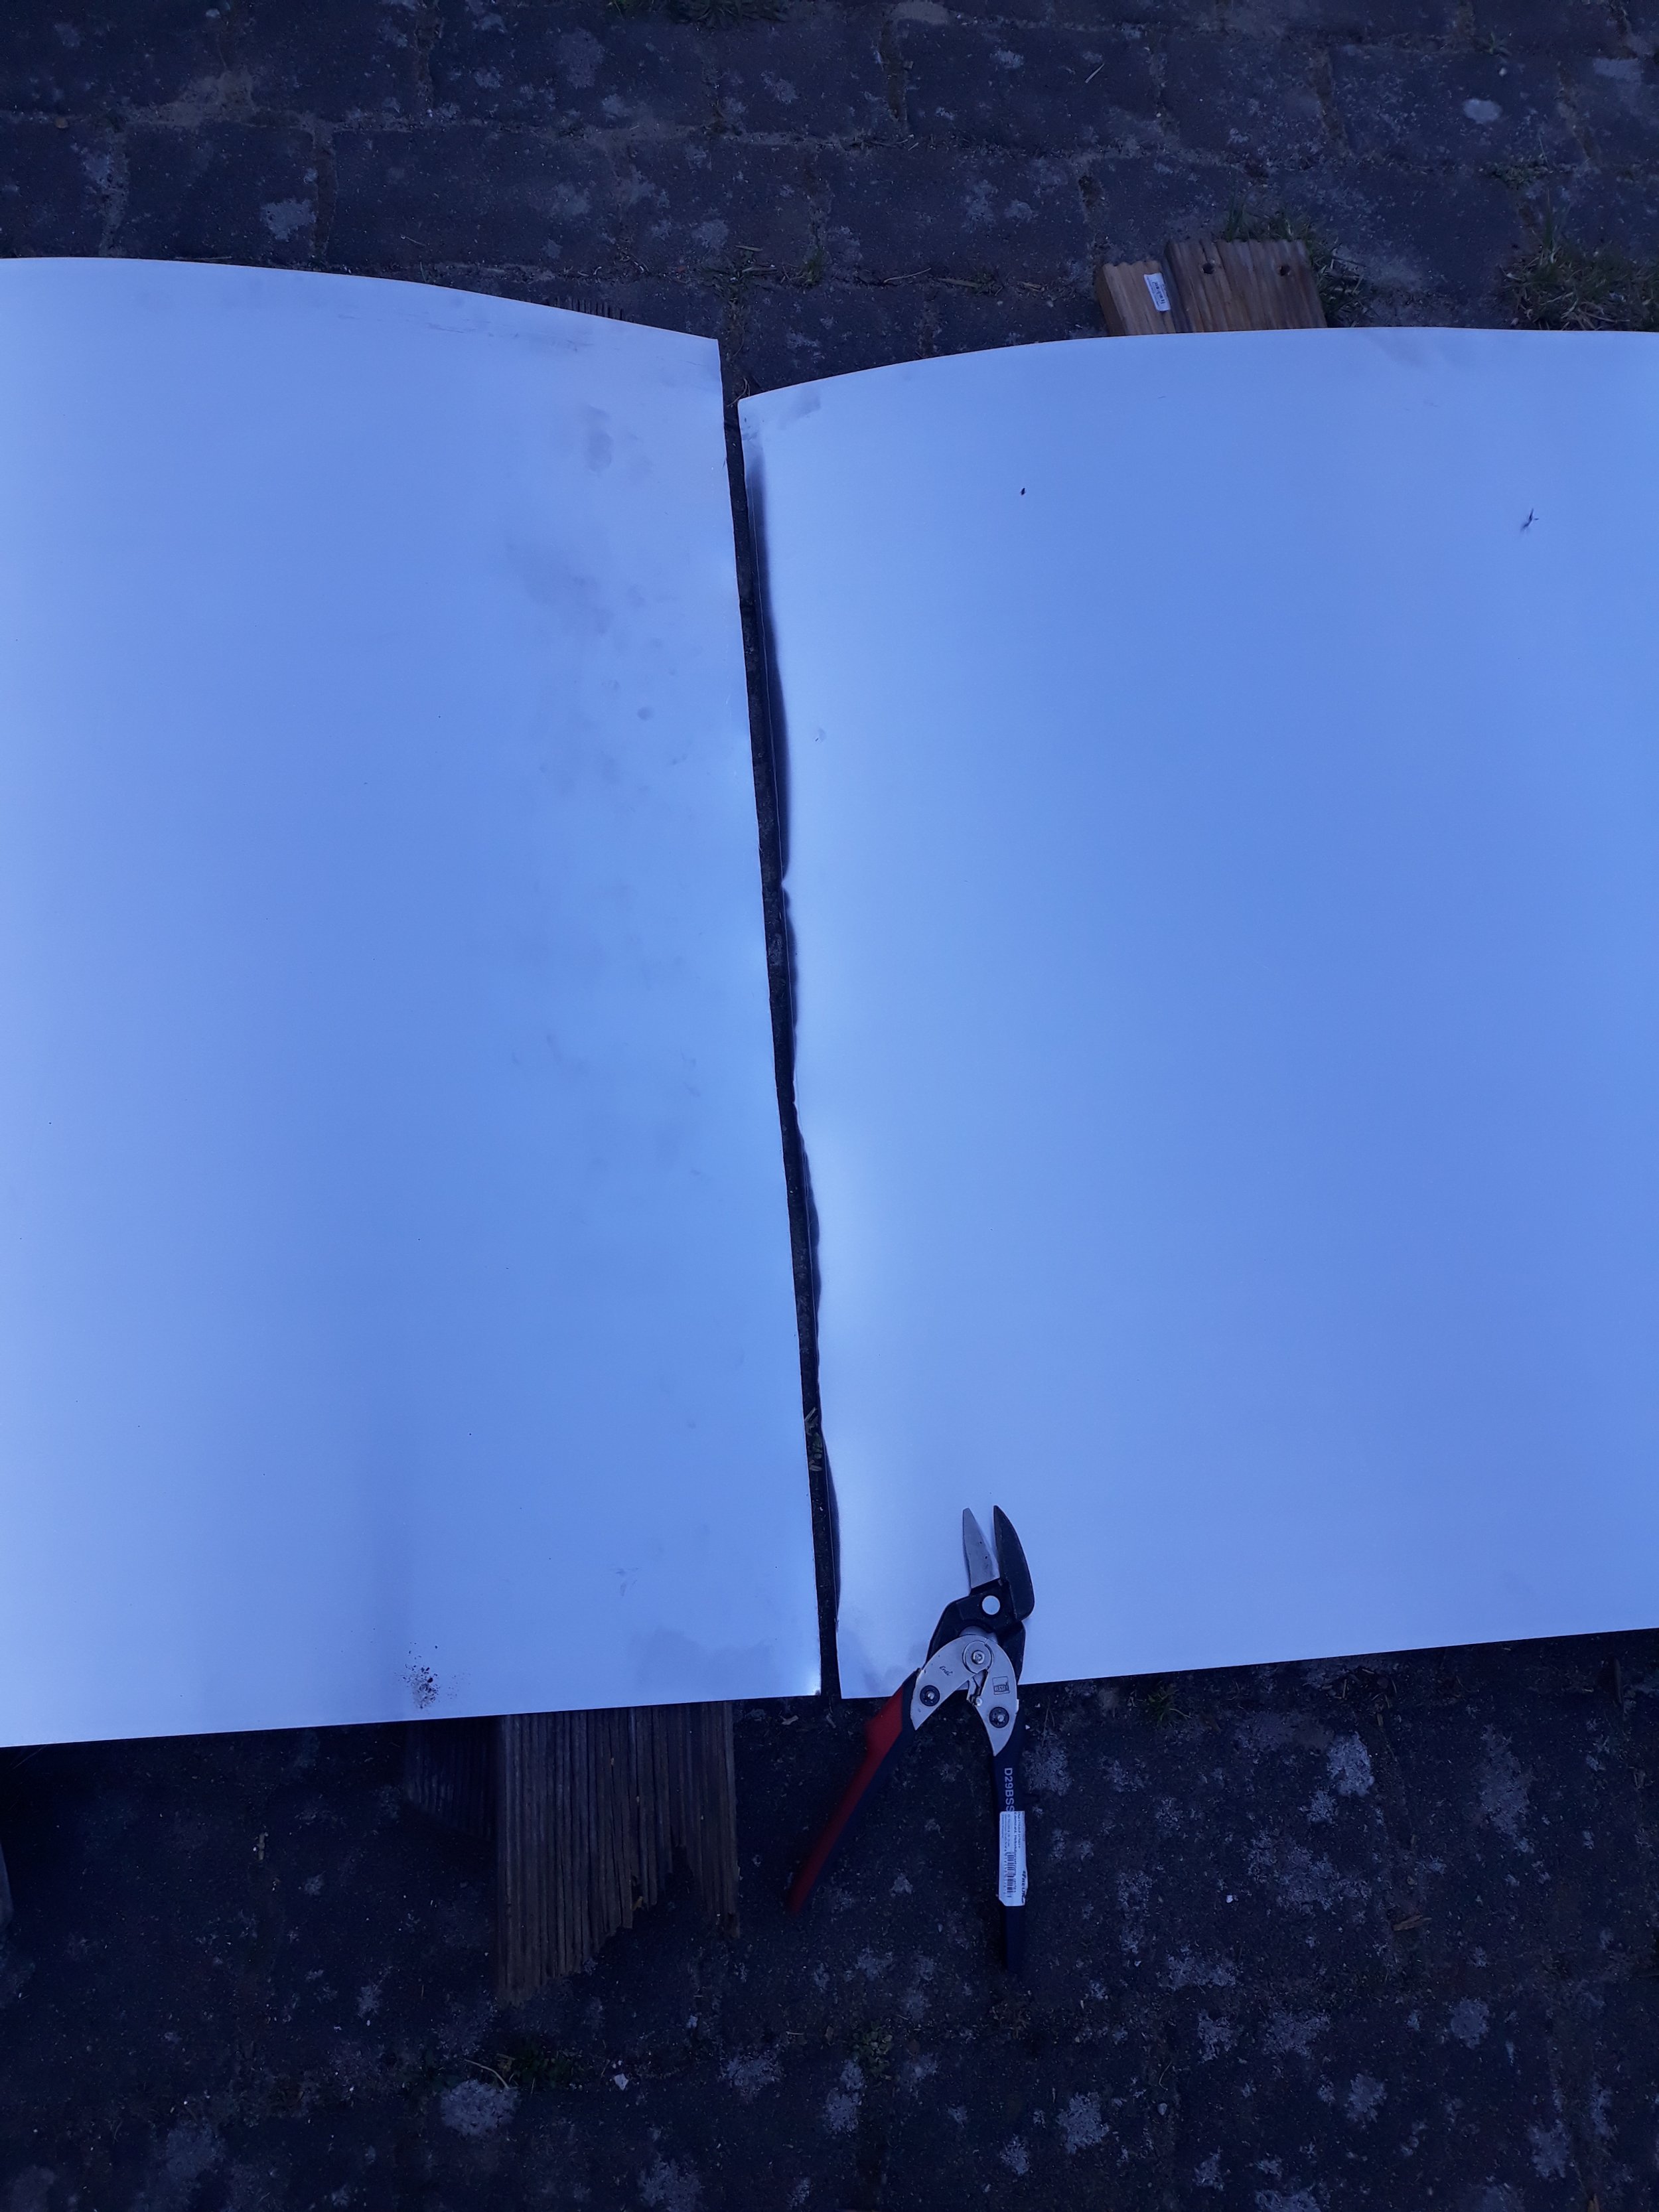
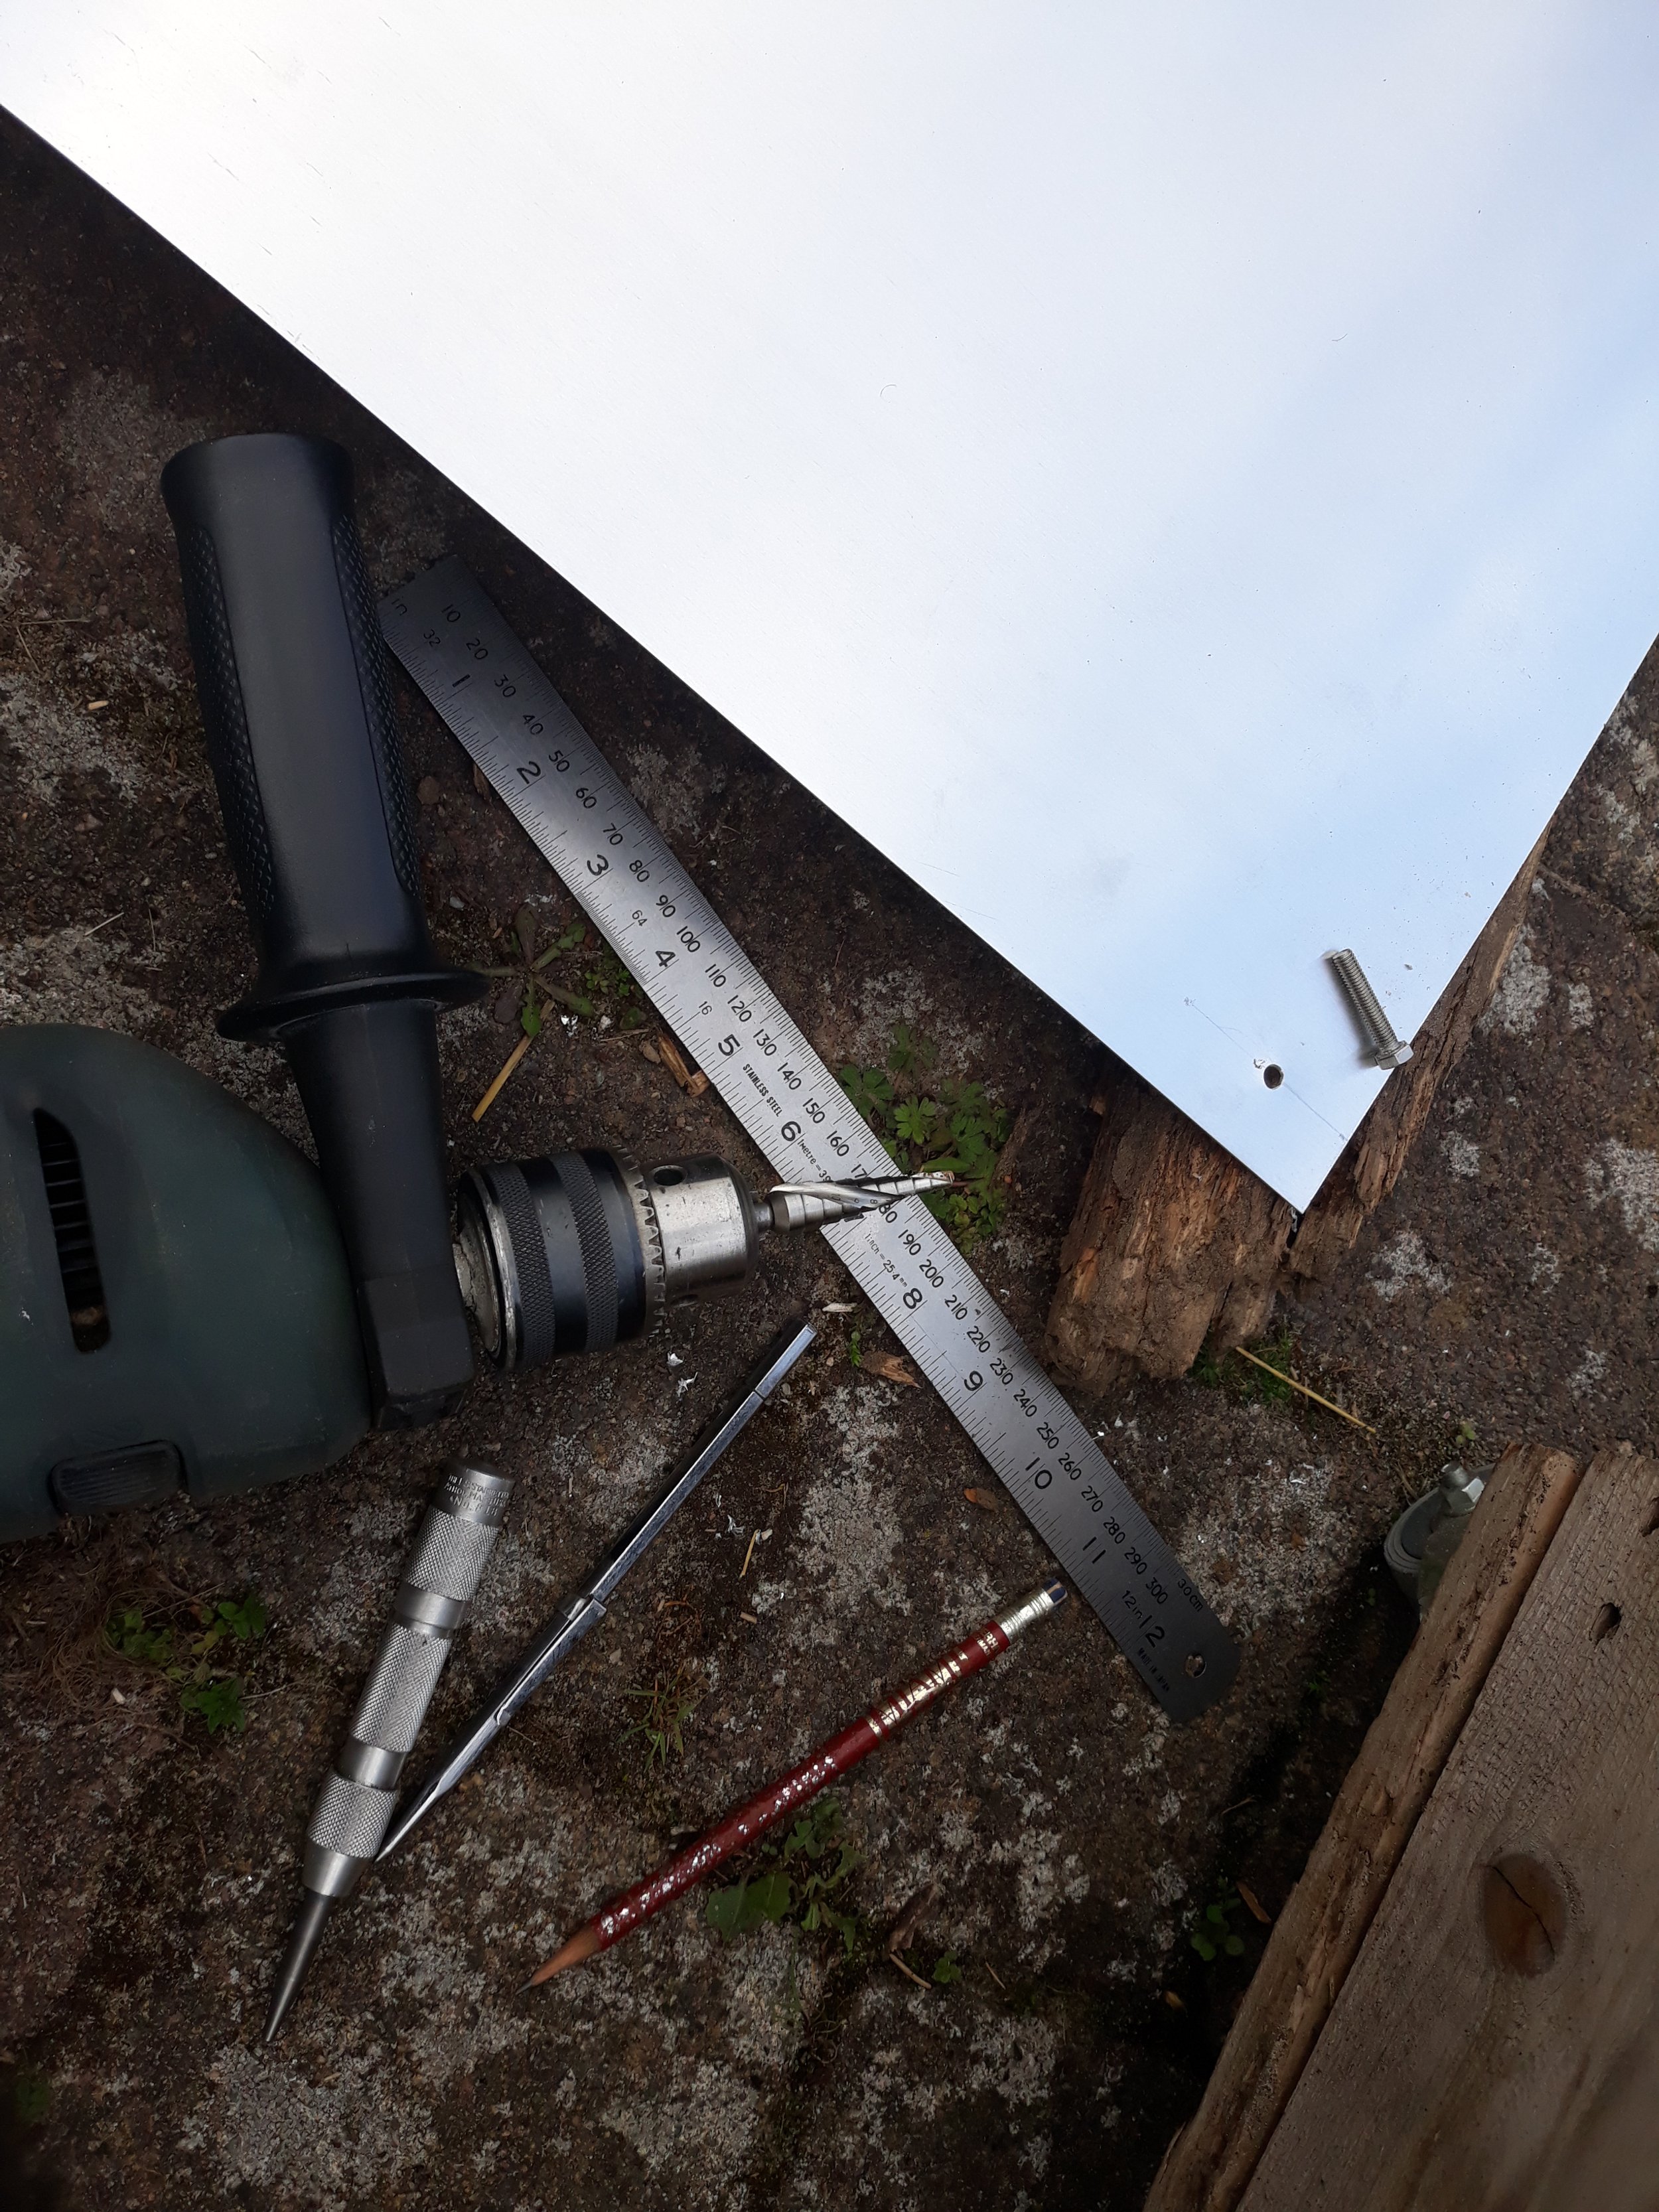
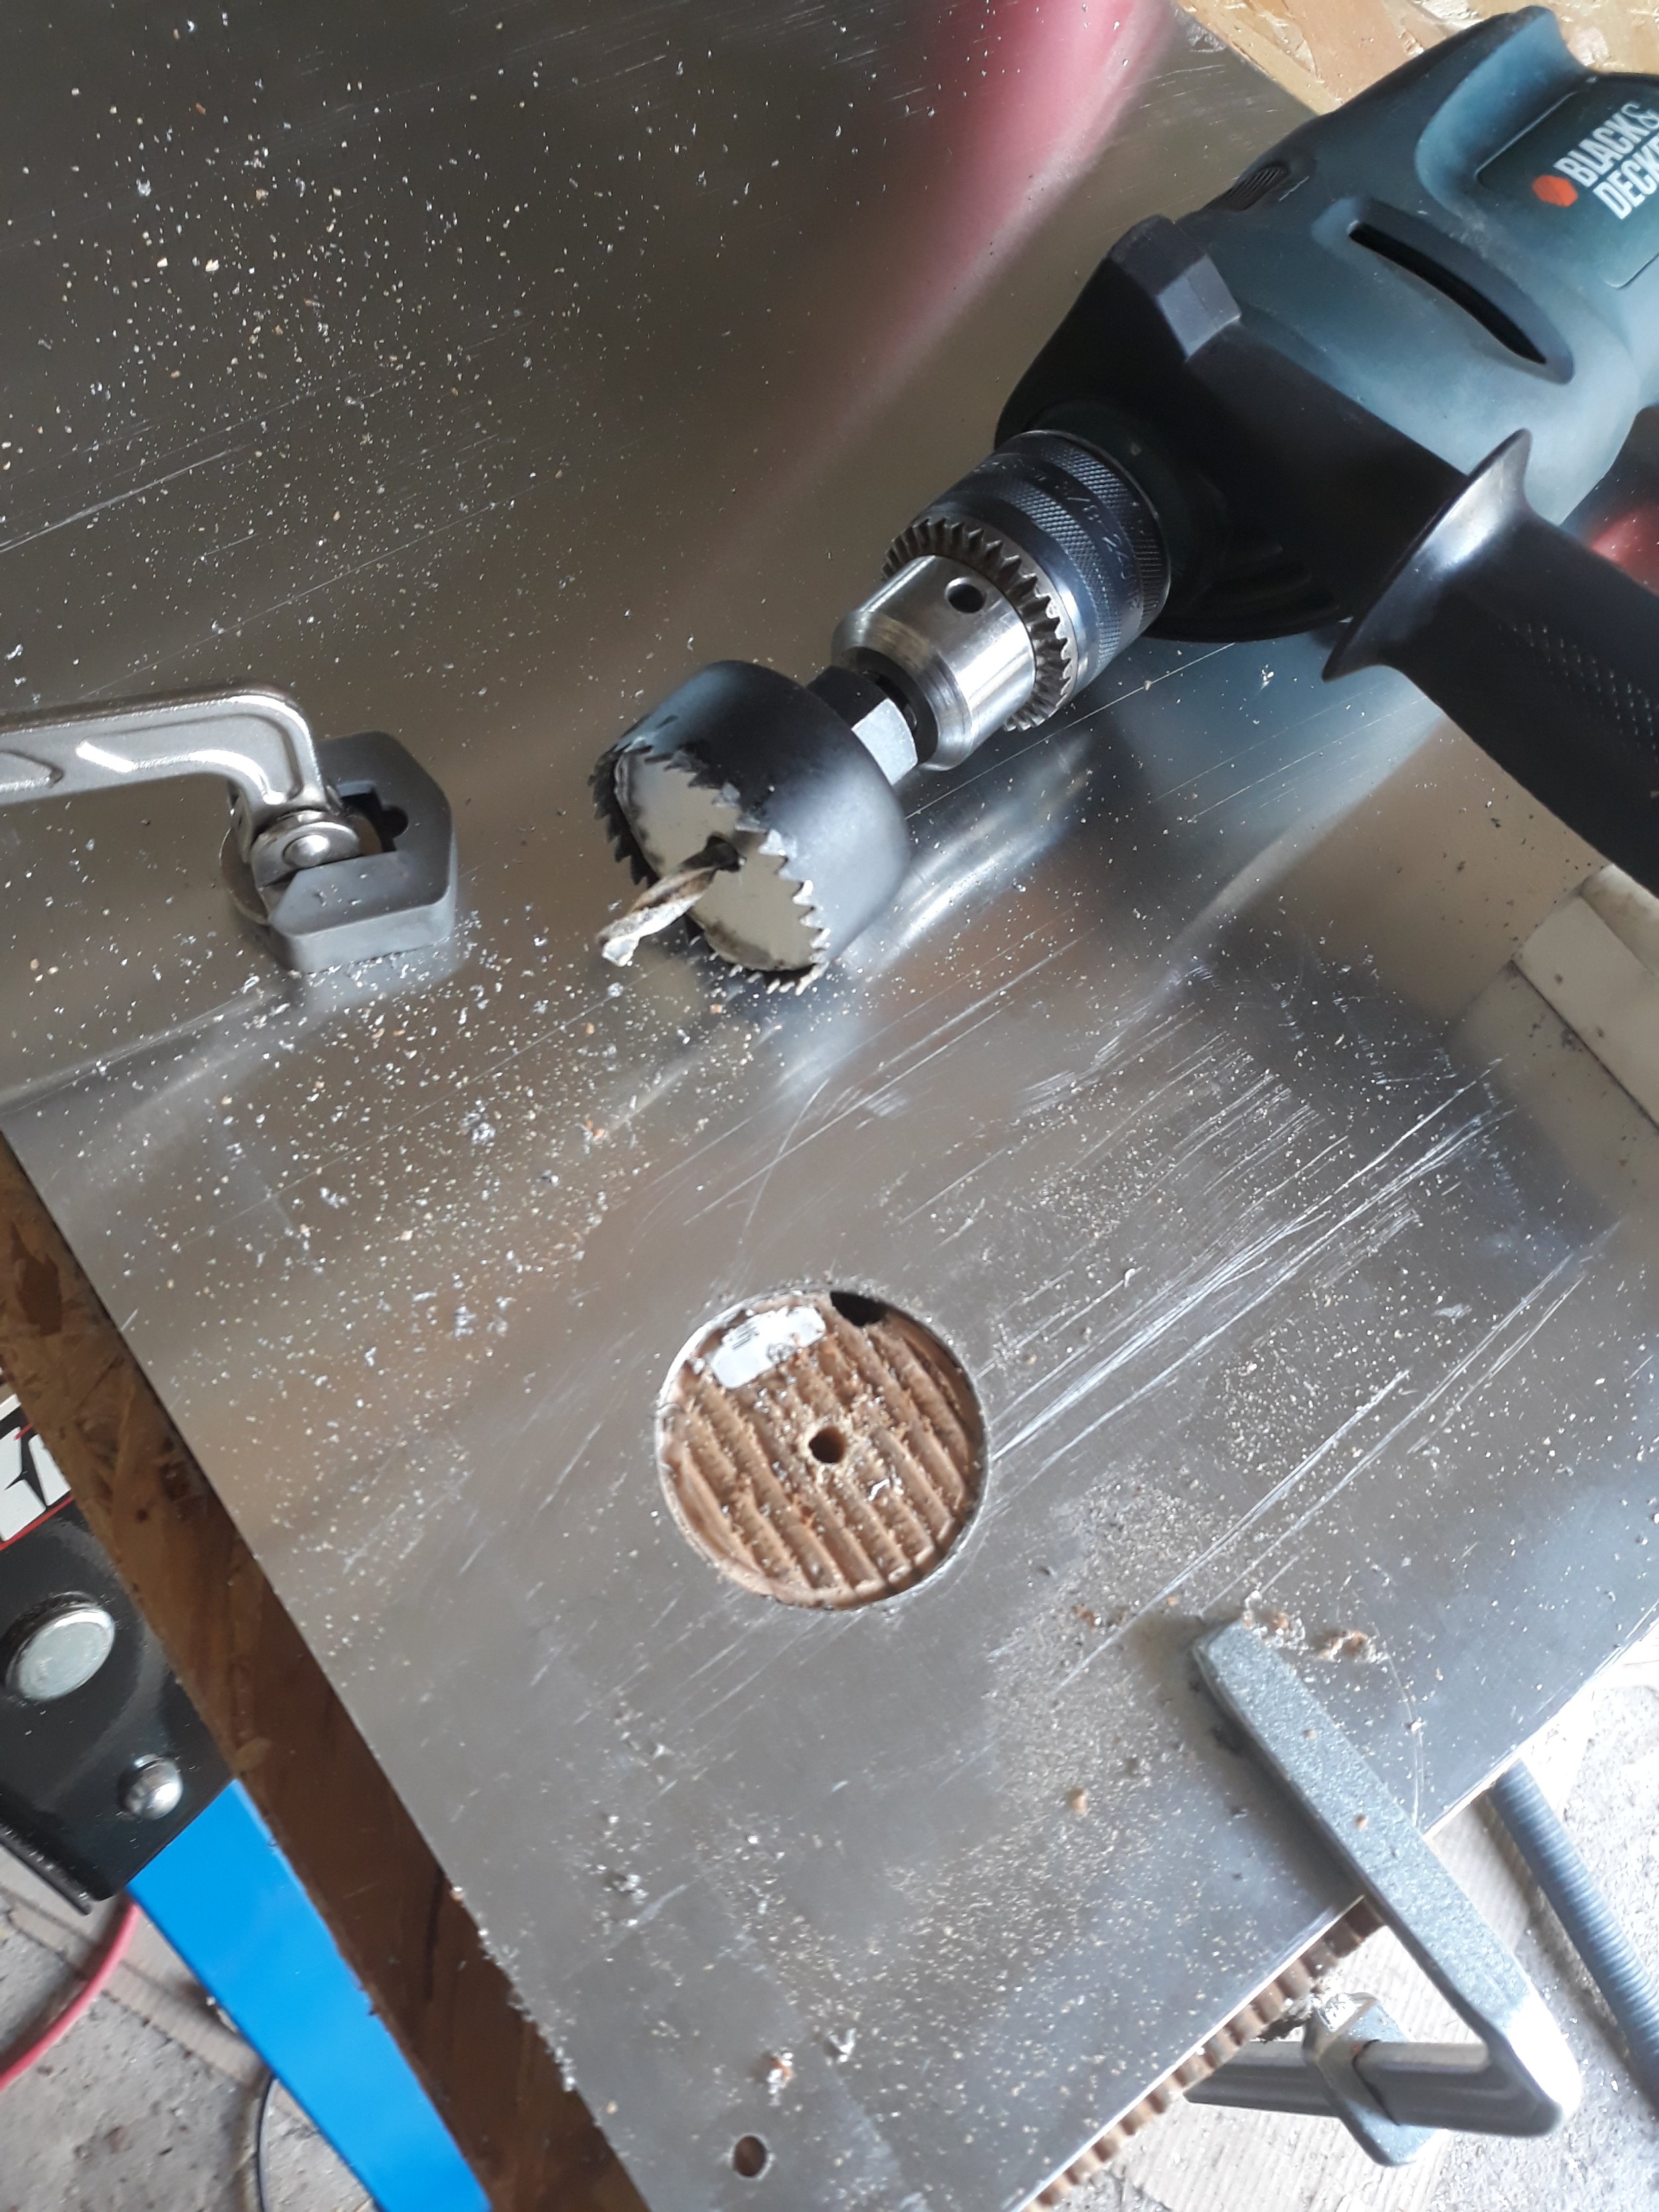
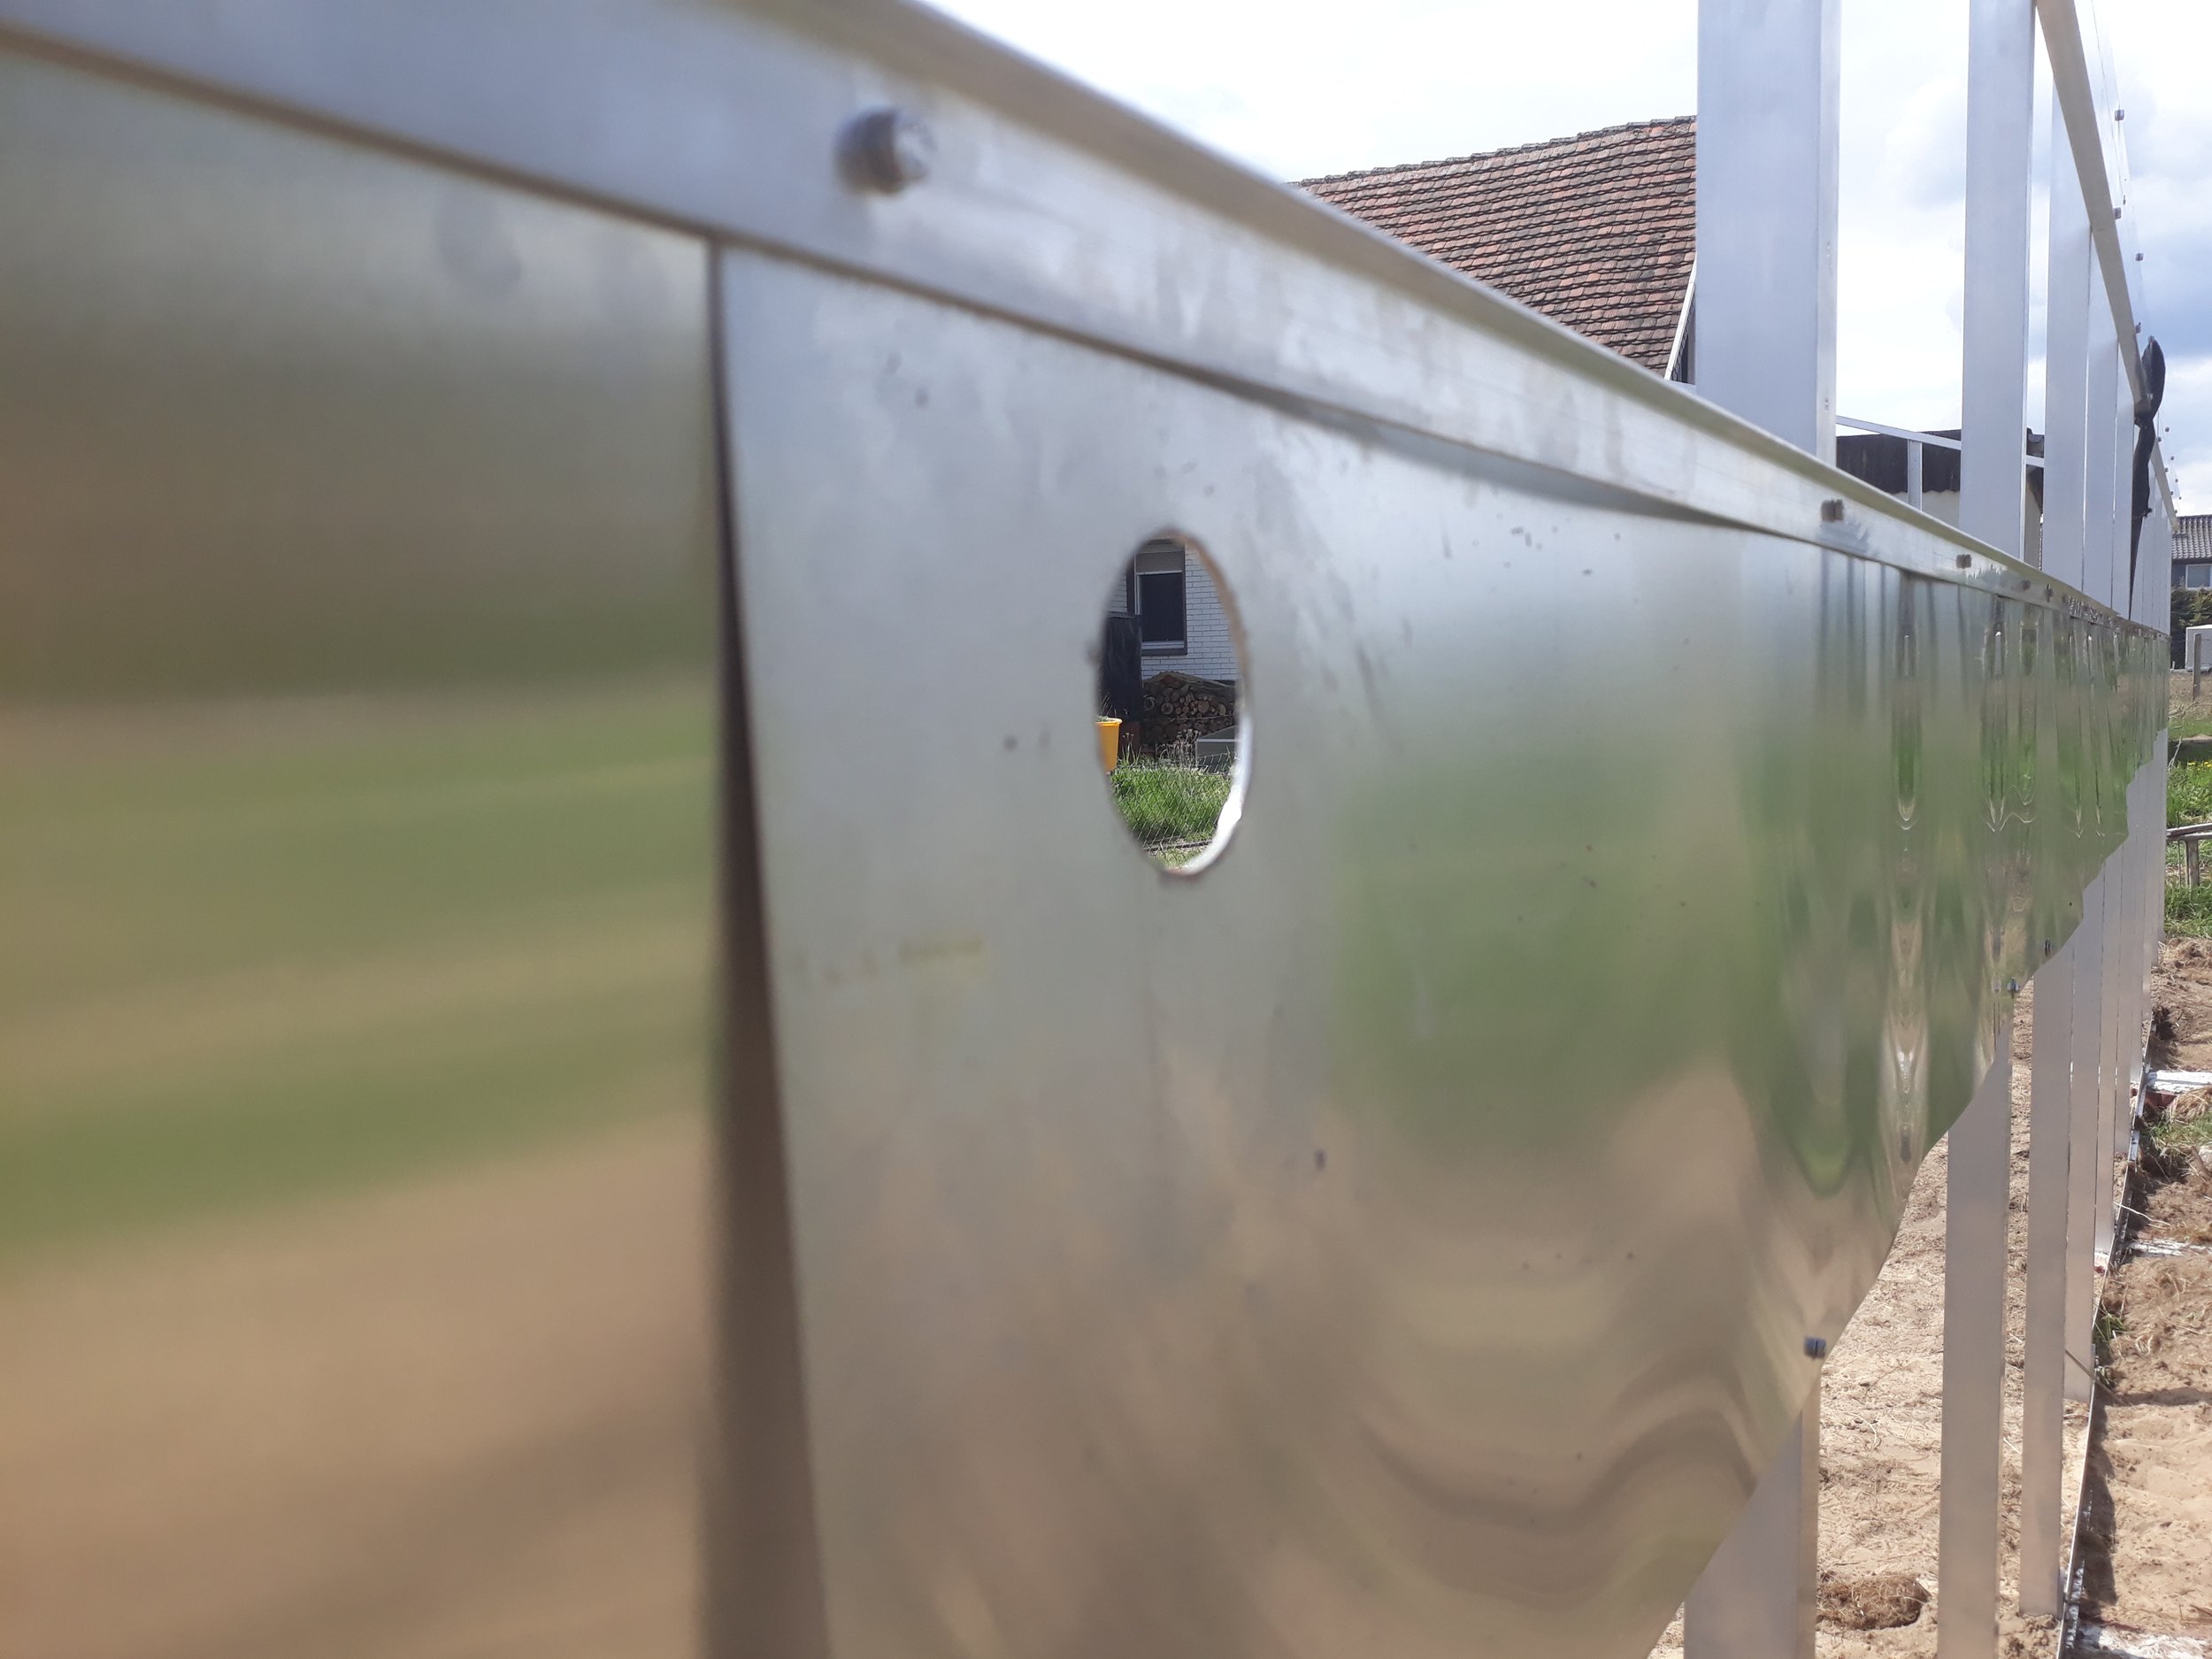
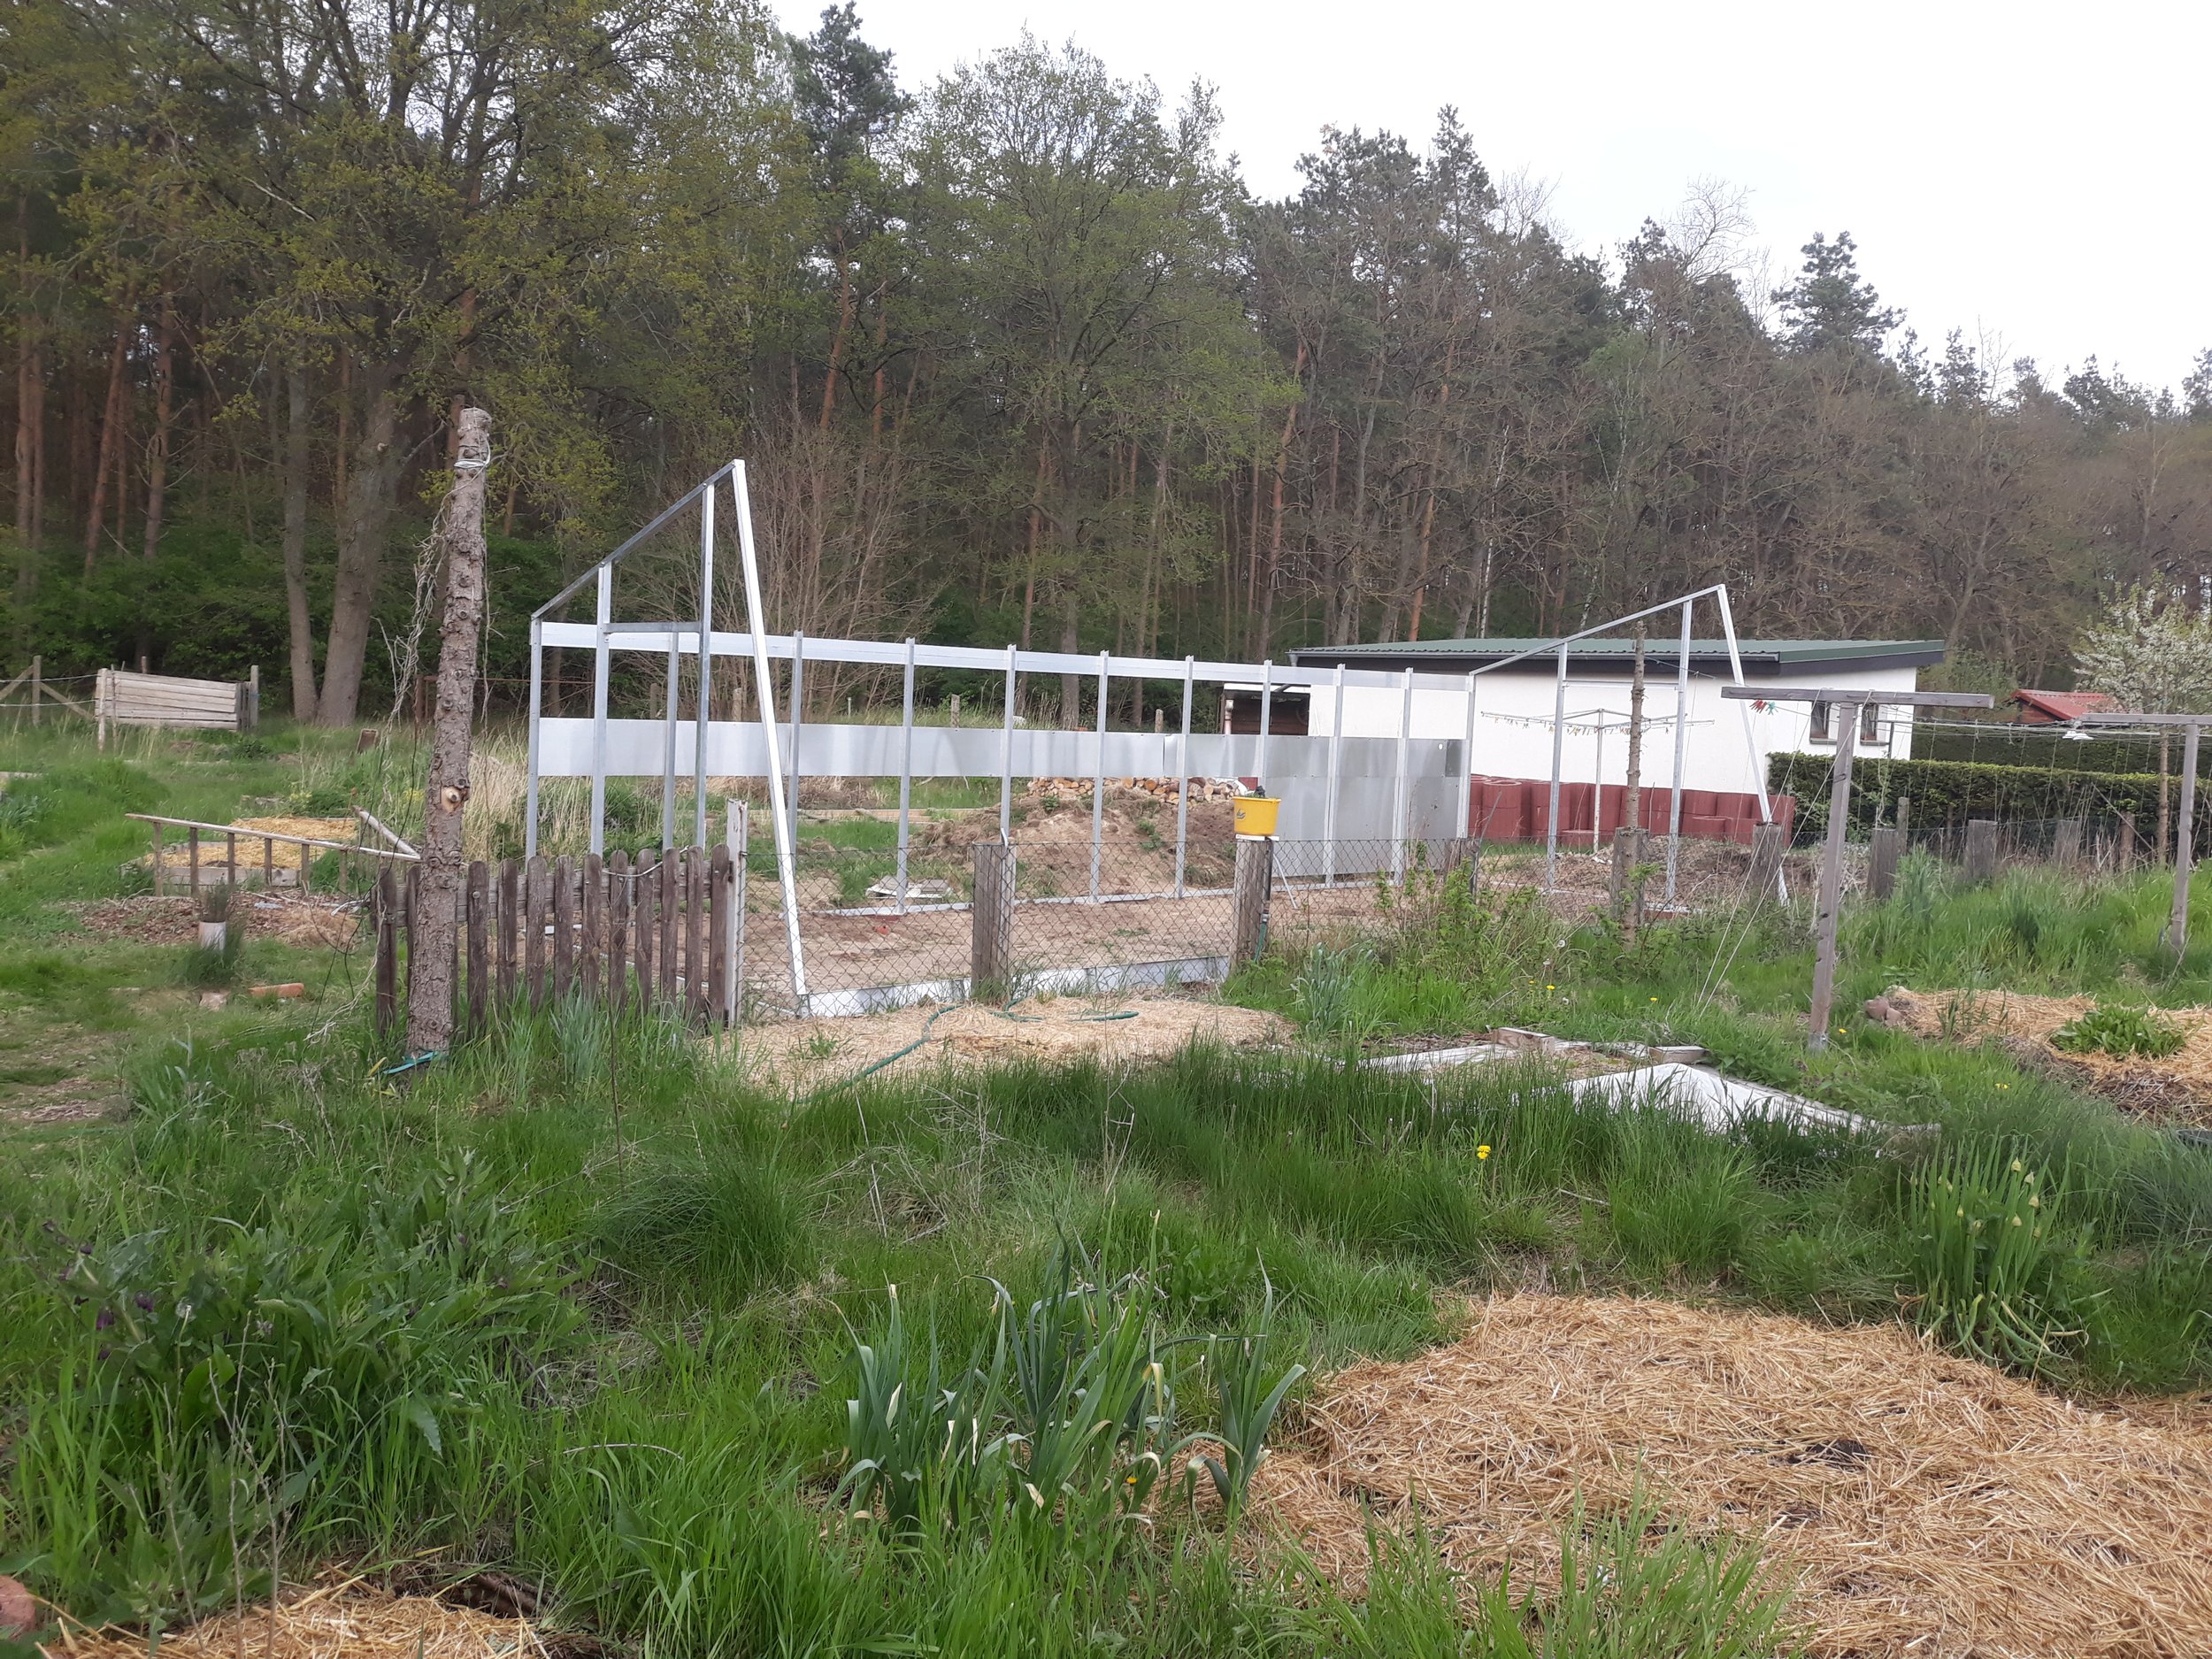
The back of the greenhouse will be buried in mounds of soil: inside, supported by the concrete planting rings, and outside, by an artificial soil slope. The metal sheets comprise a light division between inside and outside, and except for a couple of centimeters, will be underground.
Thermal mass
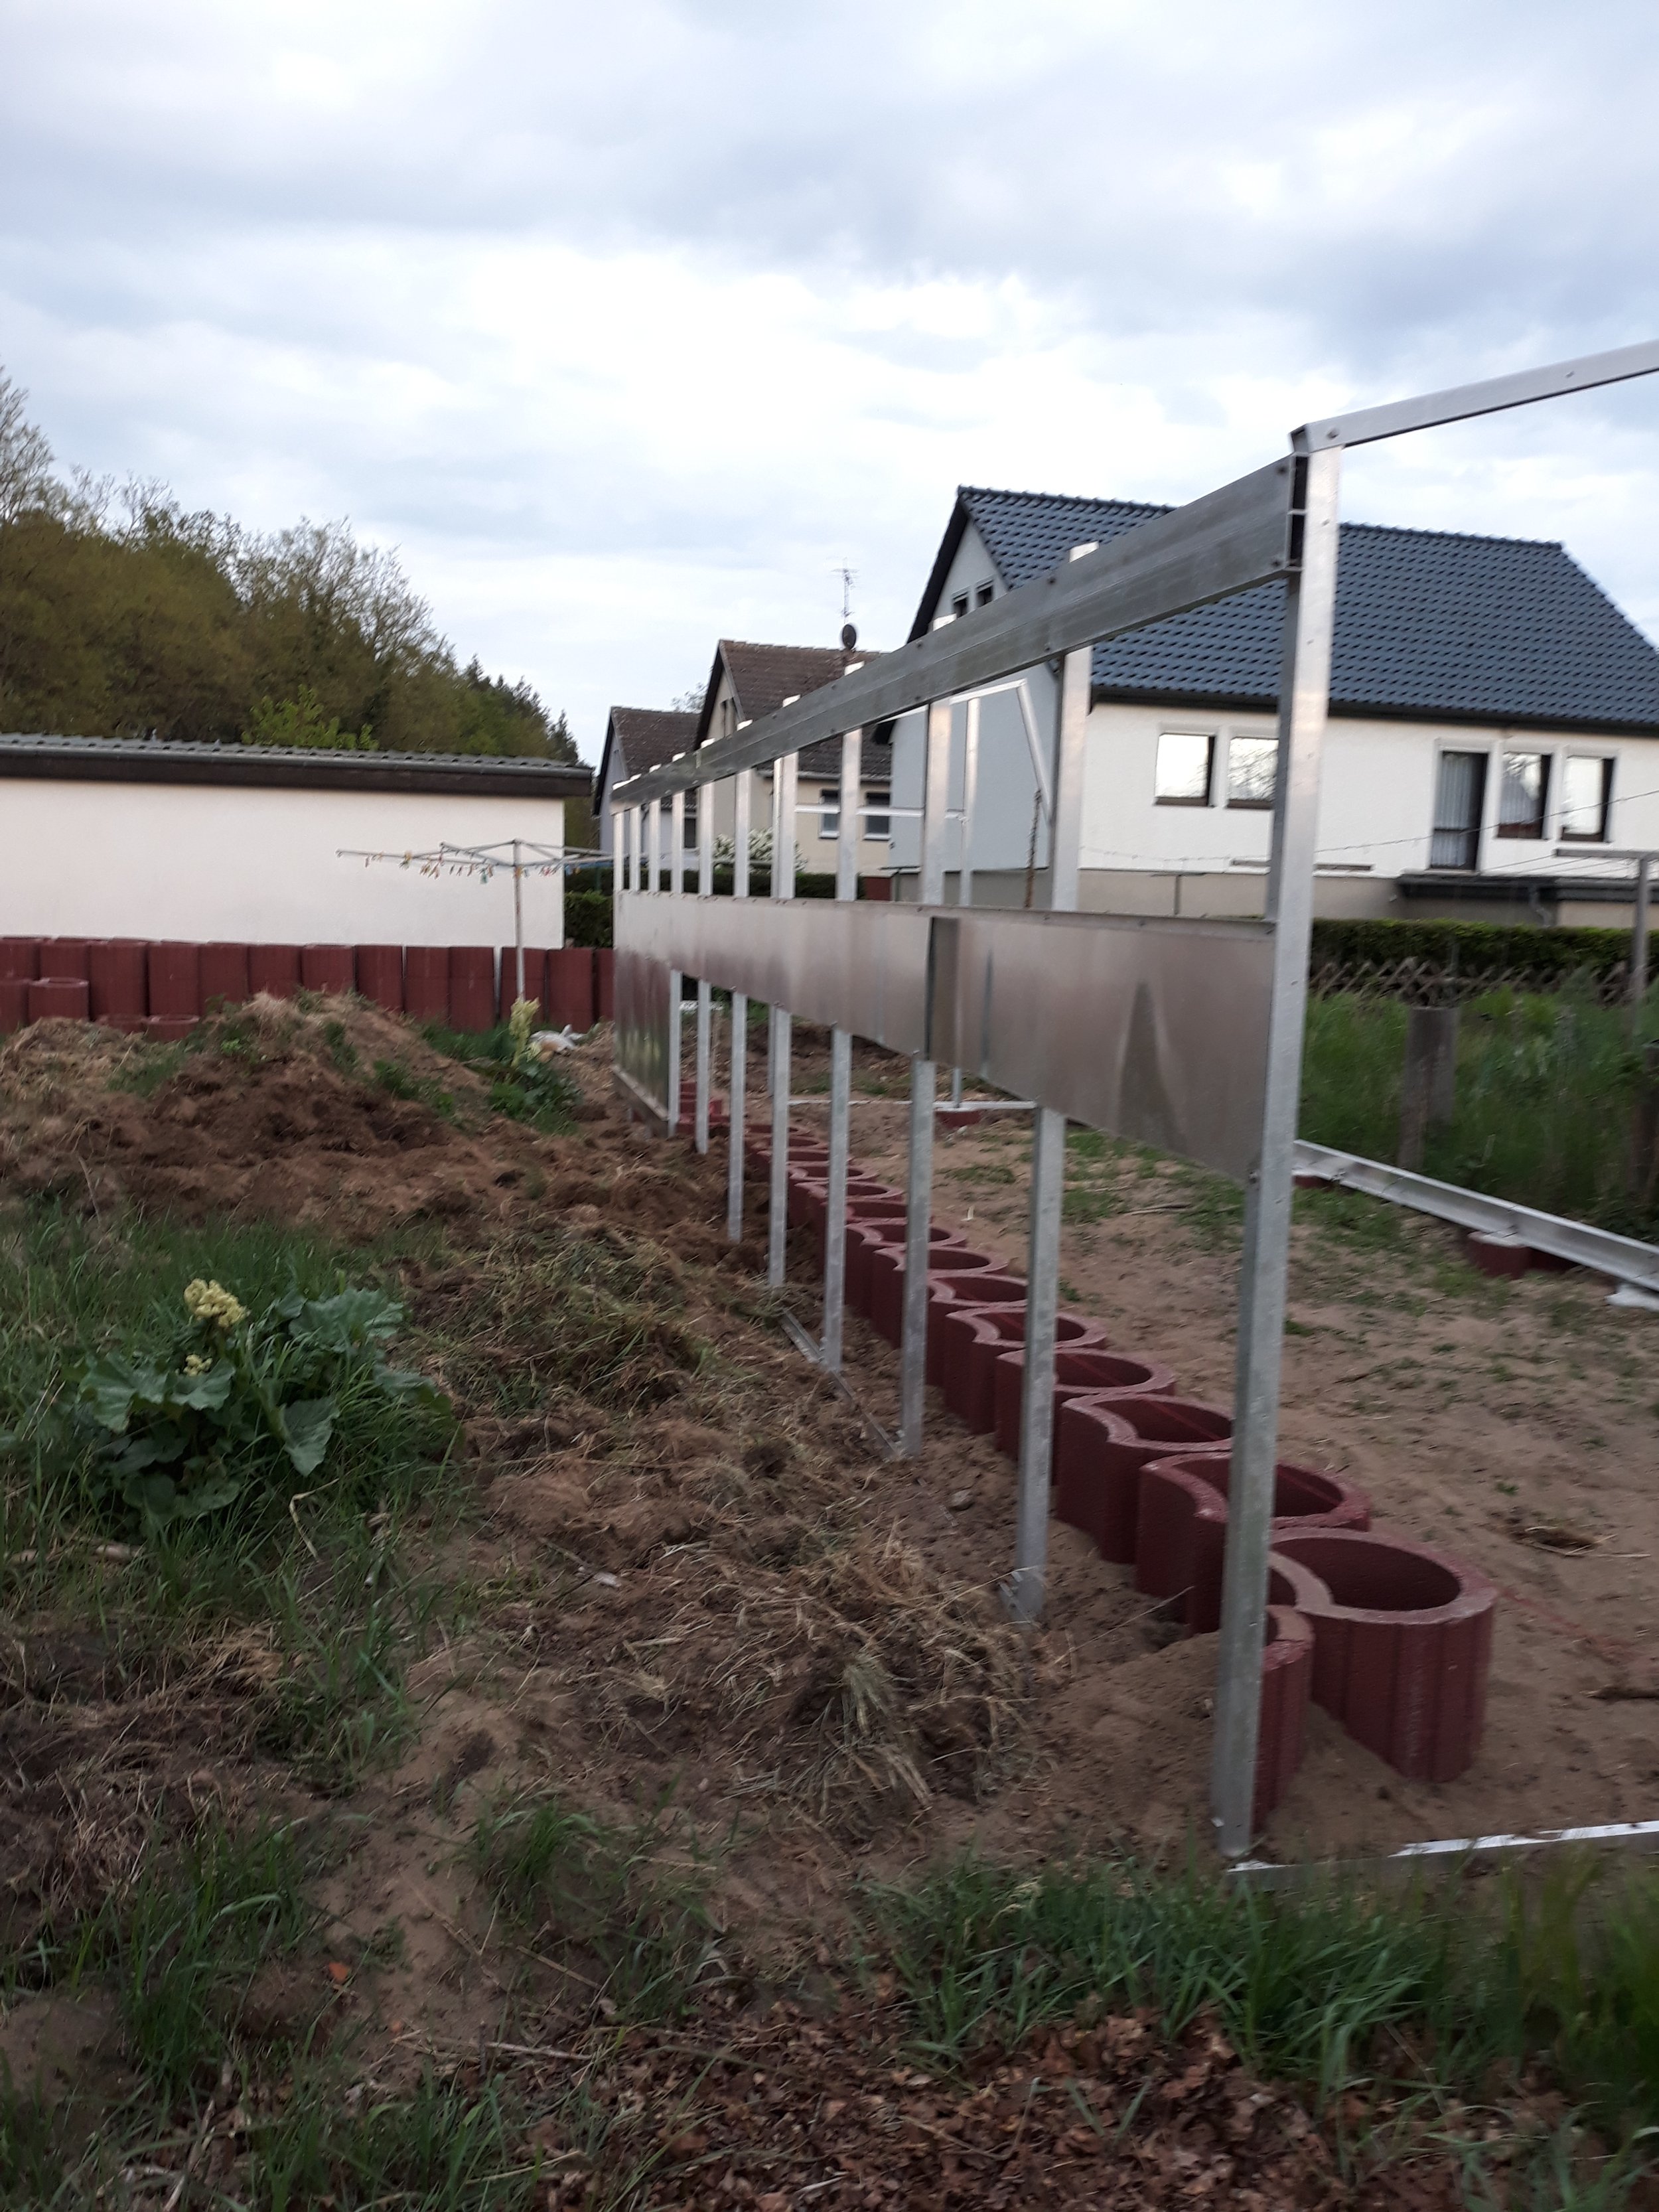
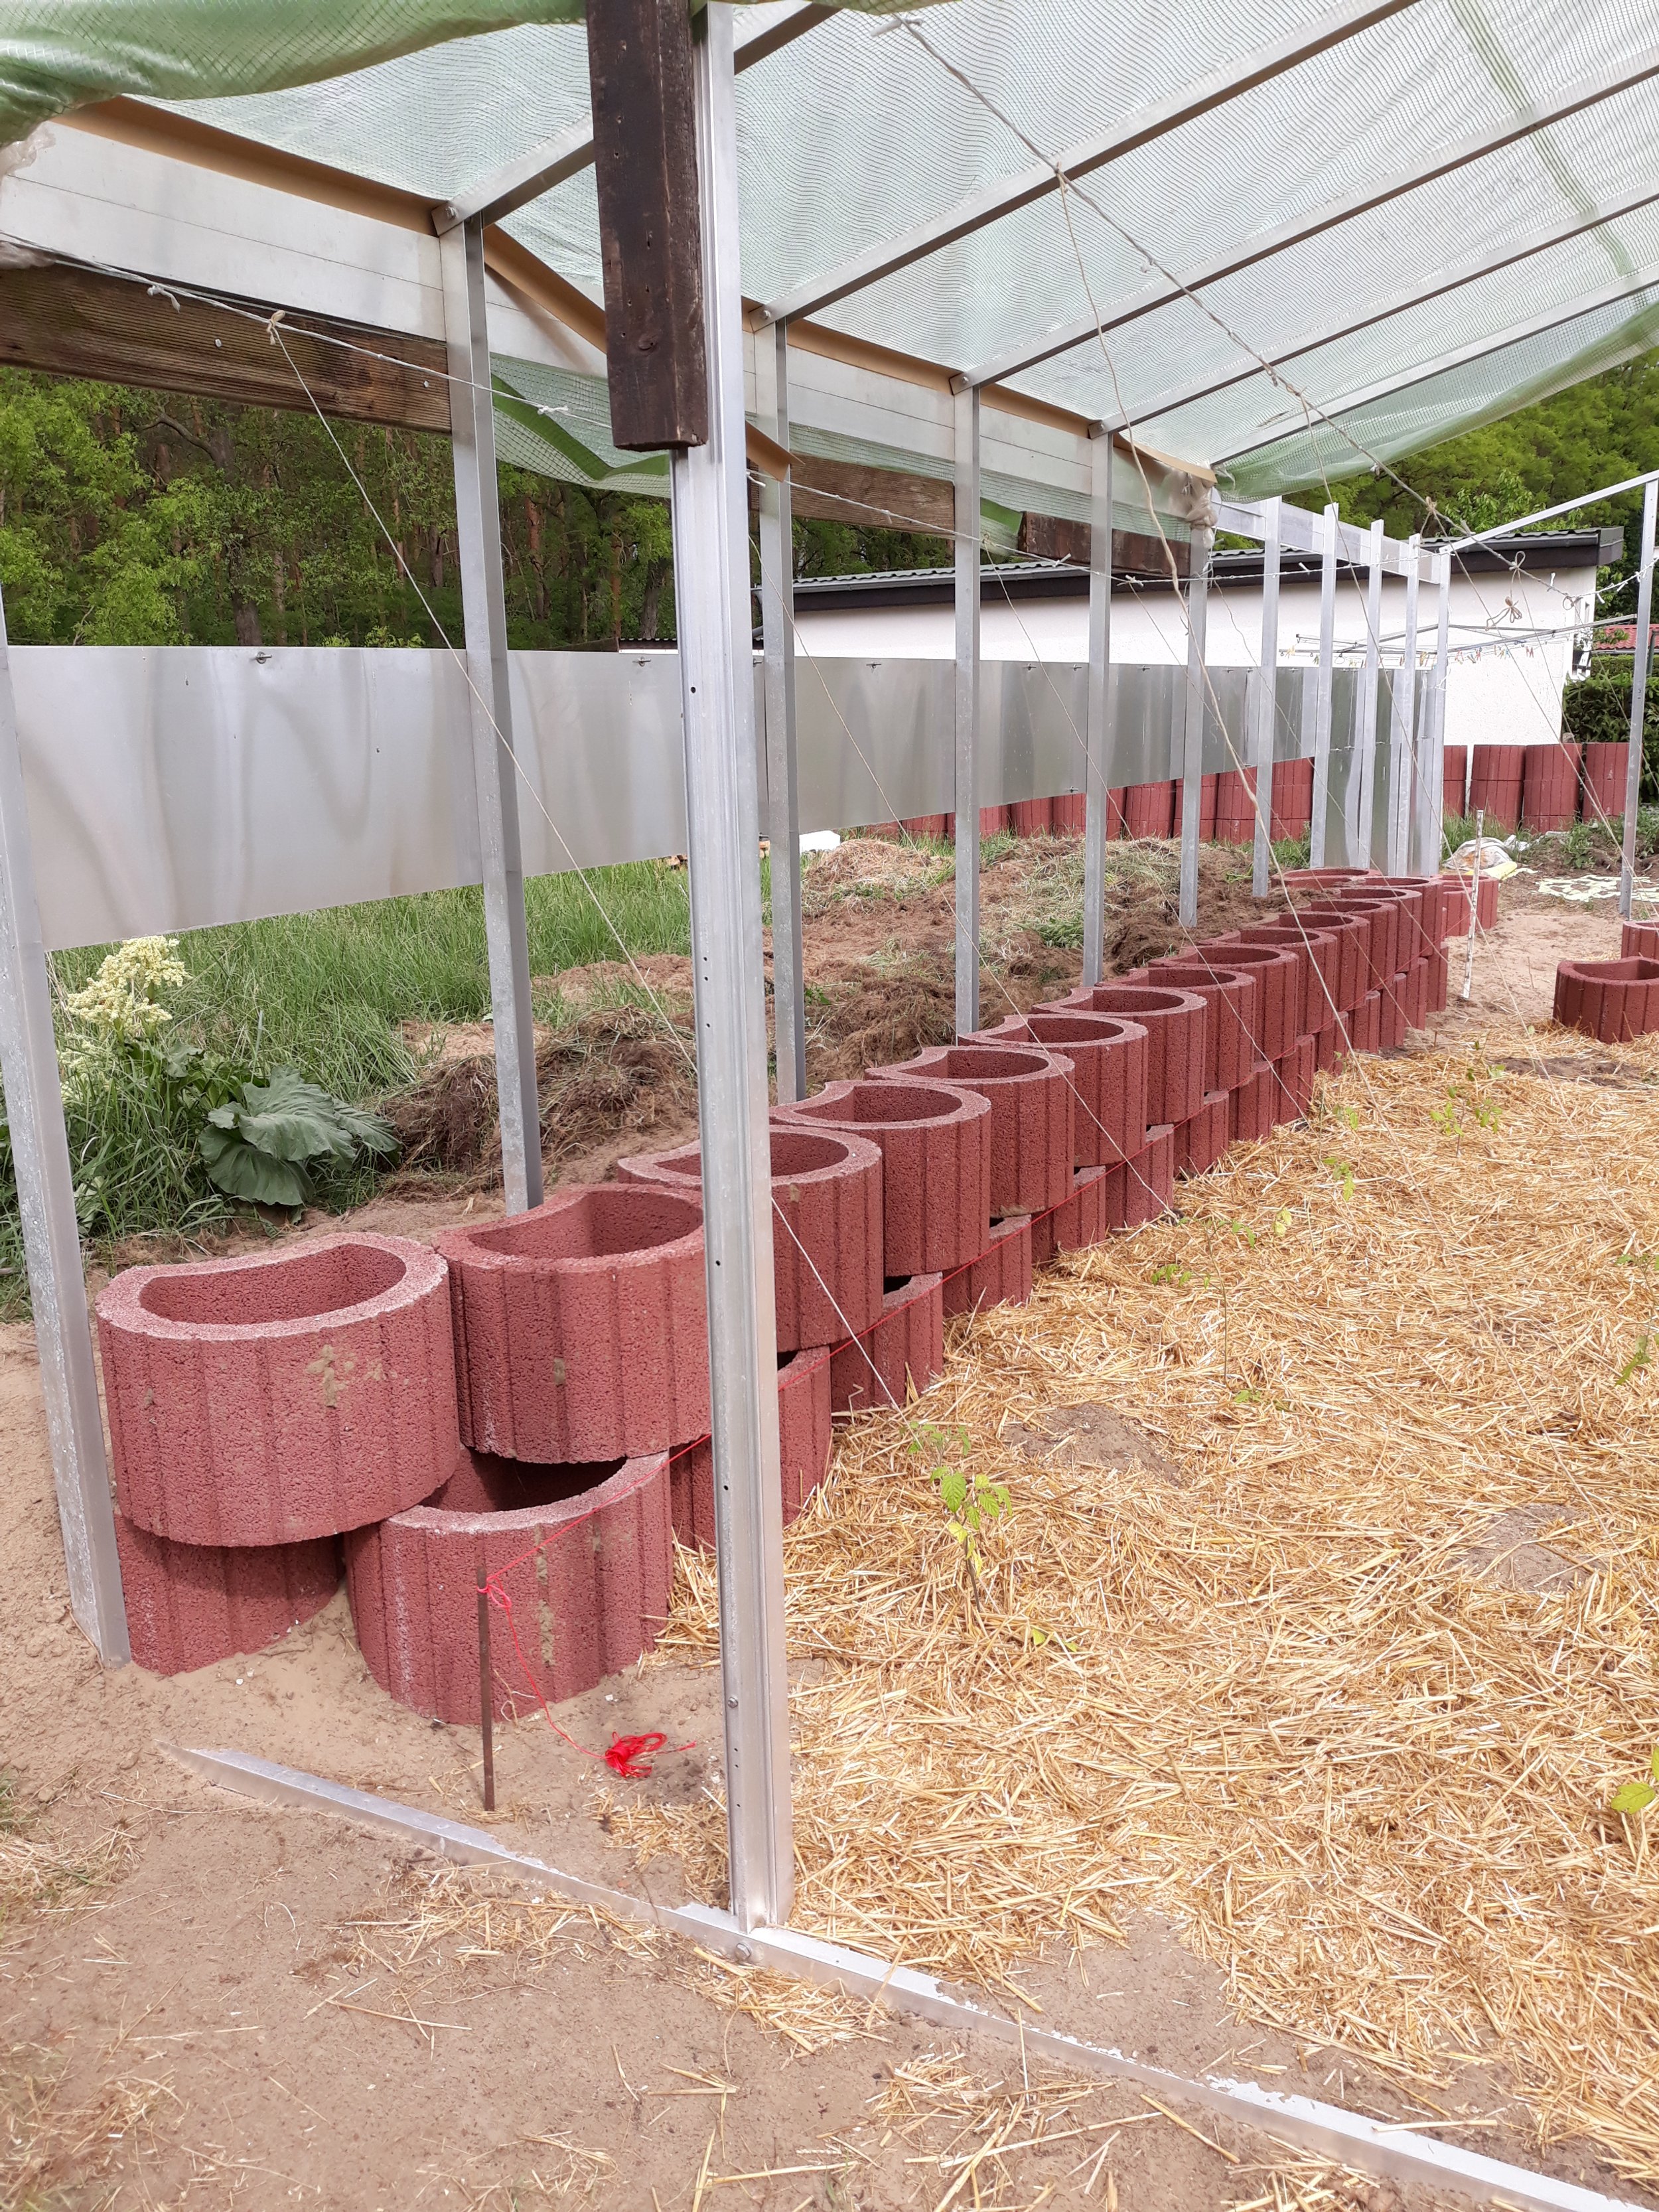
The back of the greenhouse will be buried in mounds of soil: inside, supported by the concrete planting rings, and outside, by an artificial soil slope.


Glazing
The walls, windows and doors are made of acrylic multi-wall. I haven’t succeeded in finding out a solution to enable installation by one person. The work is tedious and requires two persons, one from outside and one from inside.
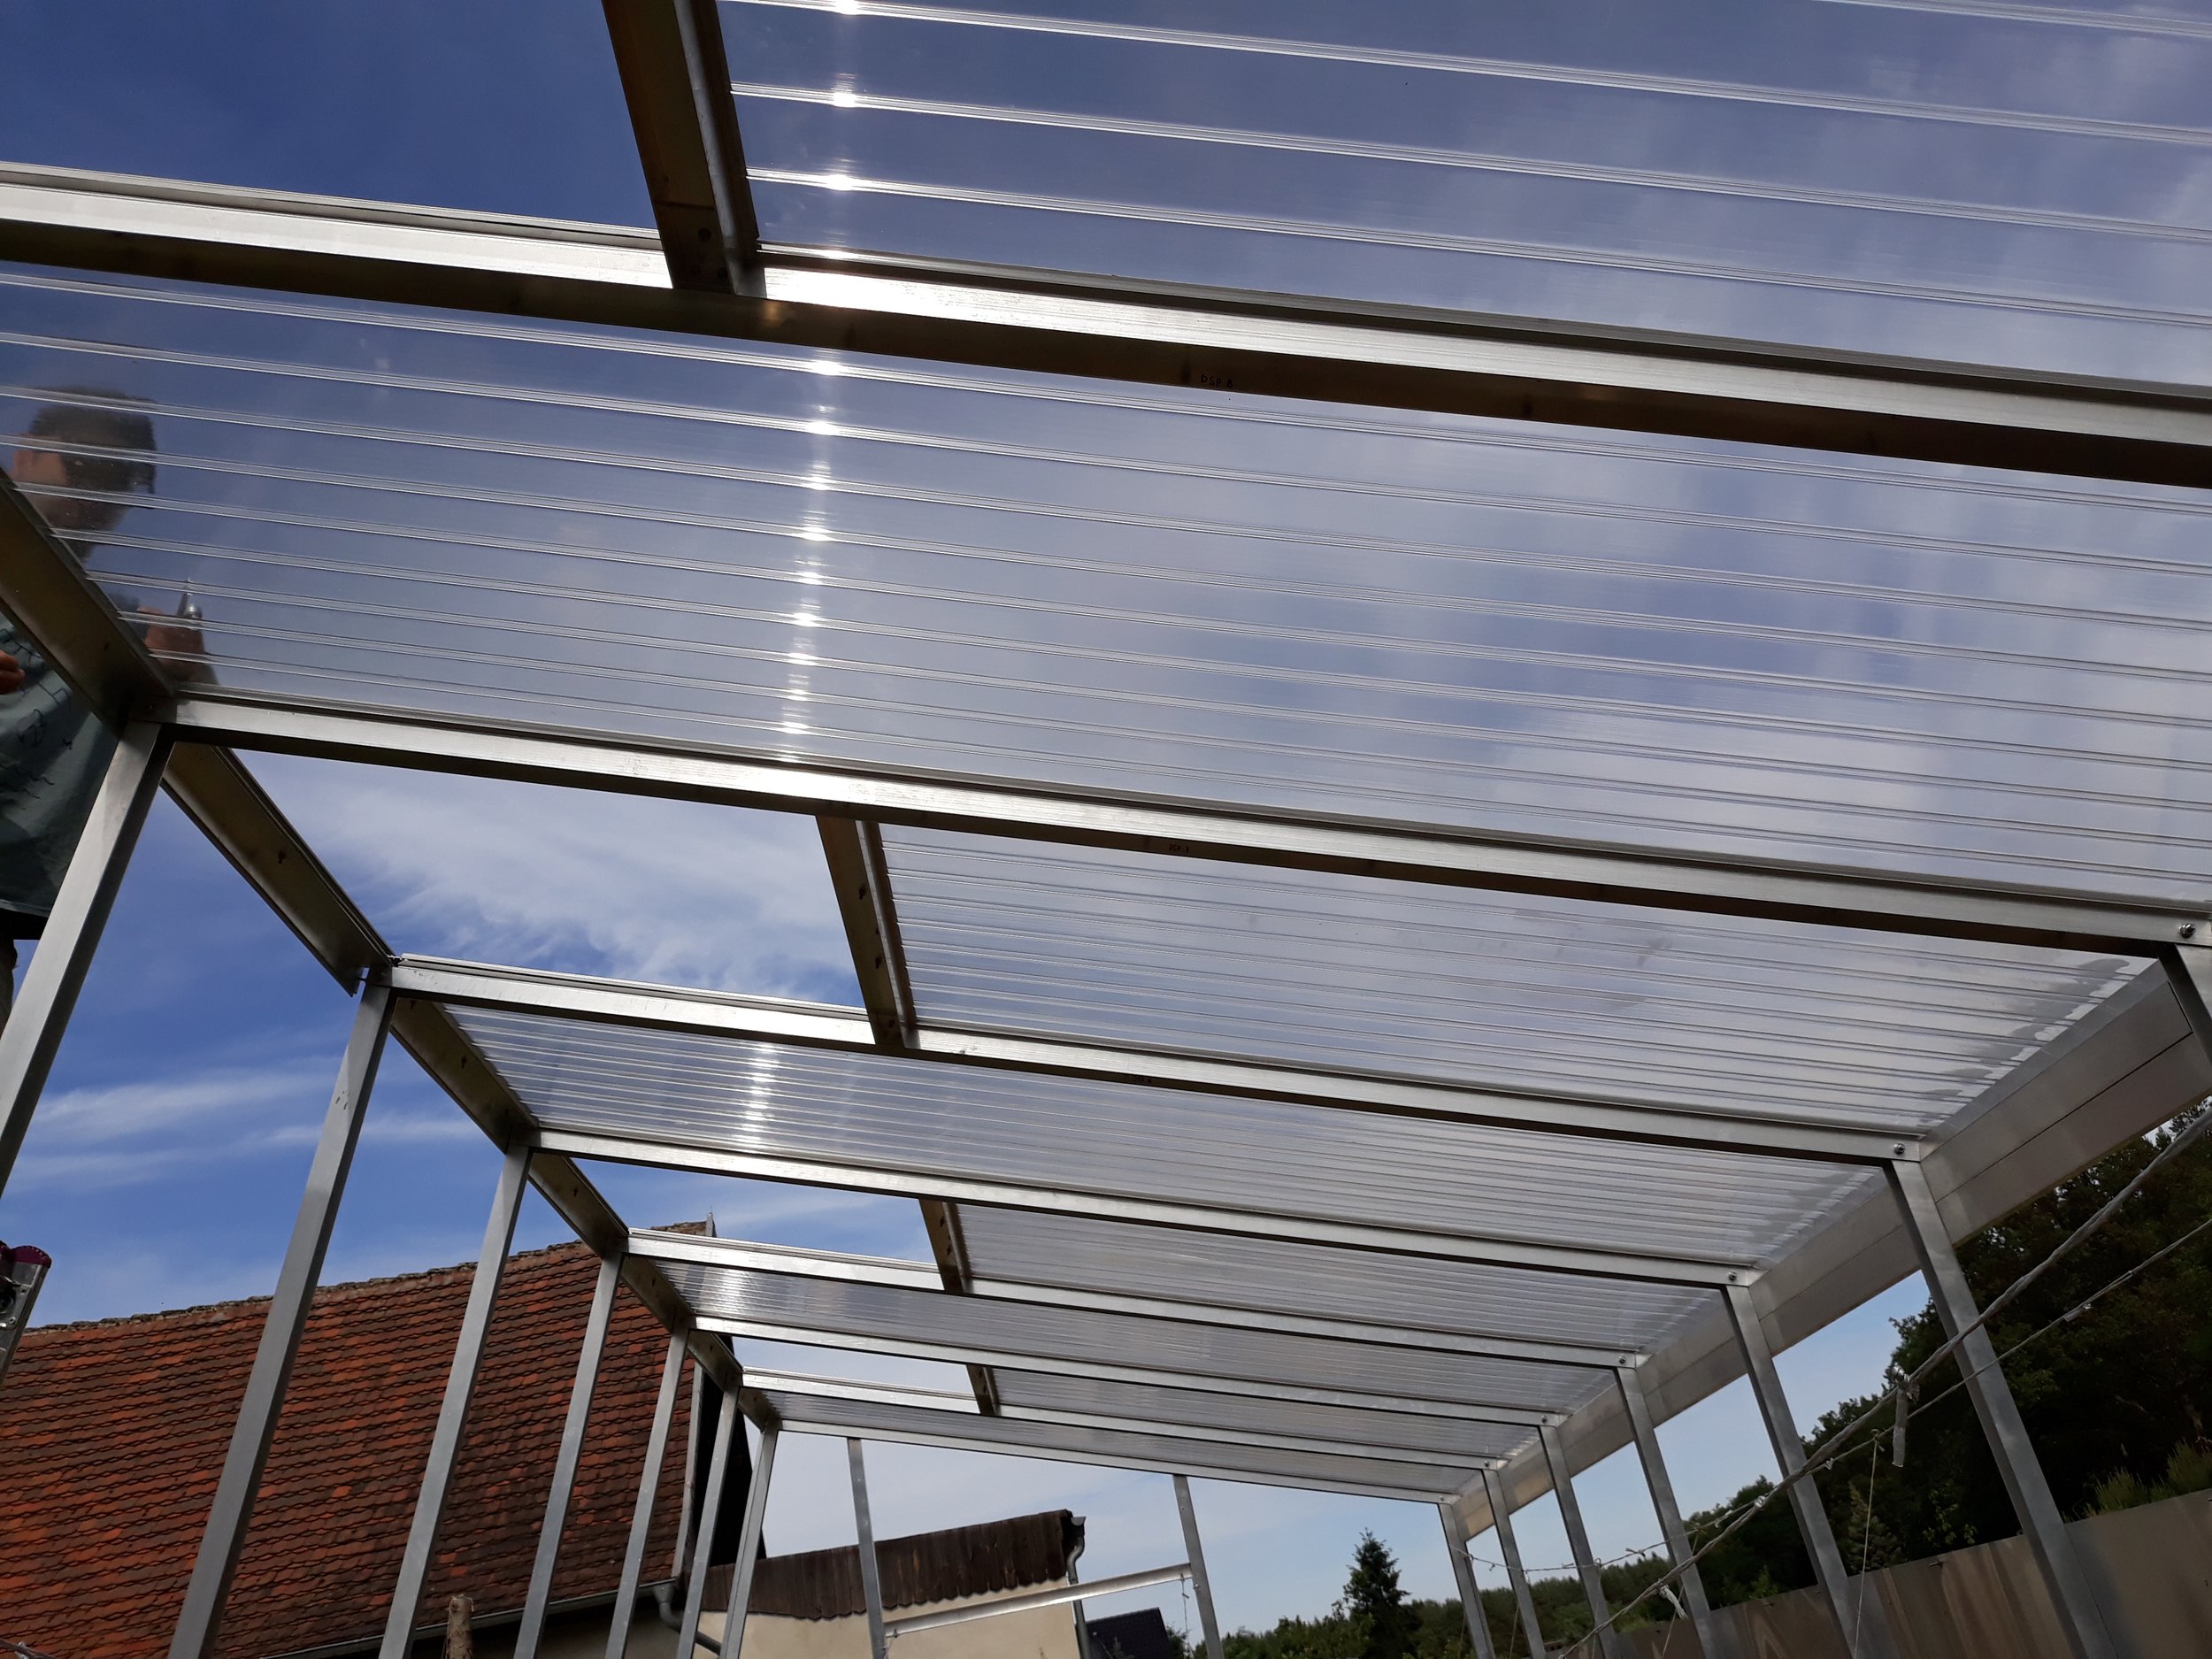
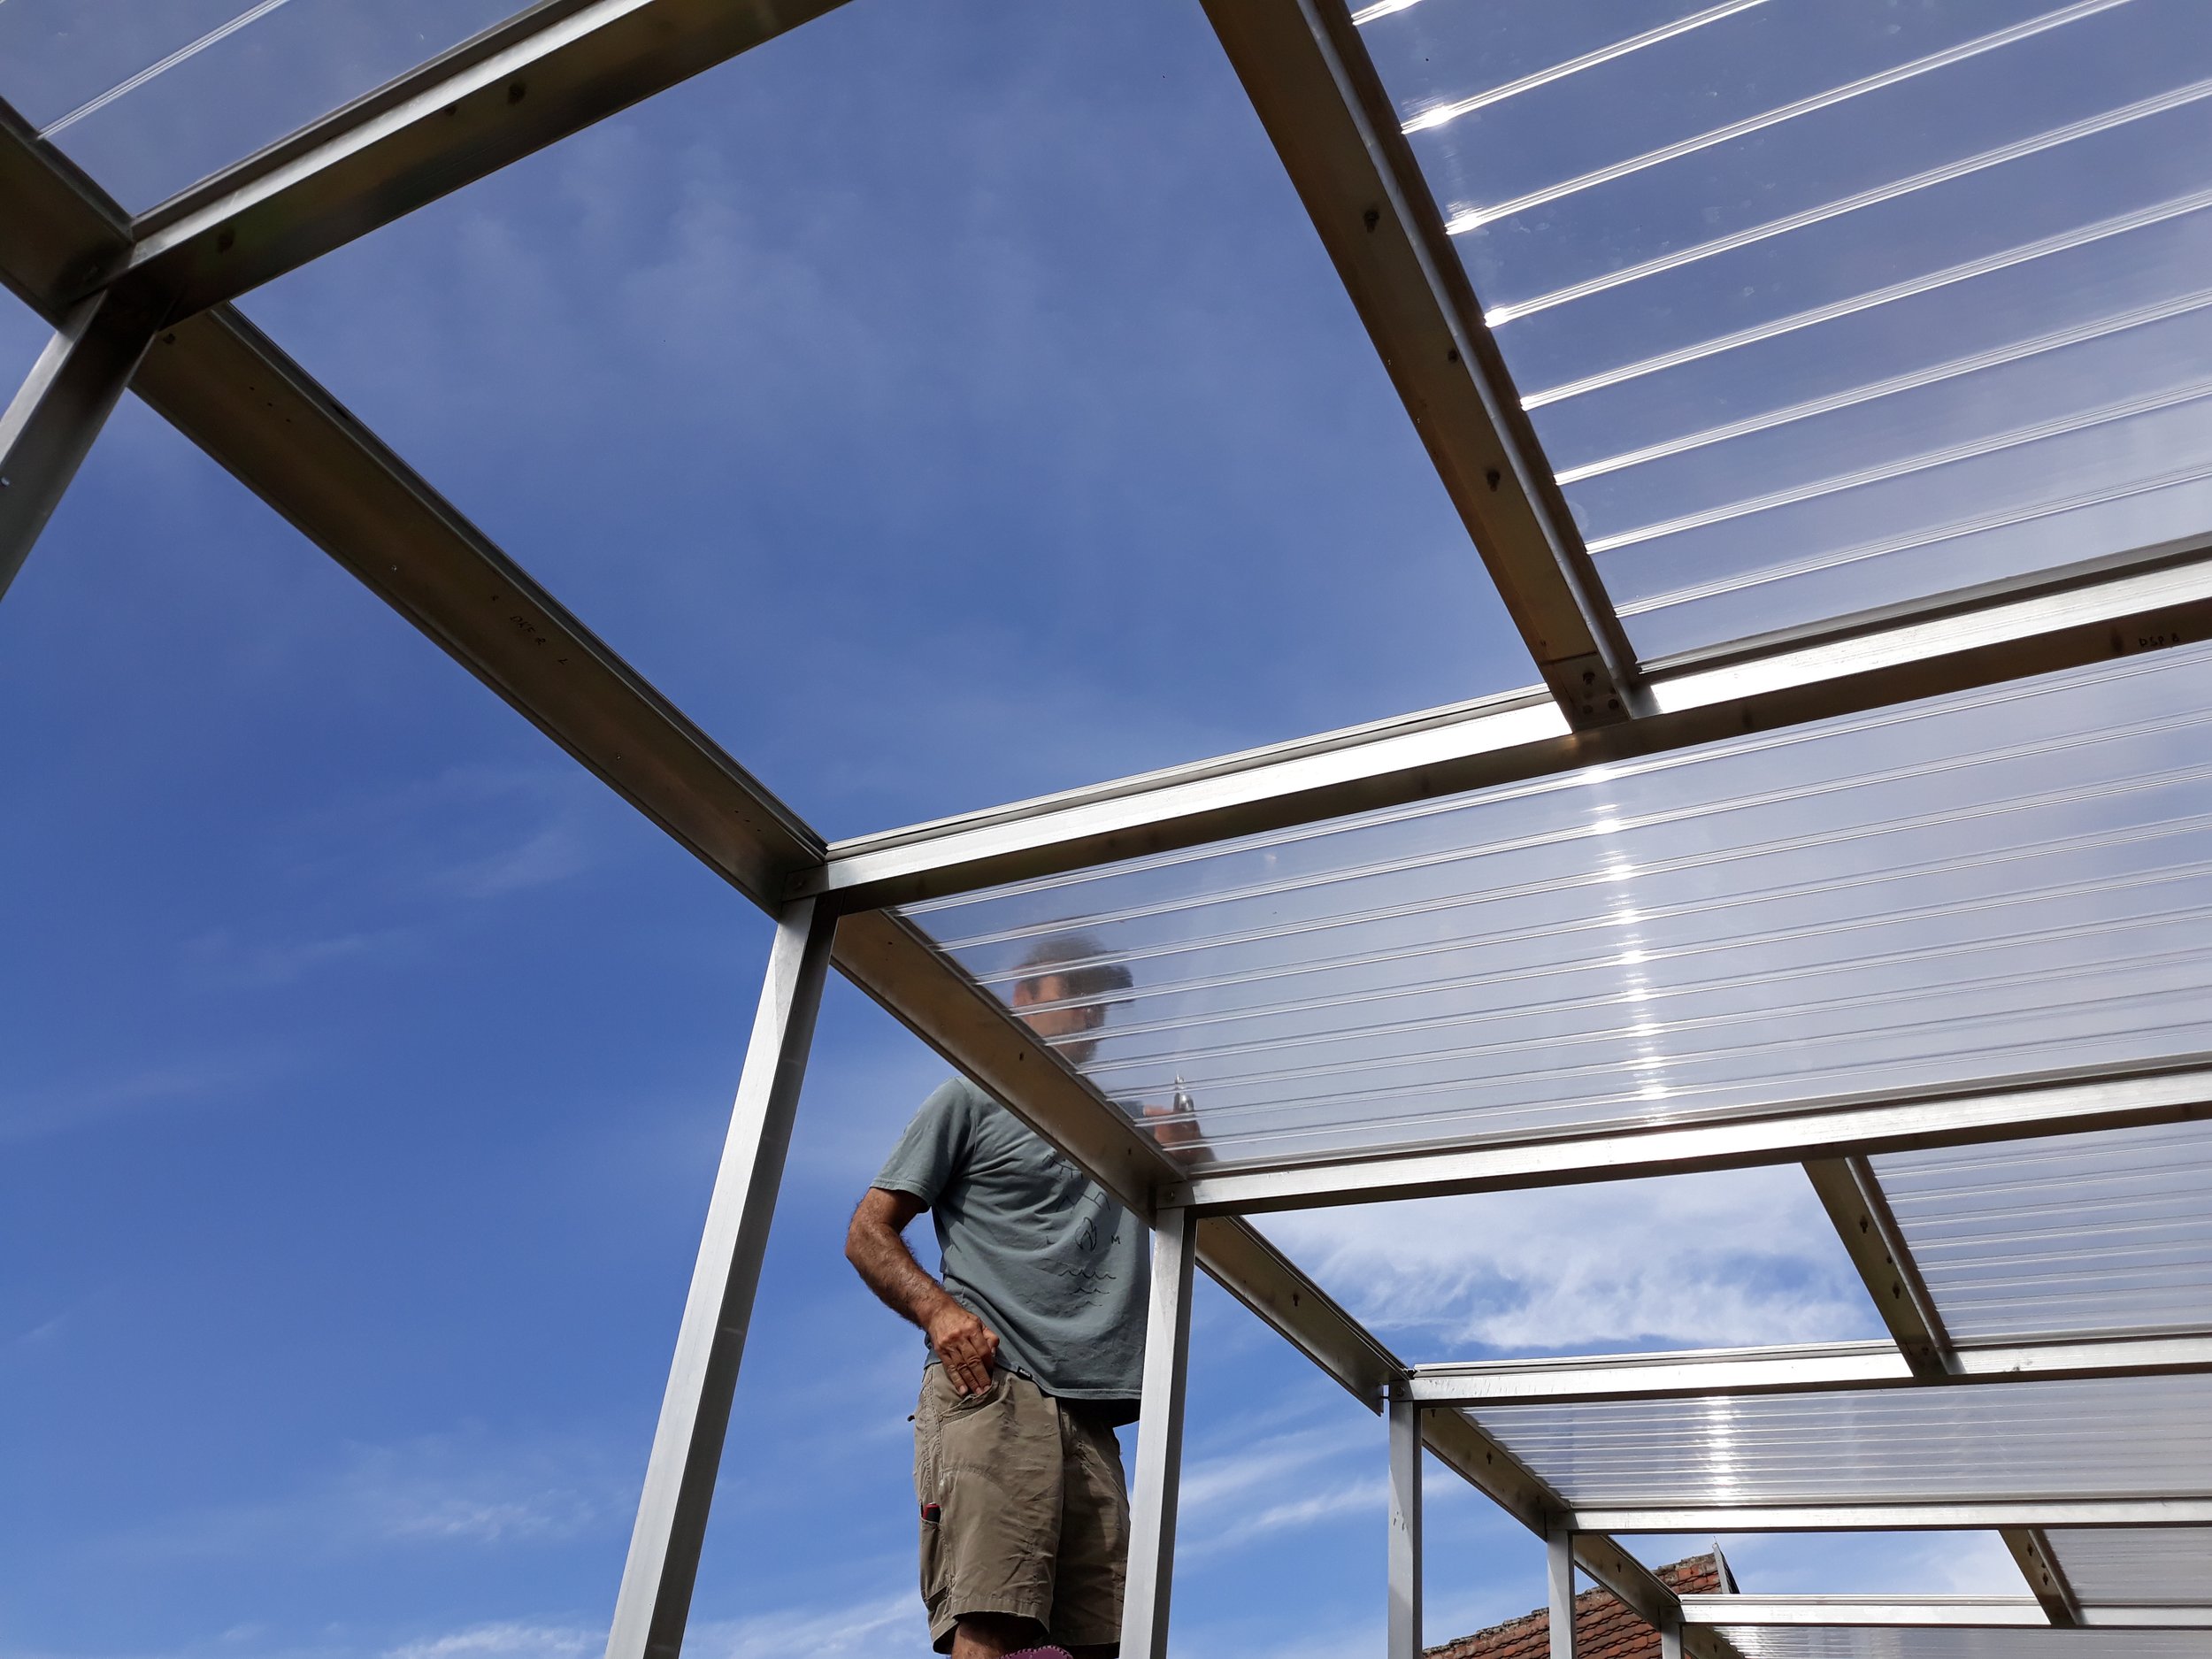
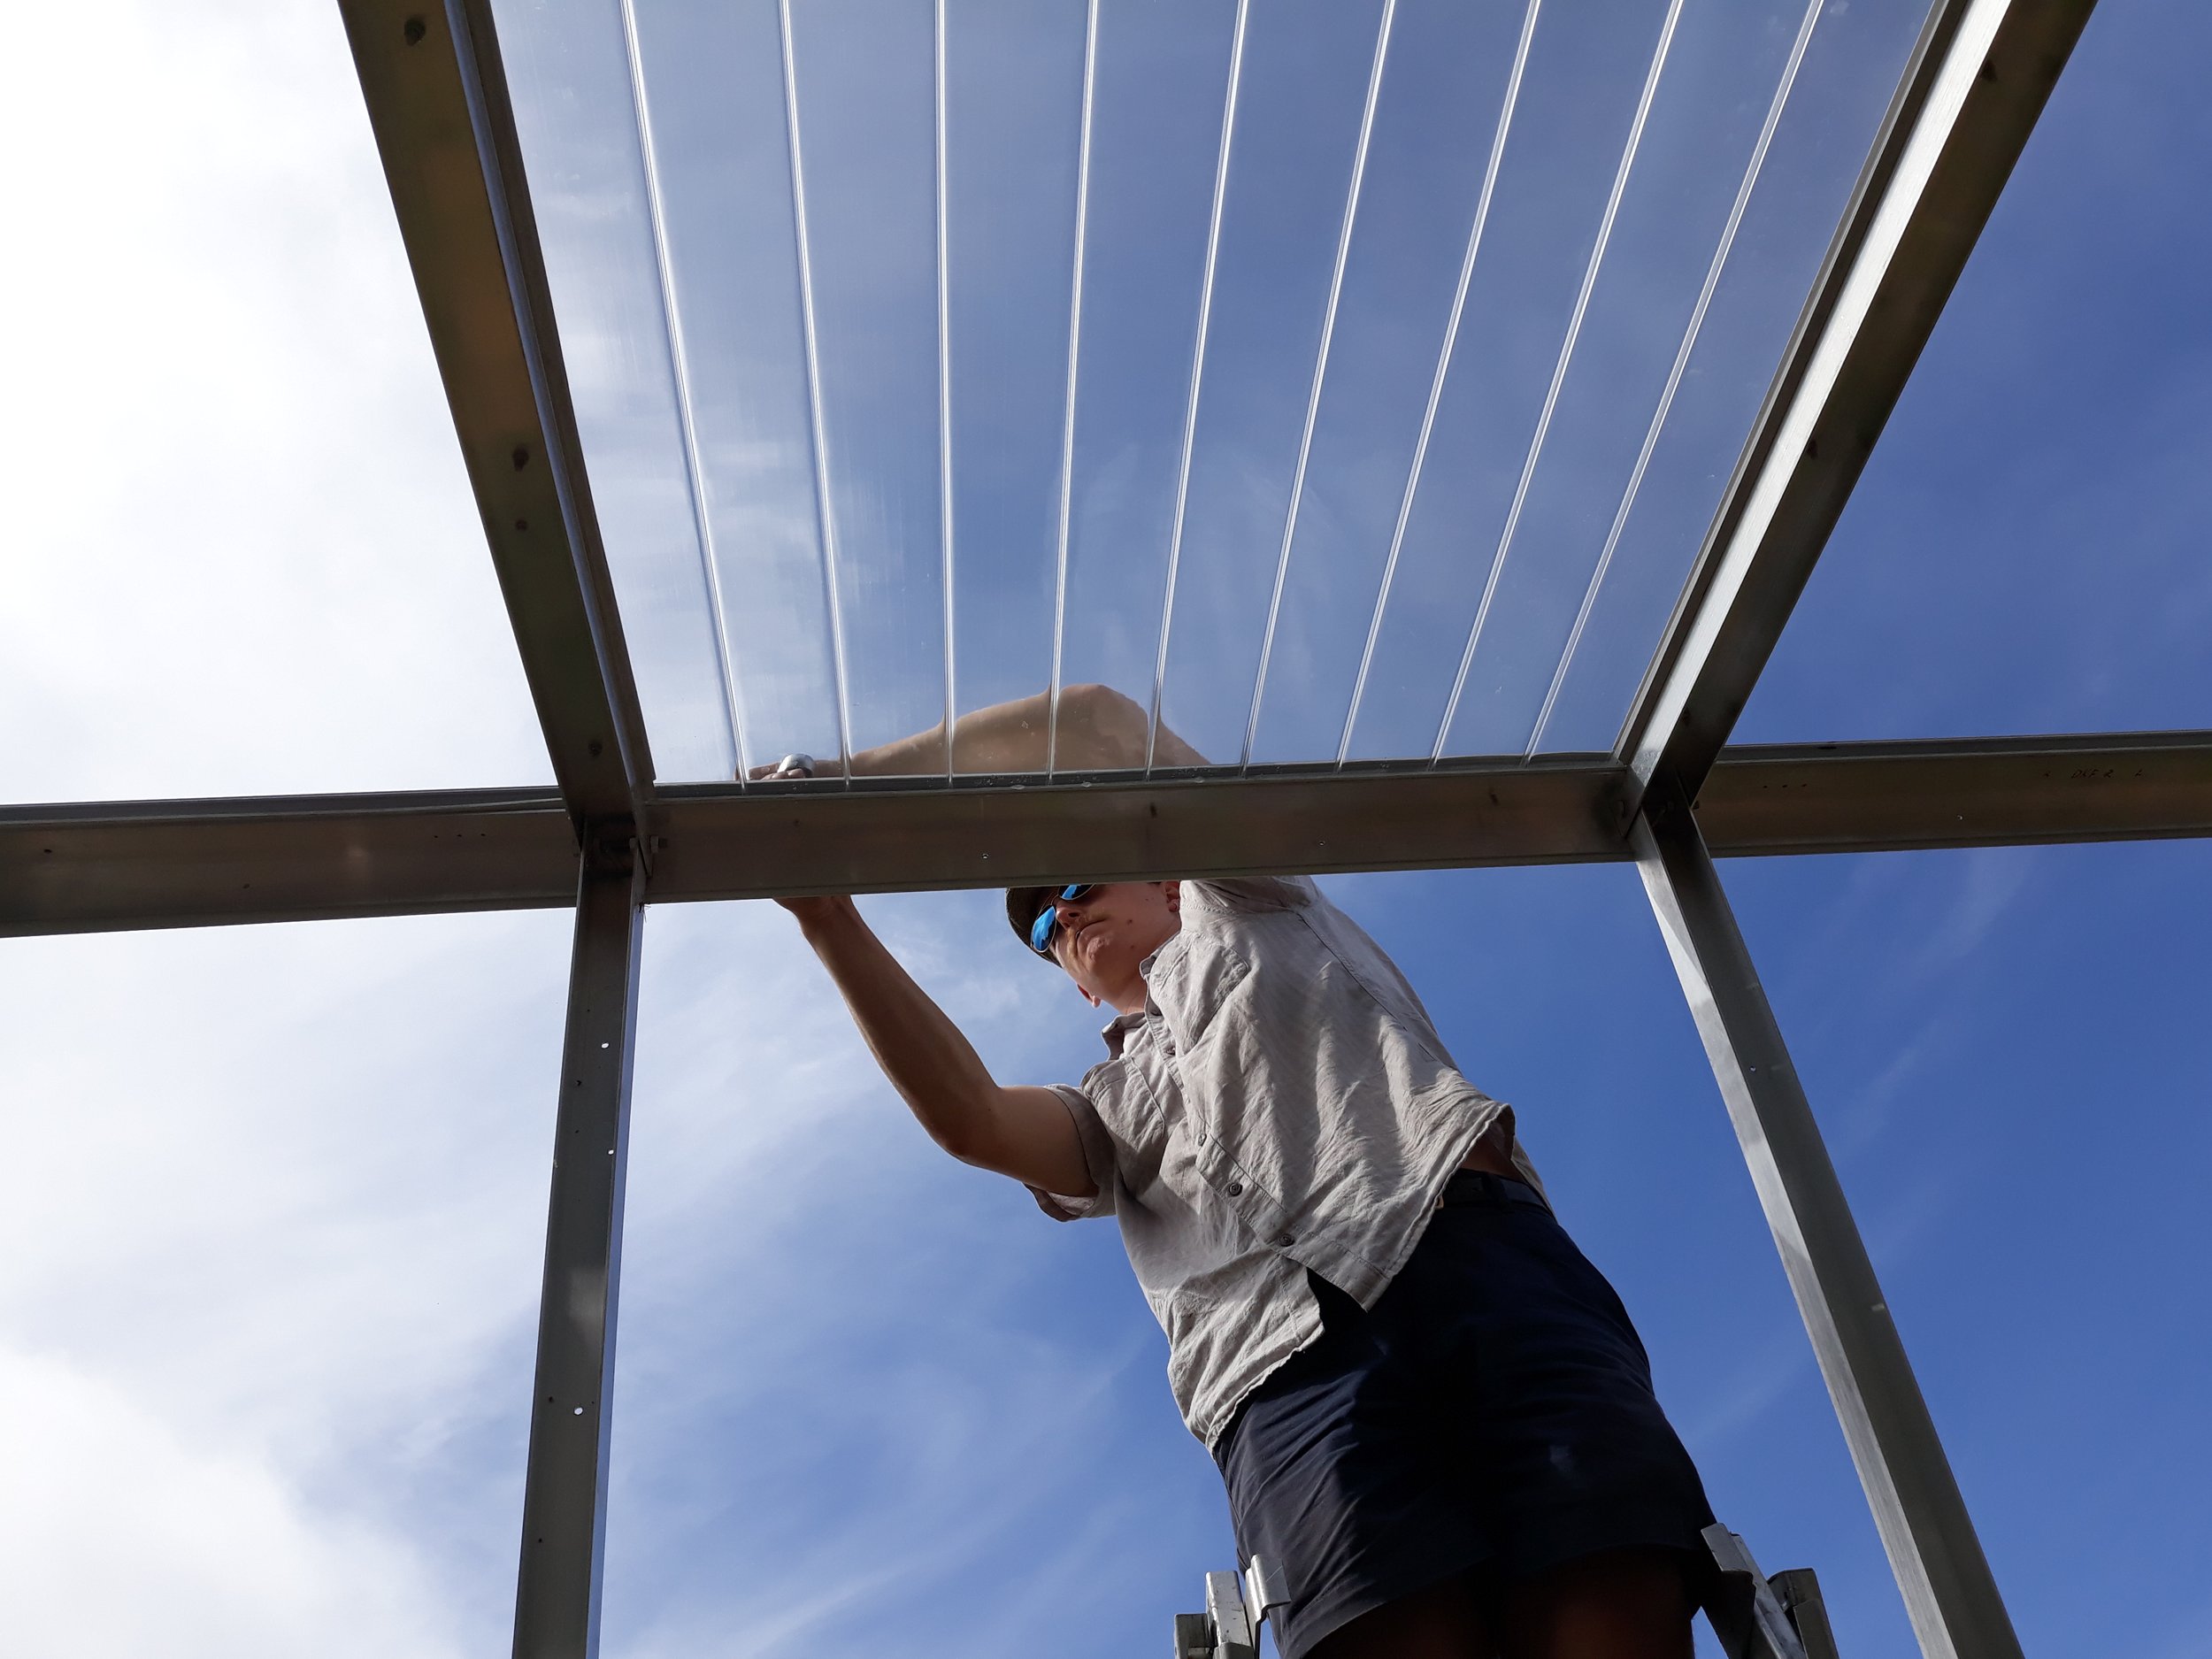

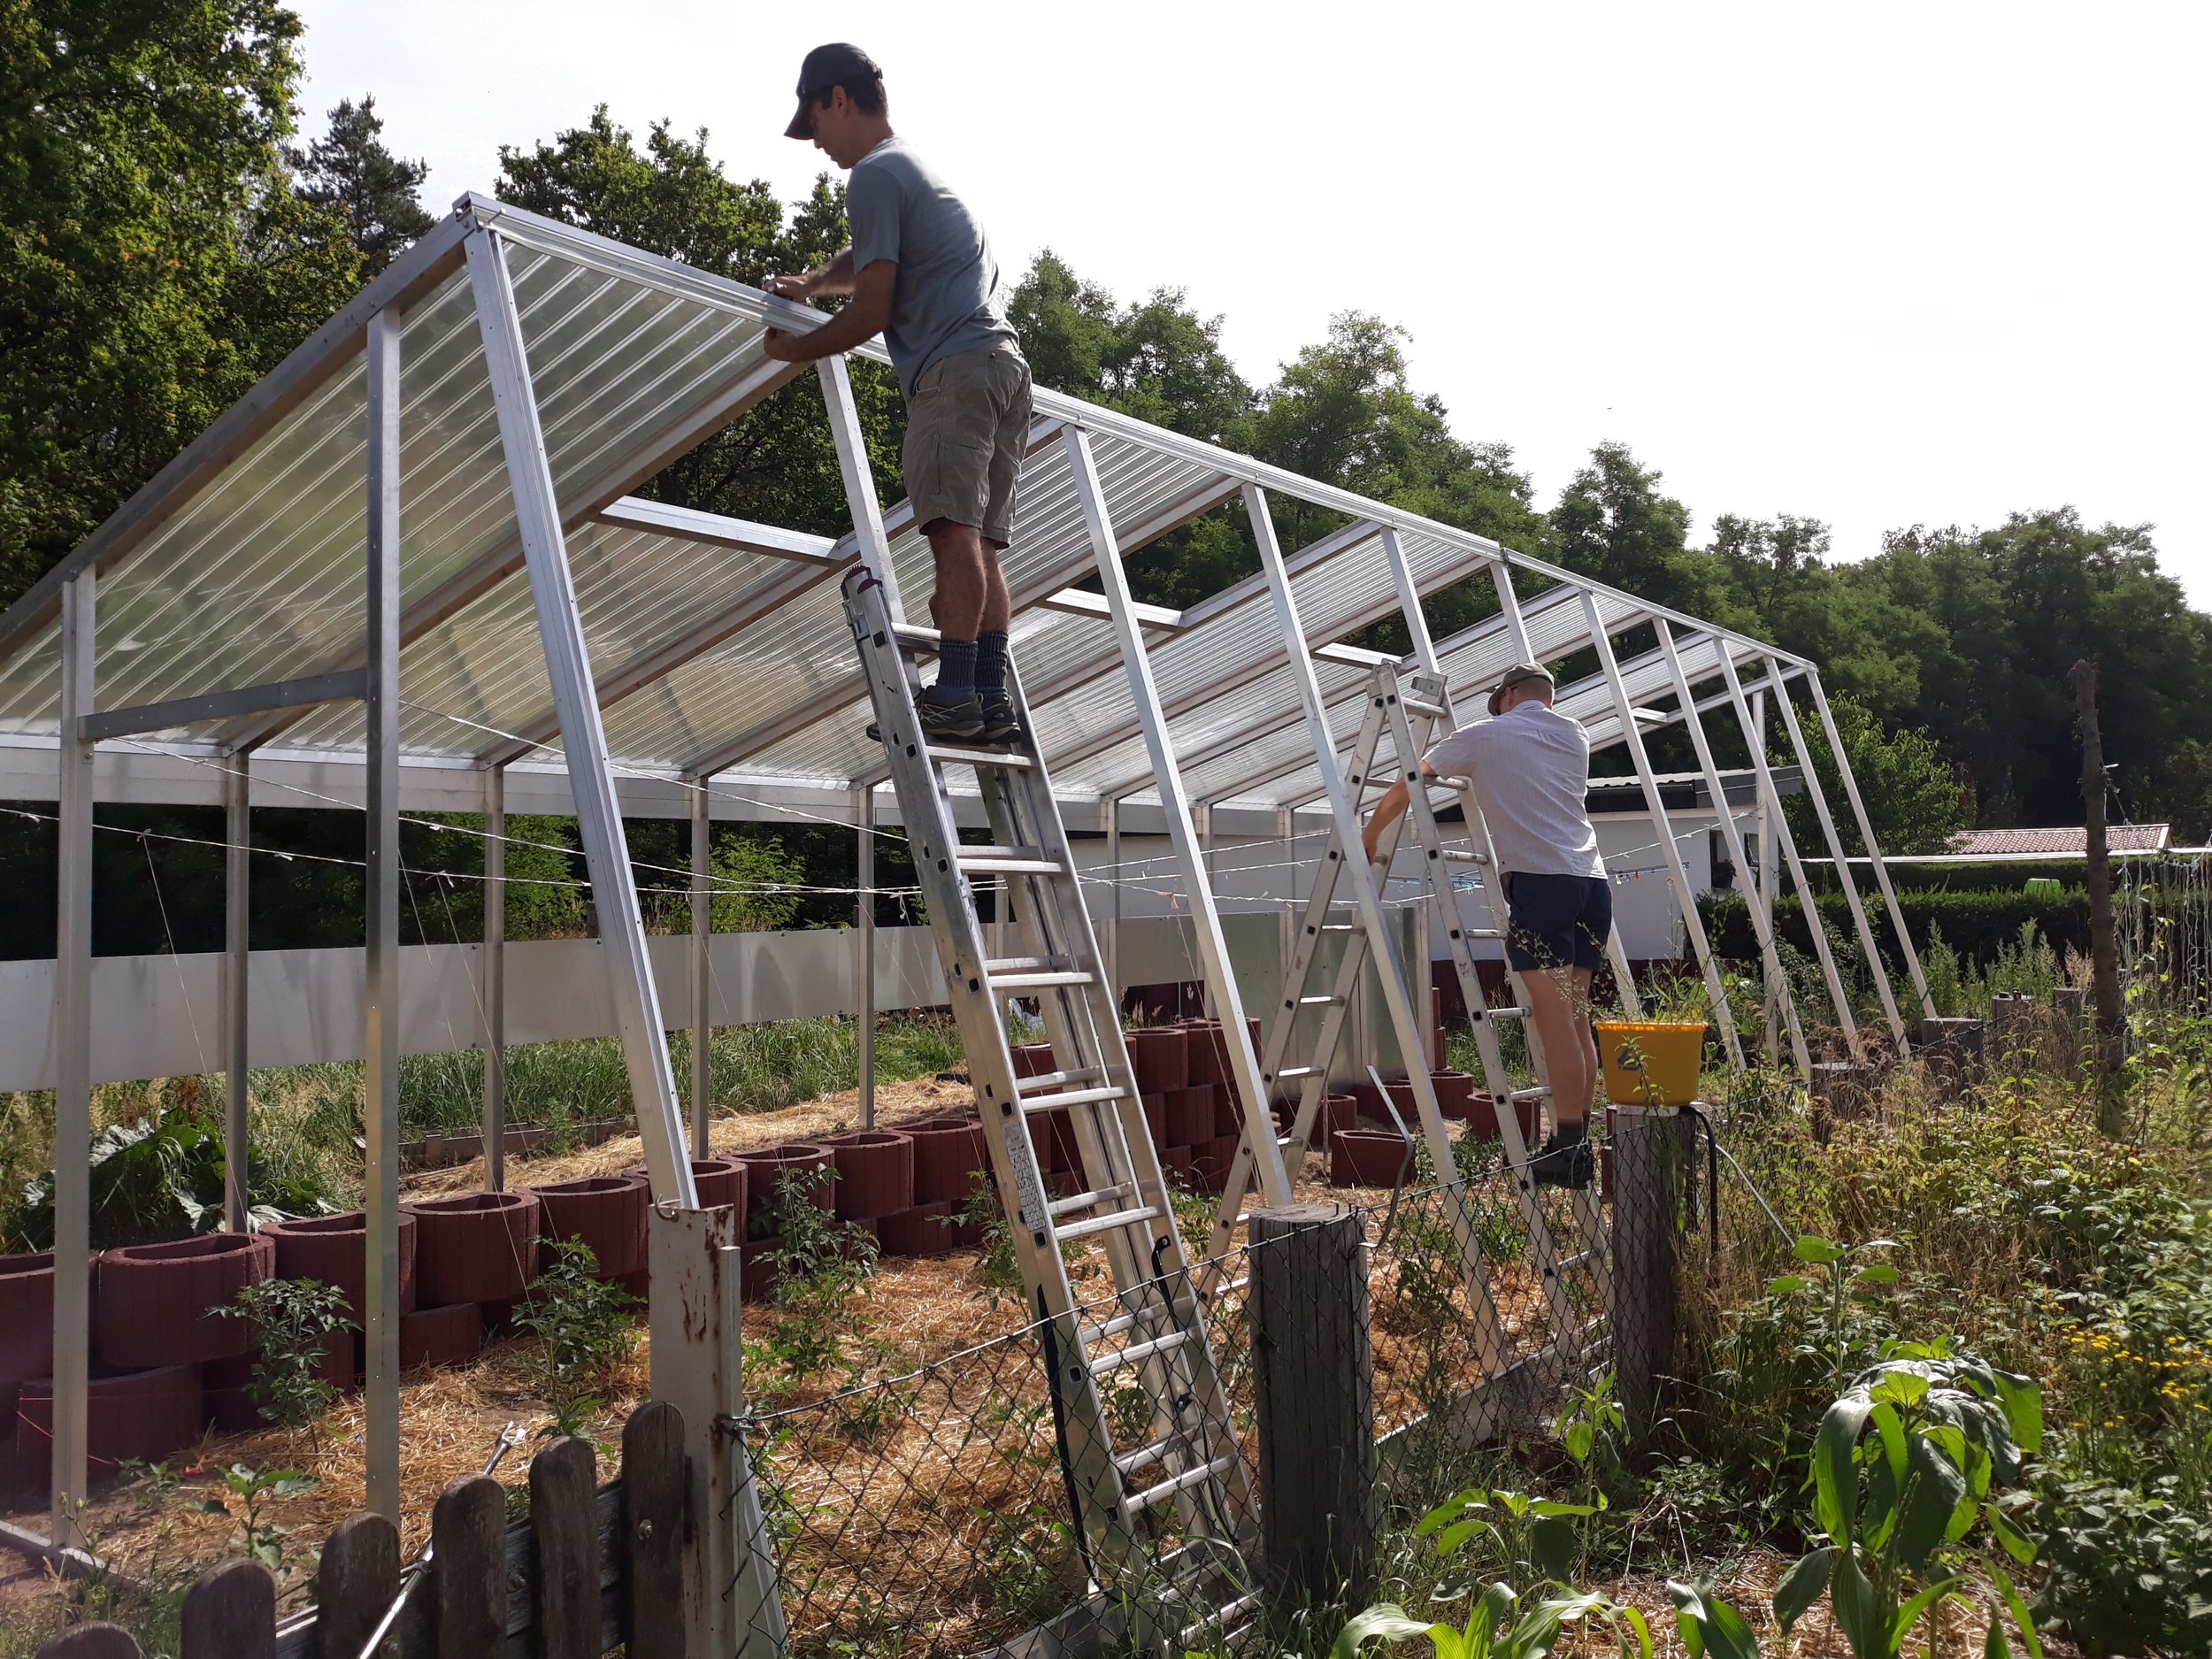
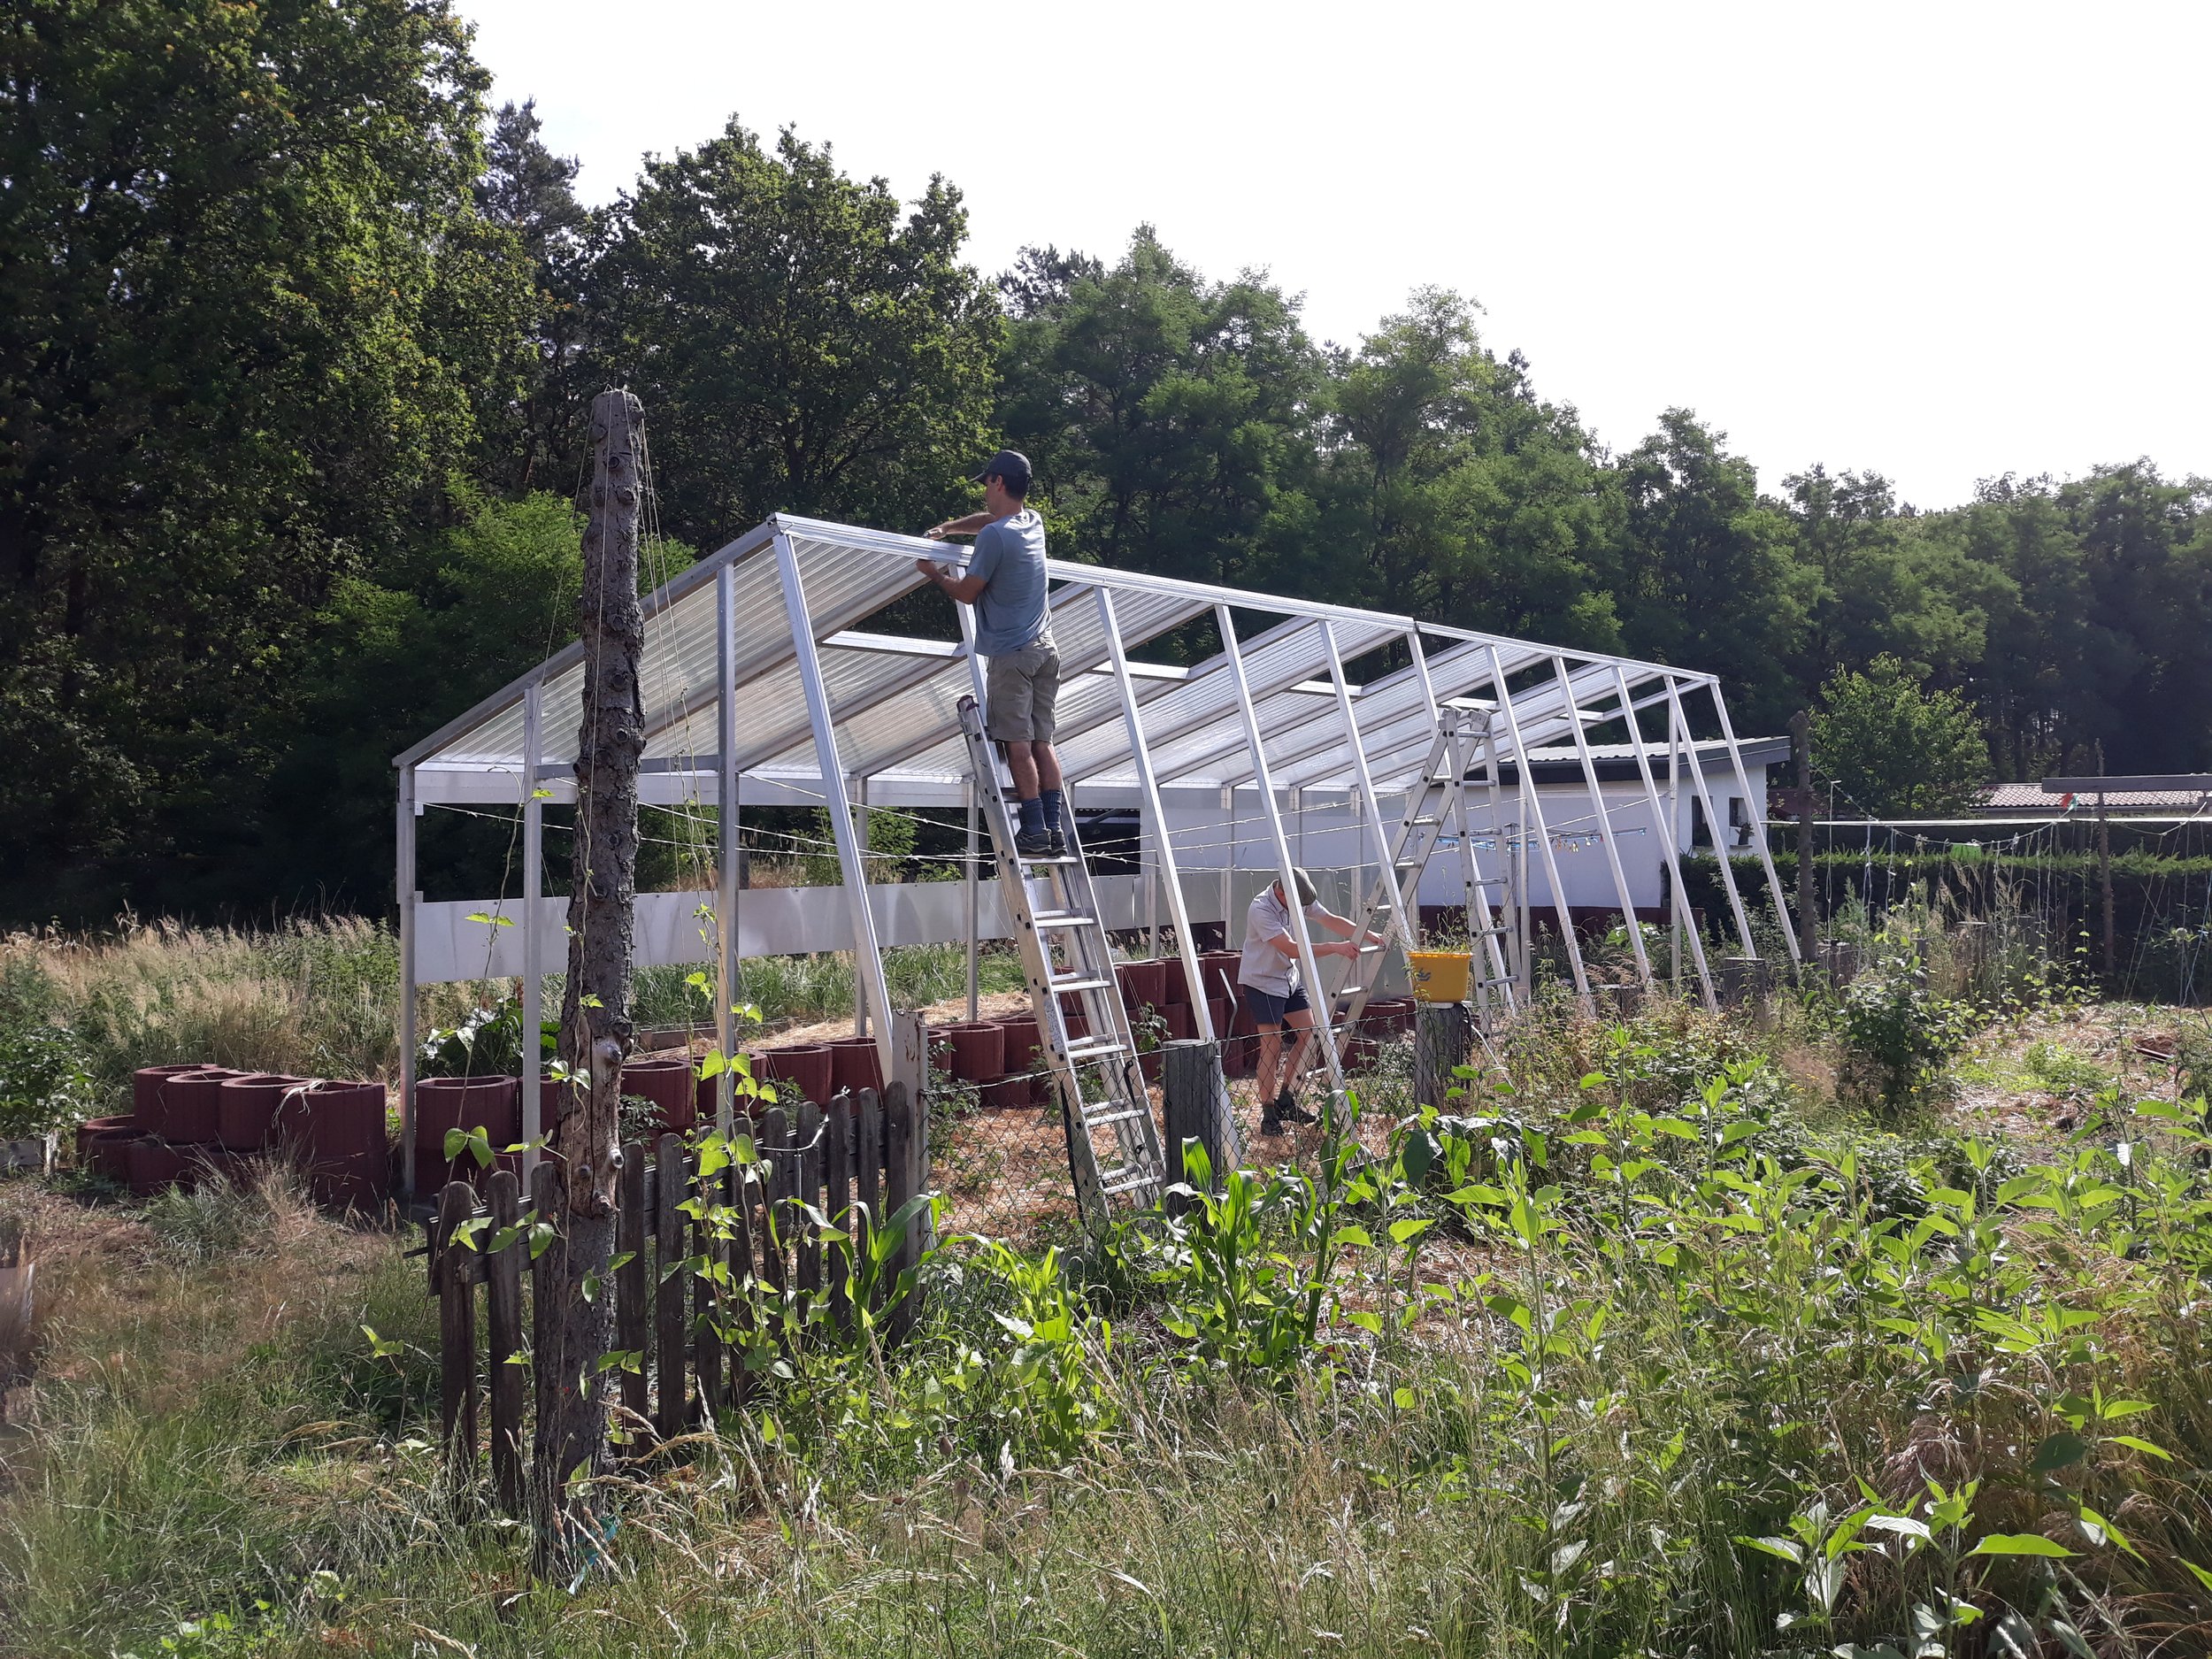
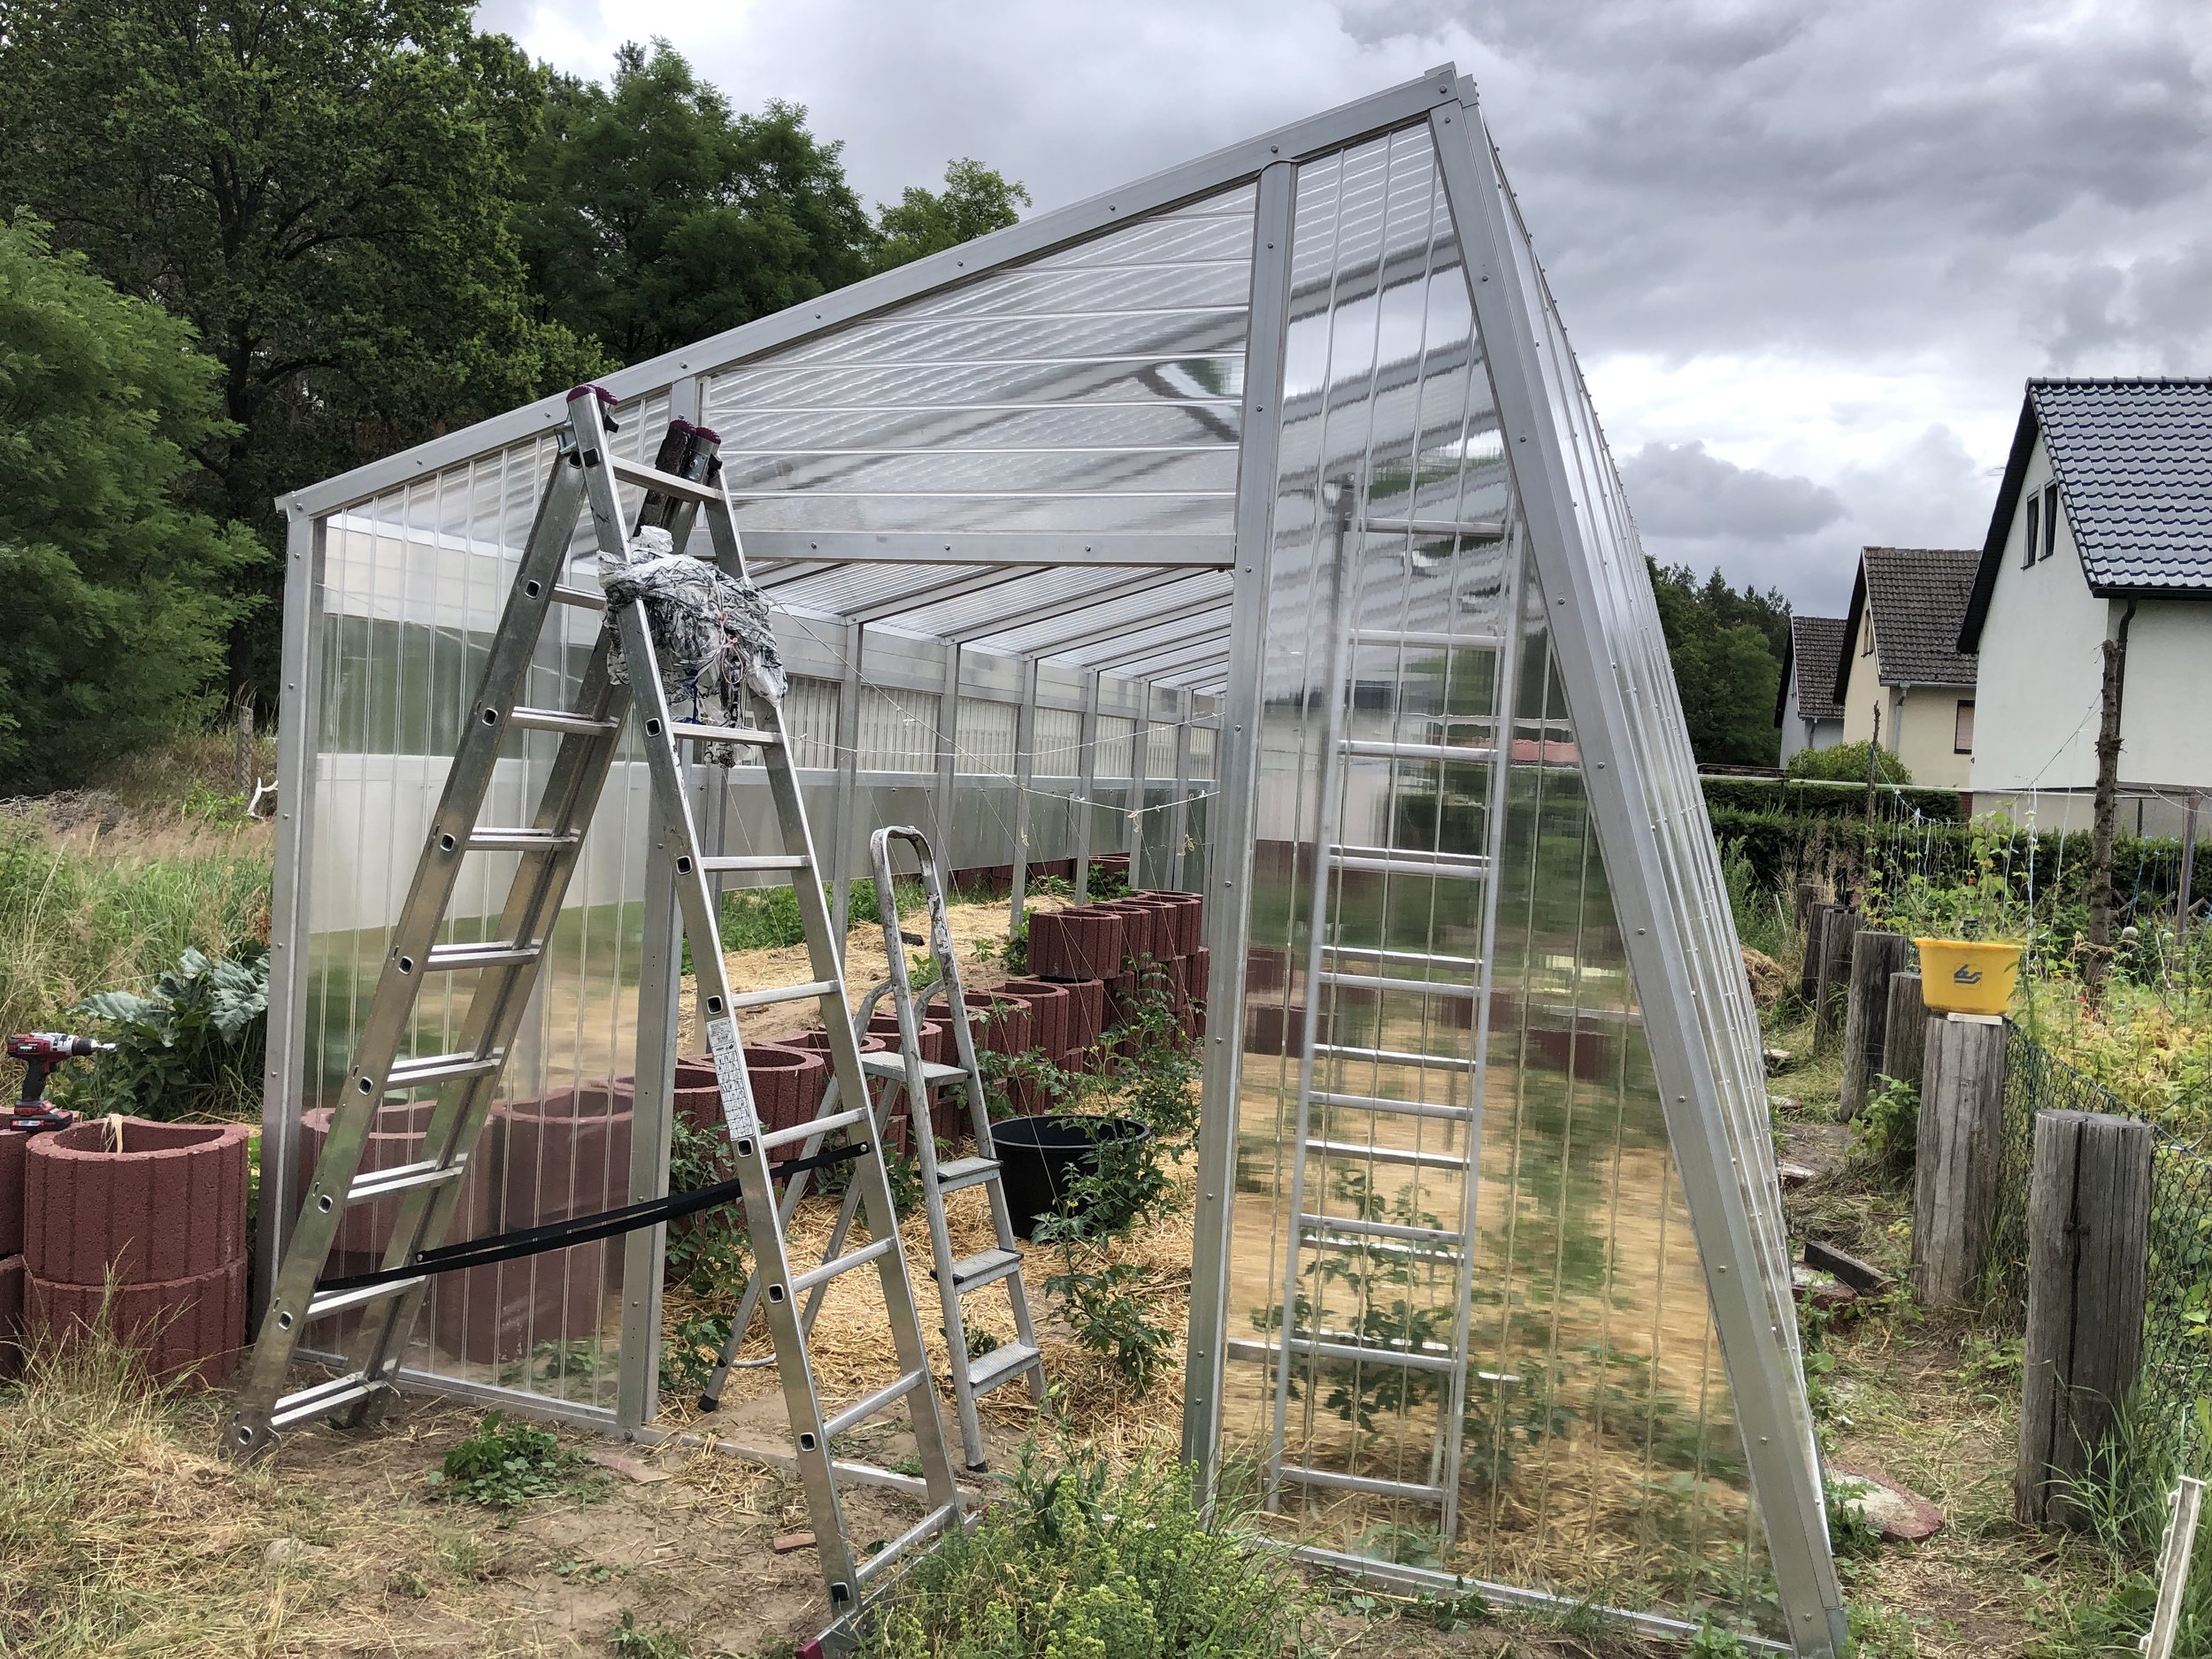


The window frame is constructed from strong aluminum extrudes and a set of the lighter fastening profiles.


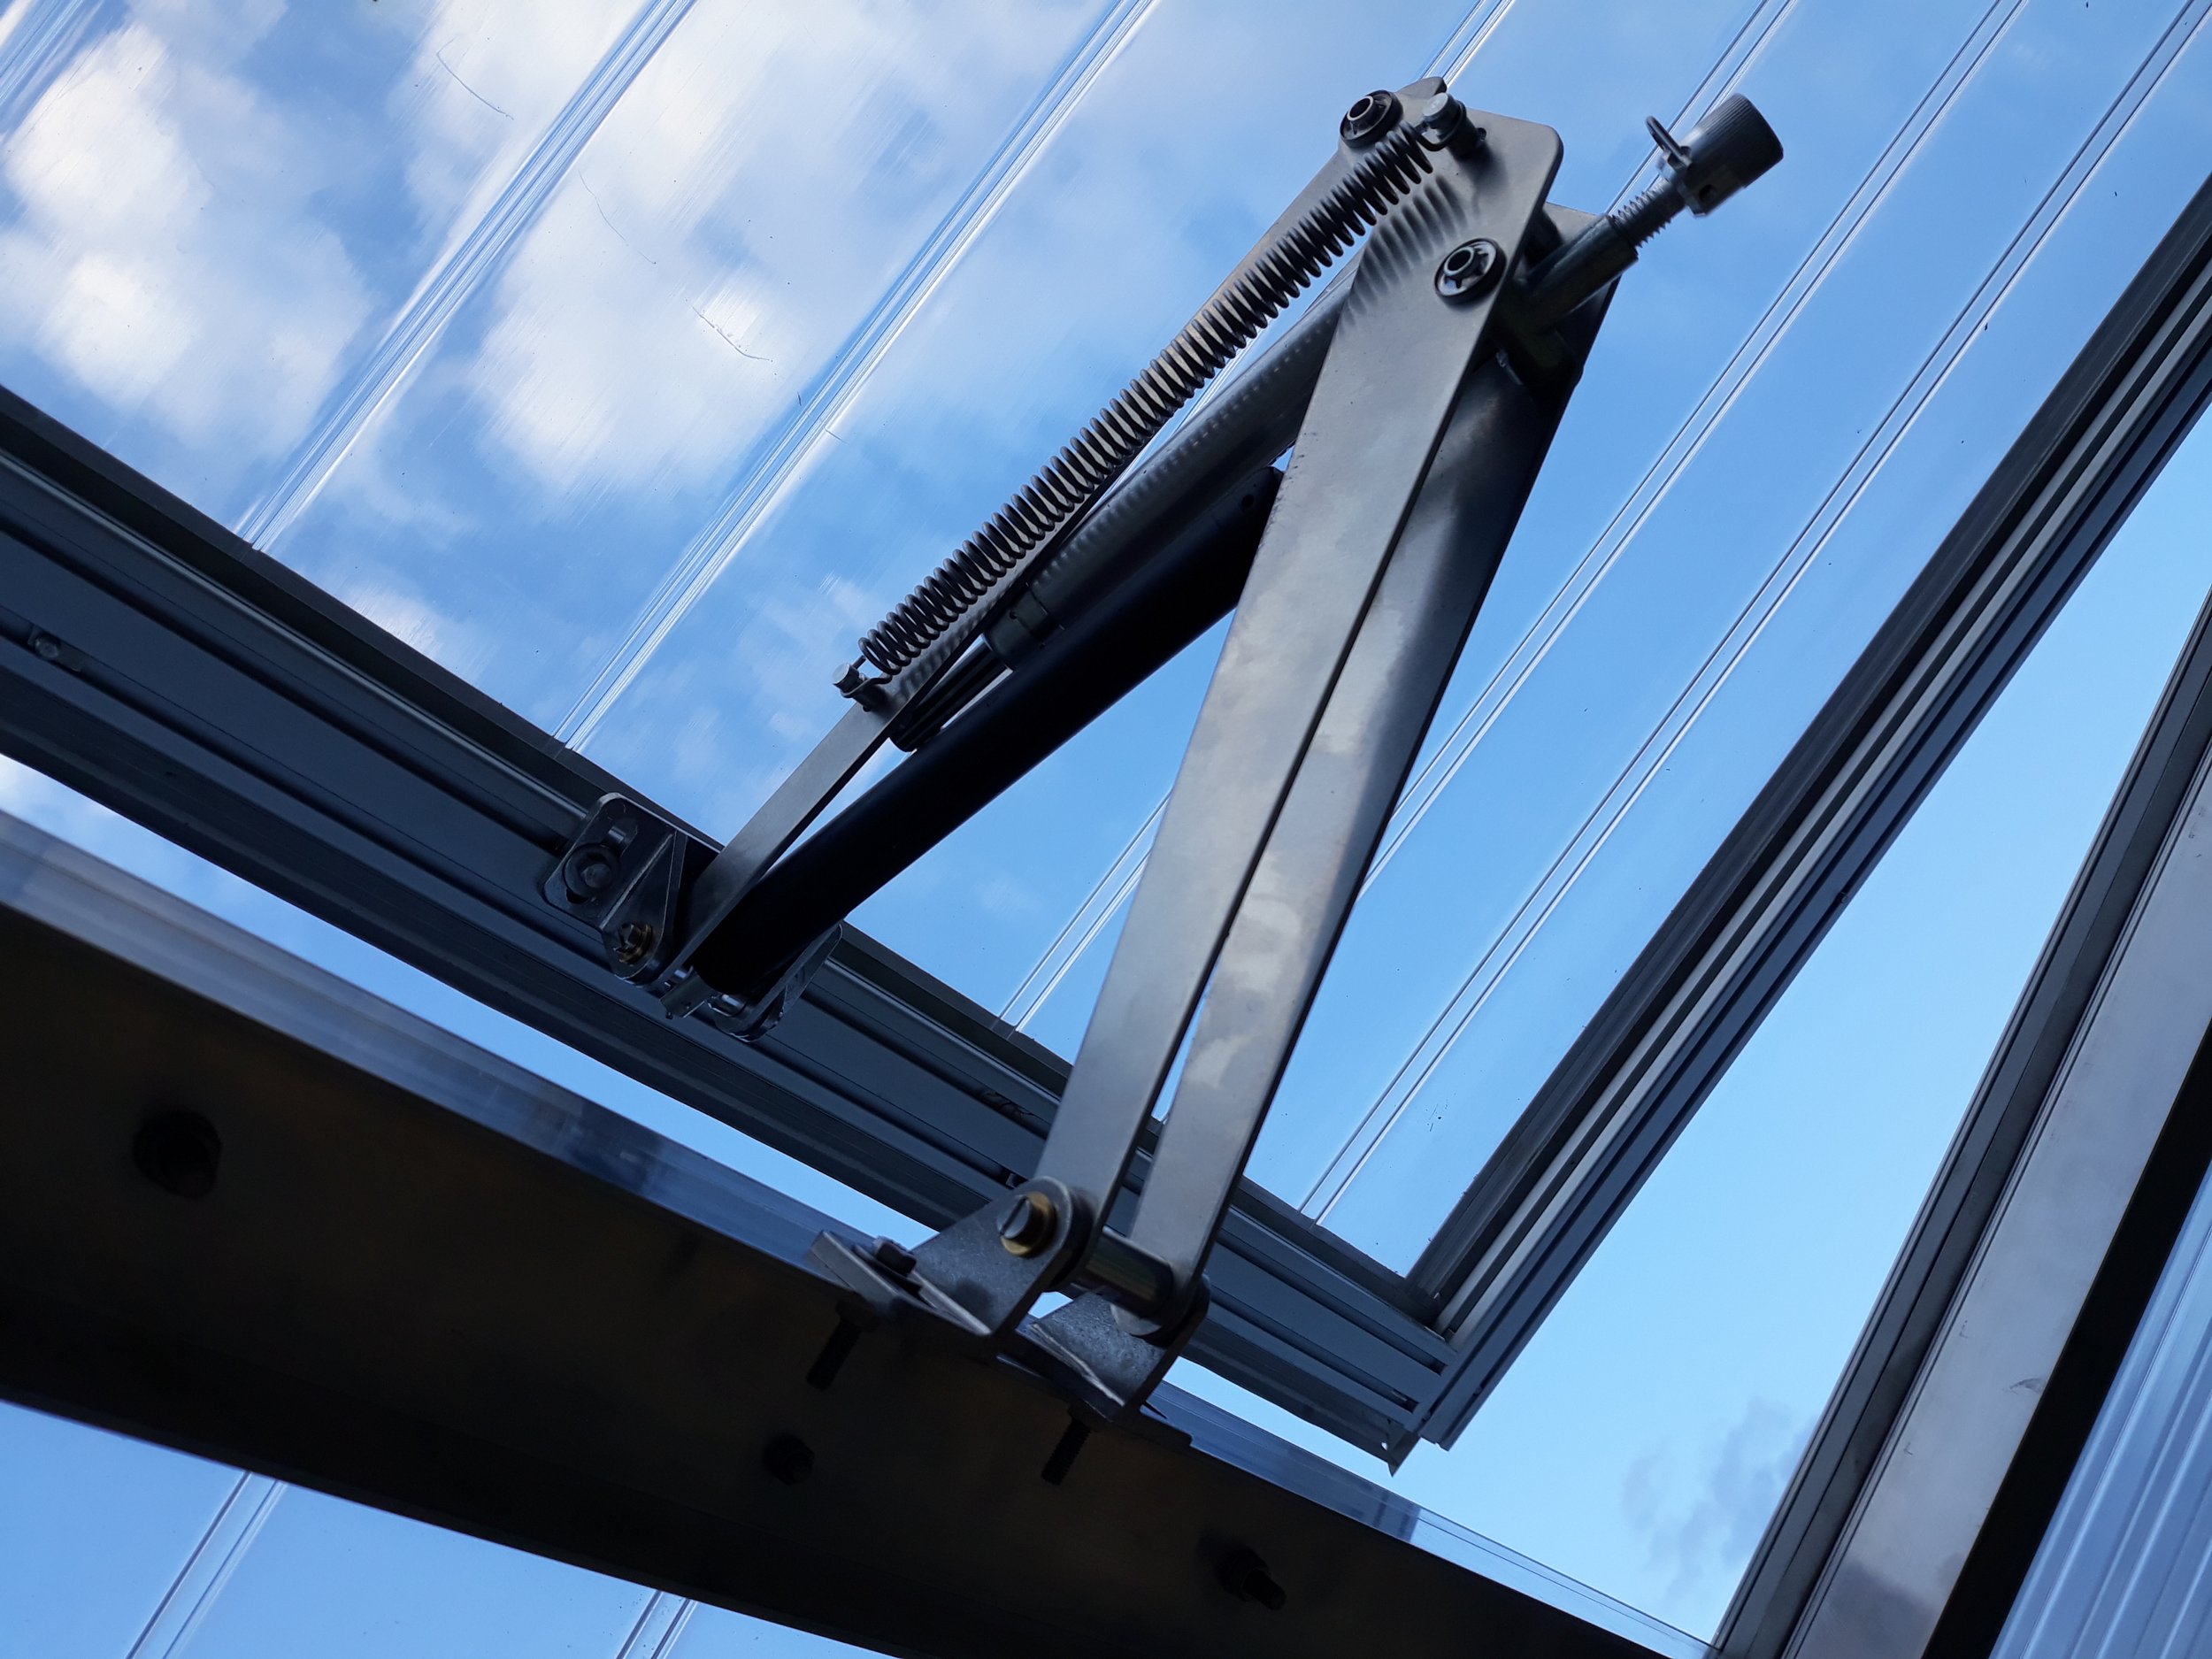
Automatic thermal window opener


Doors
As with the windows, I couldn’t find anything that fitted my other requirements nor anything at a reasonable price, so I had to design the doors myself. Constructing them was difficult and tedious, and this might also be problematic if they need to be repaired.
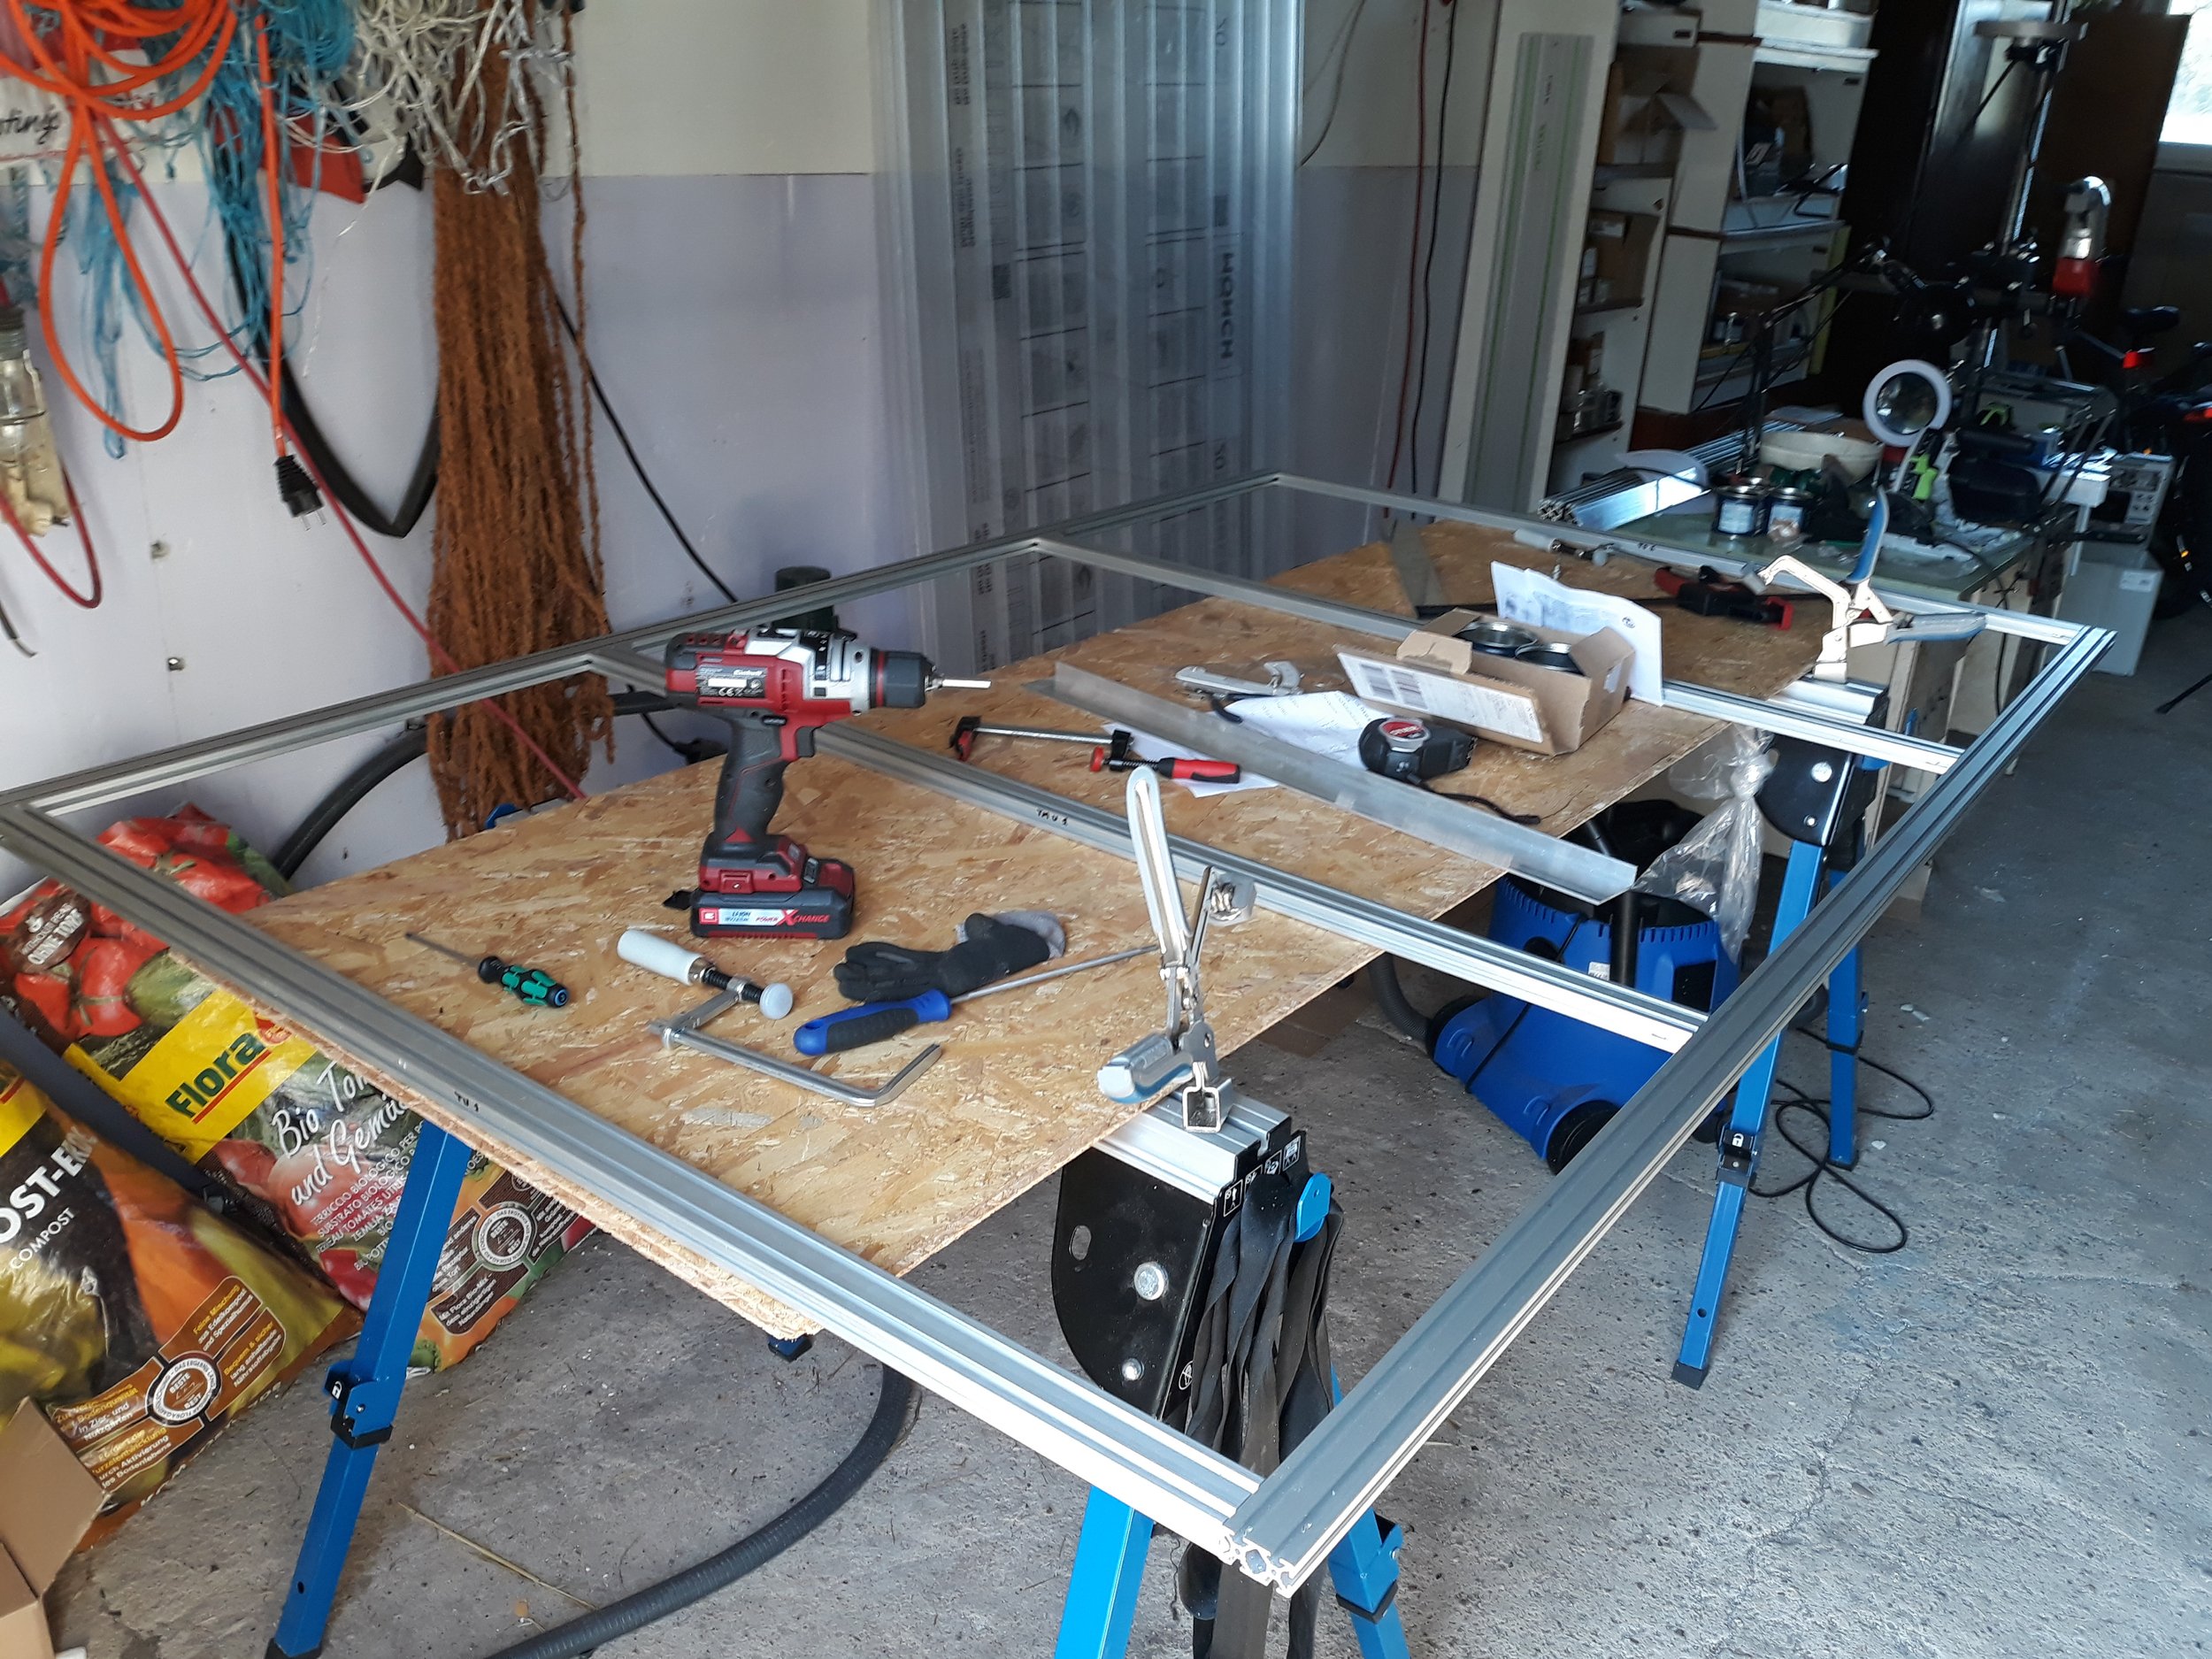
Complex extrudes provide firmness and stability to the door
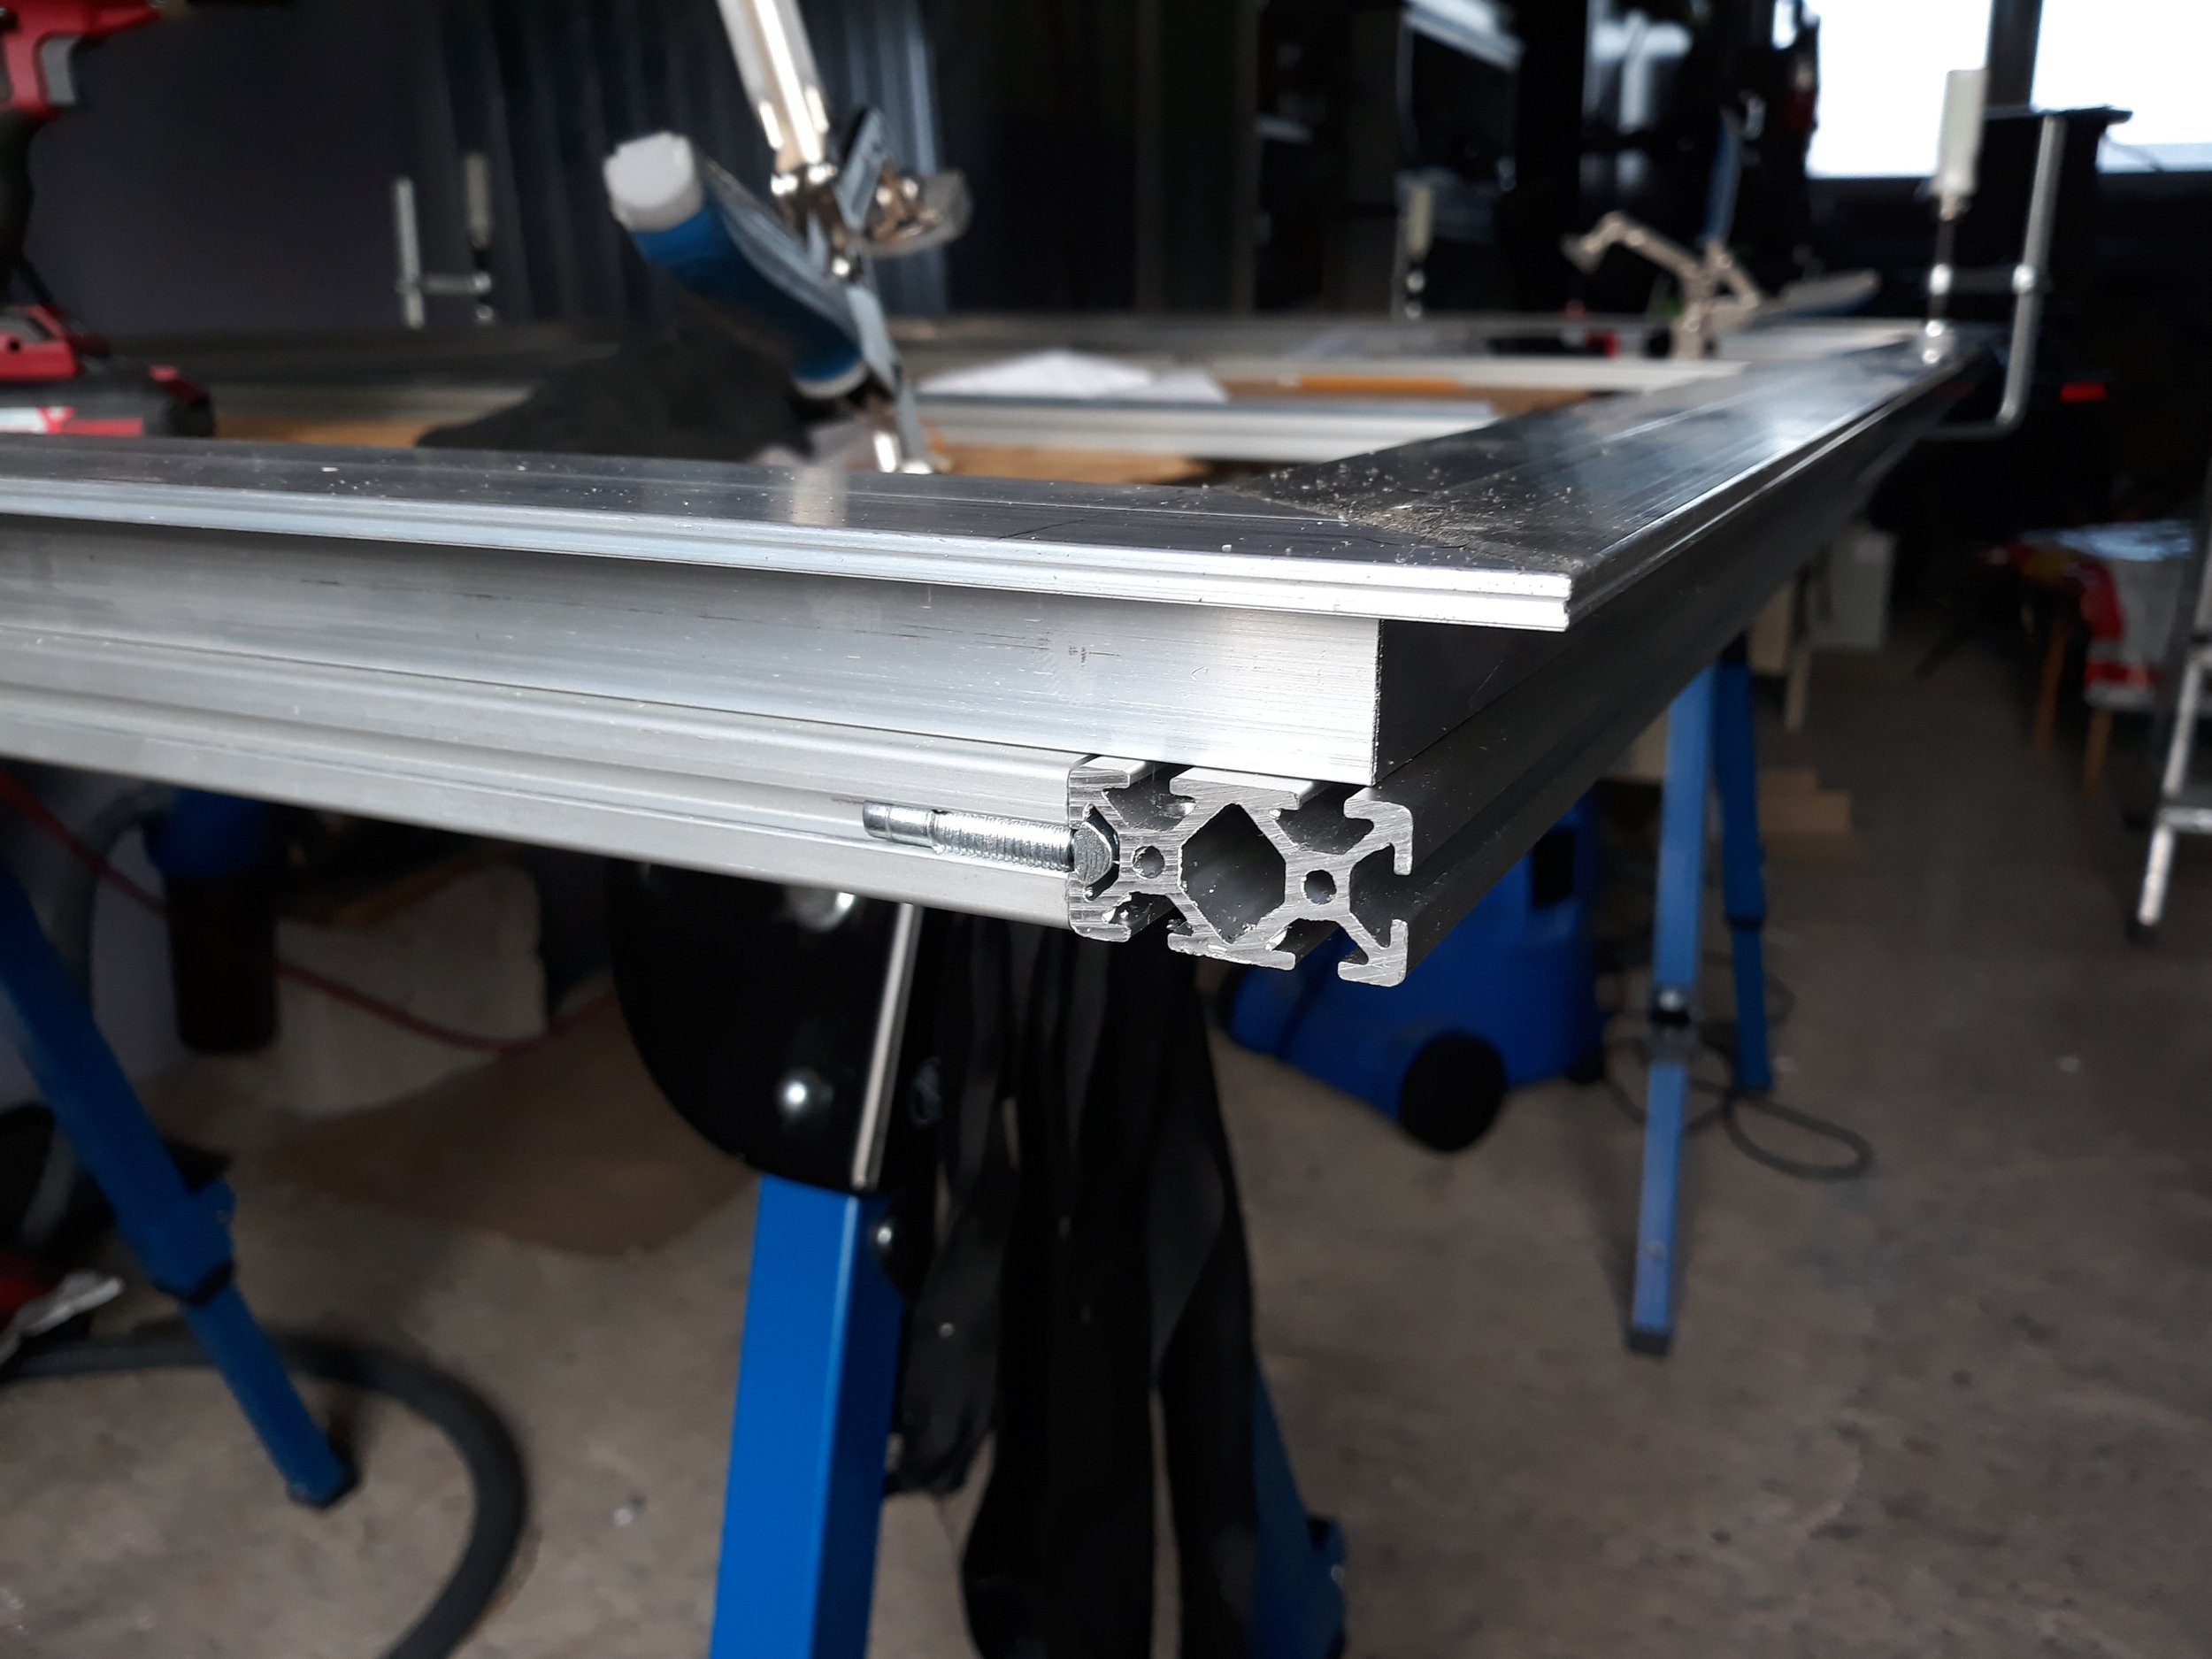
A second, juxtaposed frame holds the plate in place and provides protruding edges
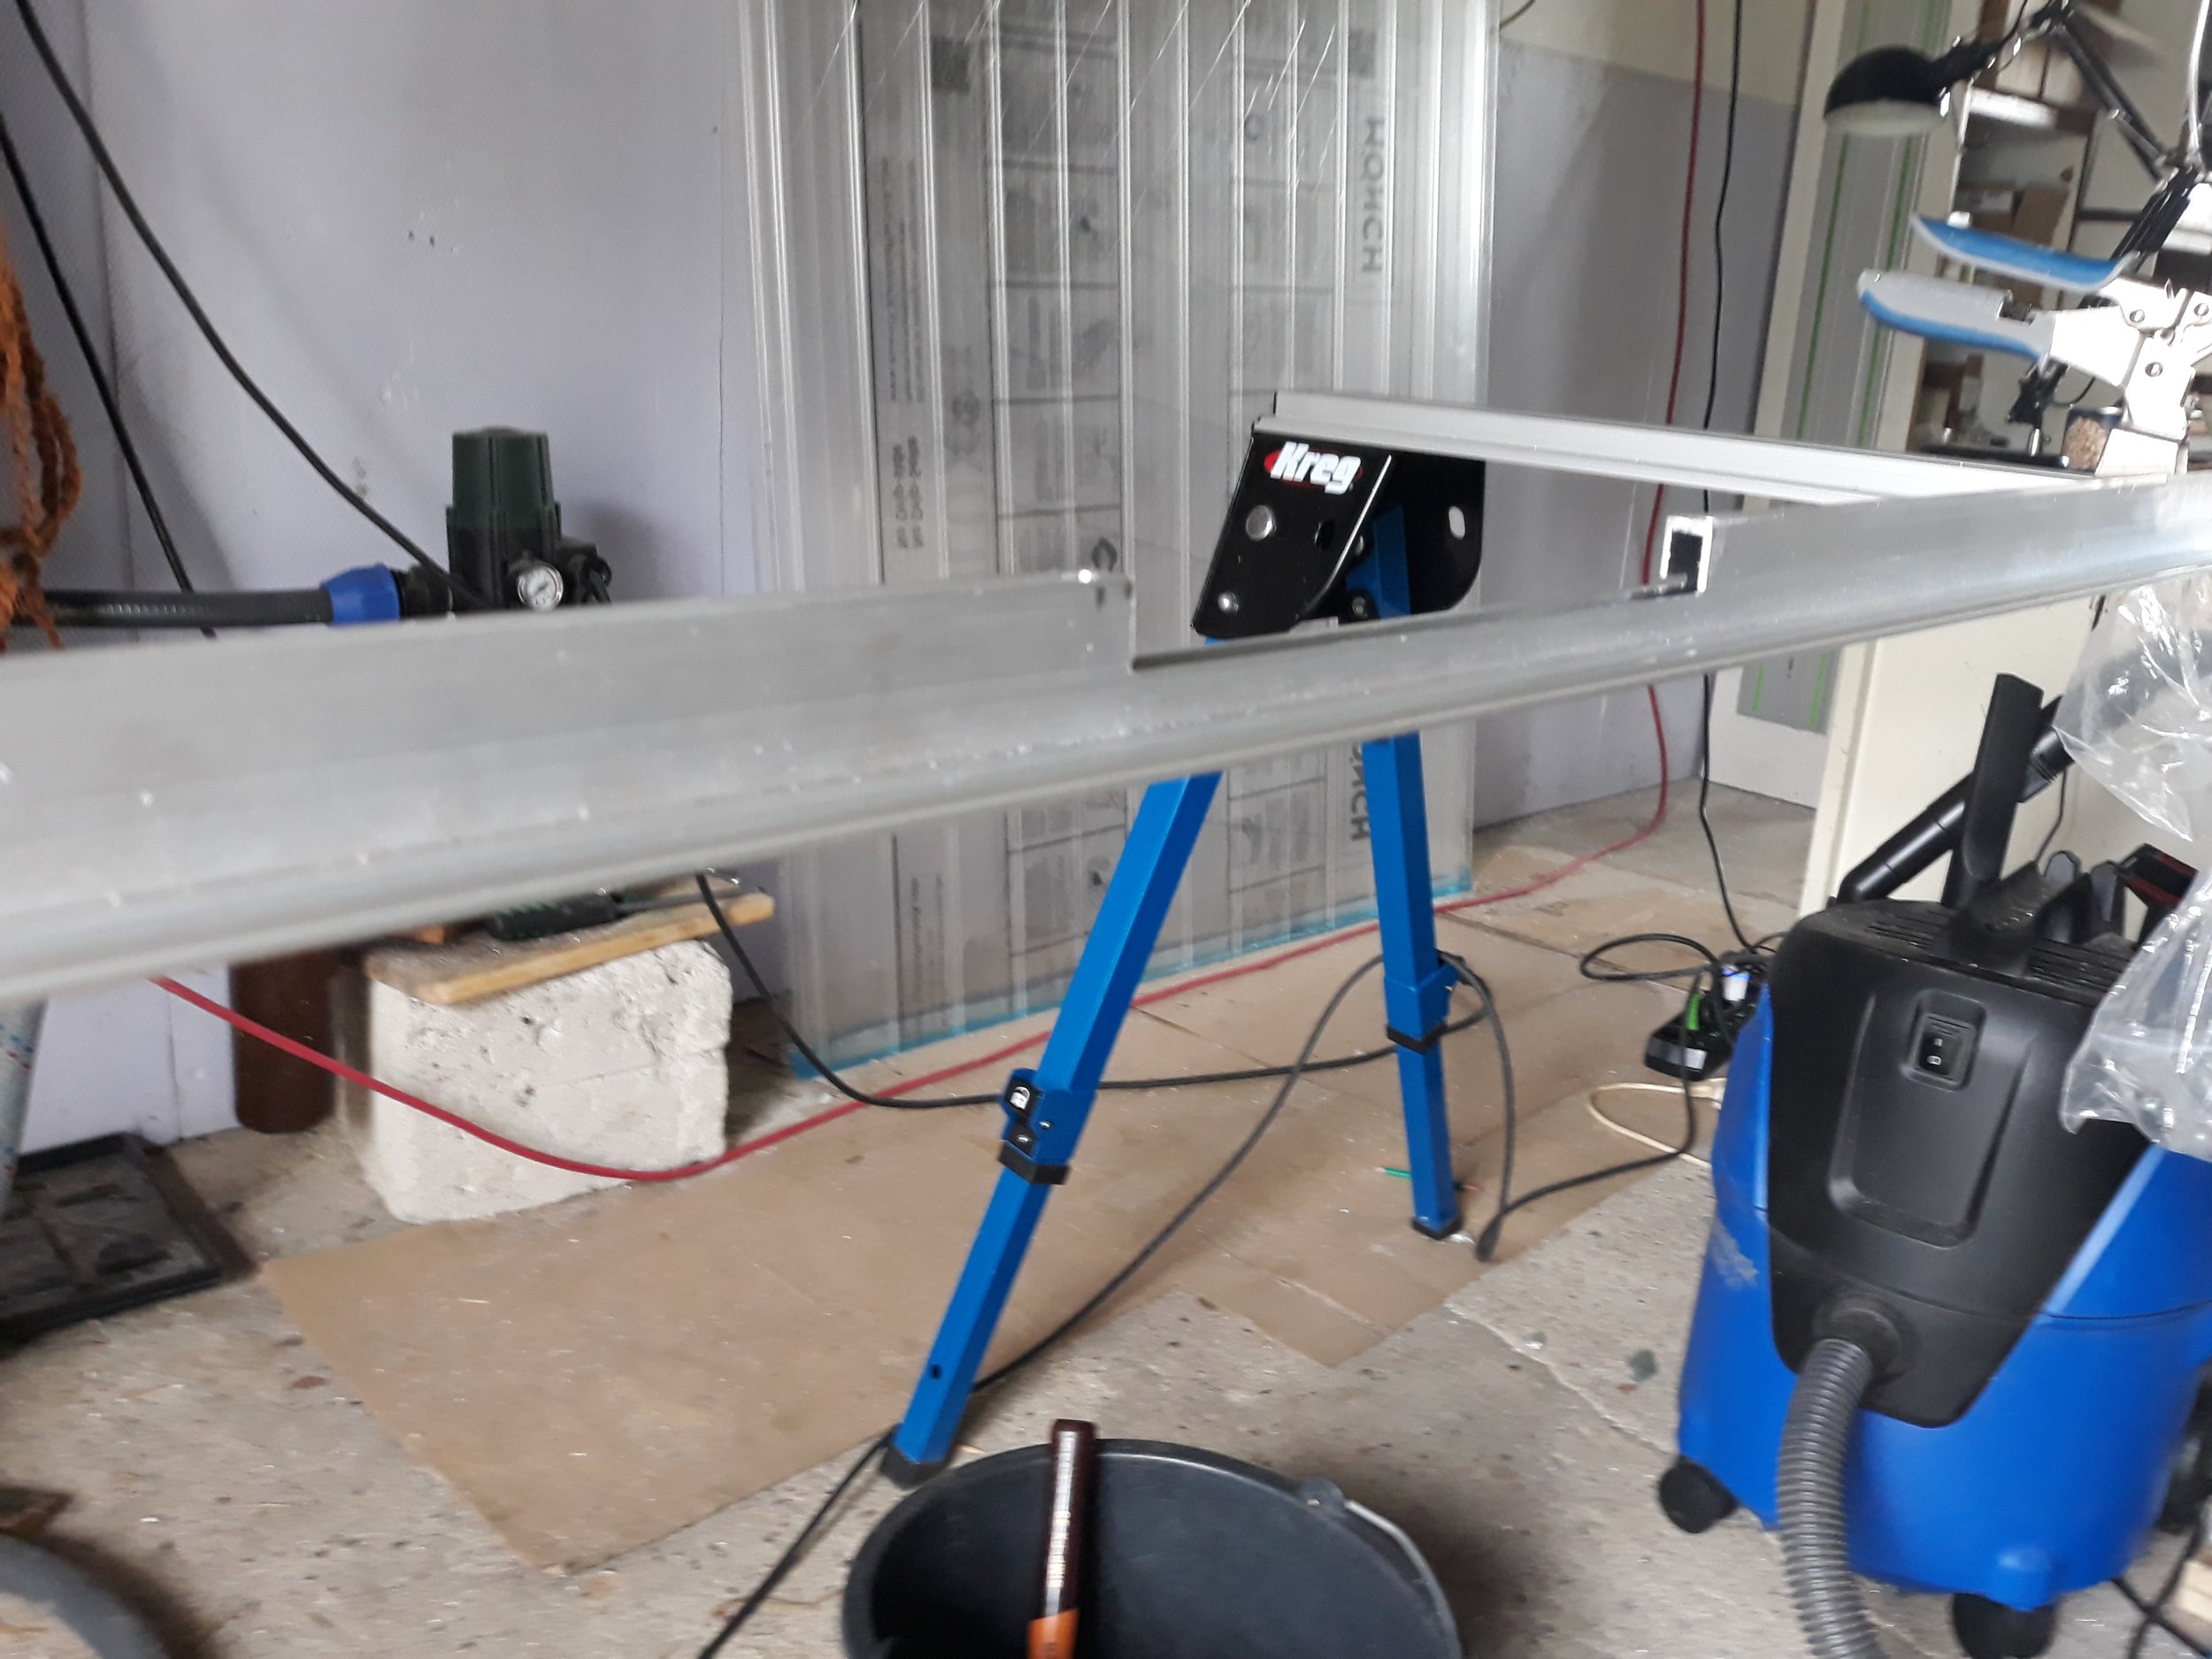
Cutting into the profile to create the cavity into which the handle and lock mechanism will be inserted
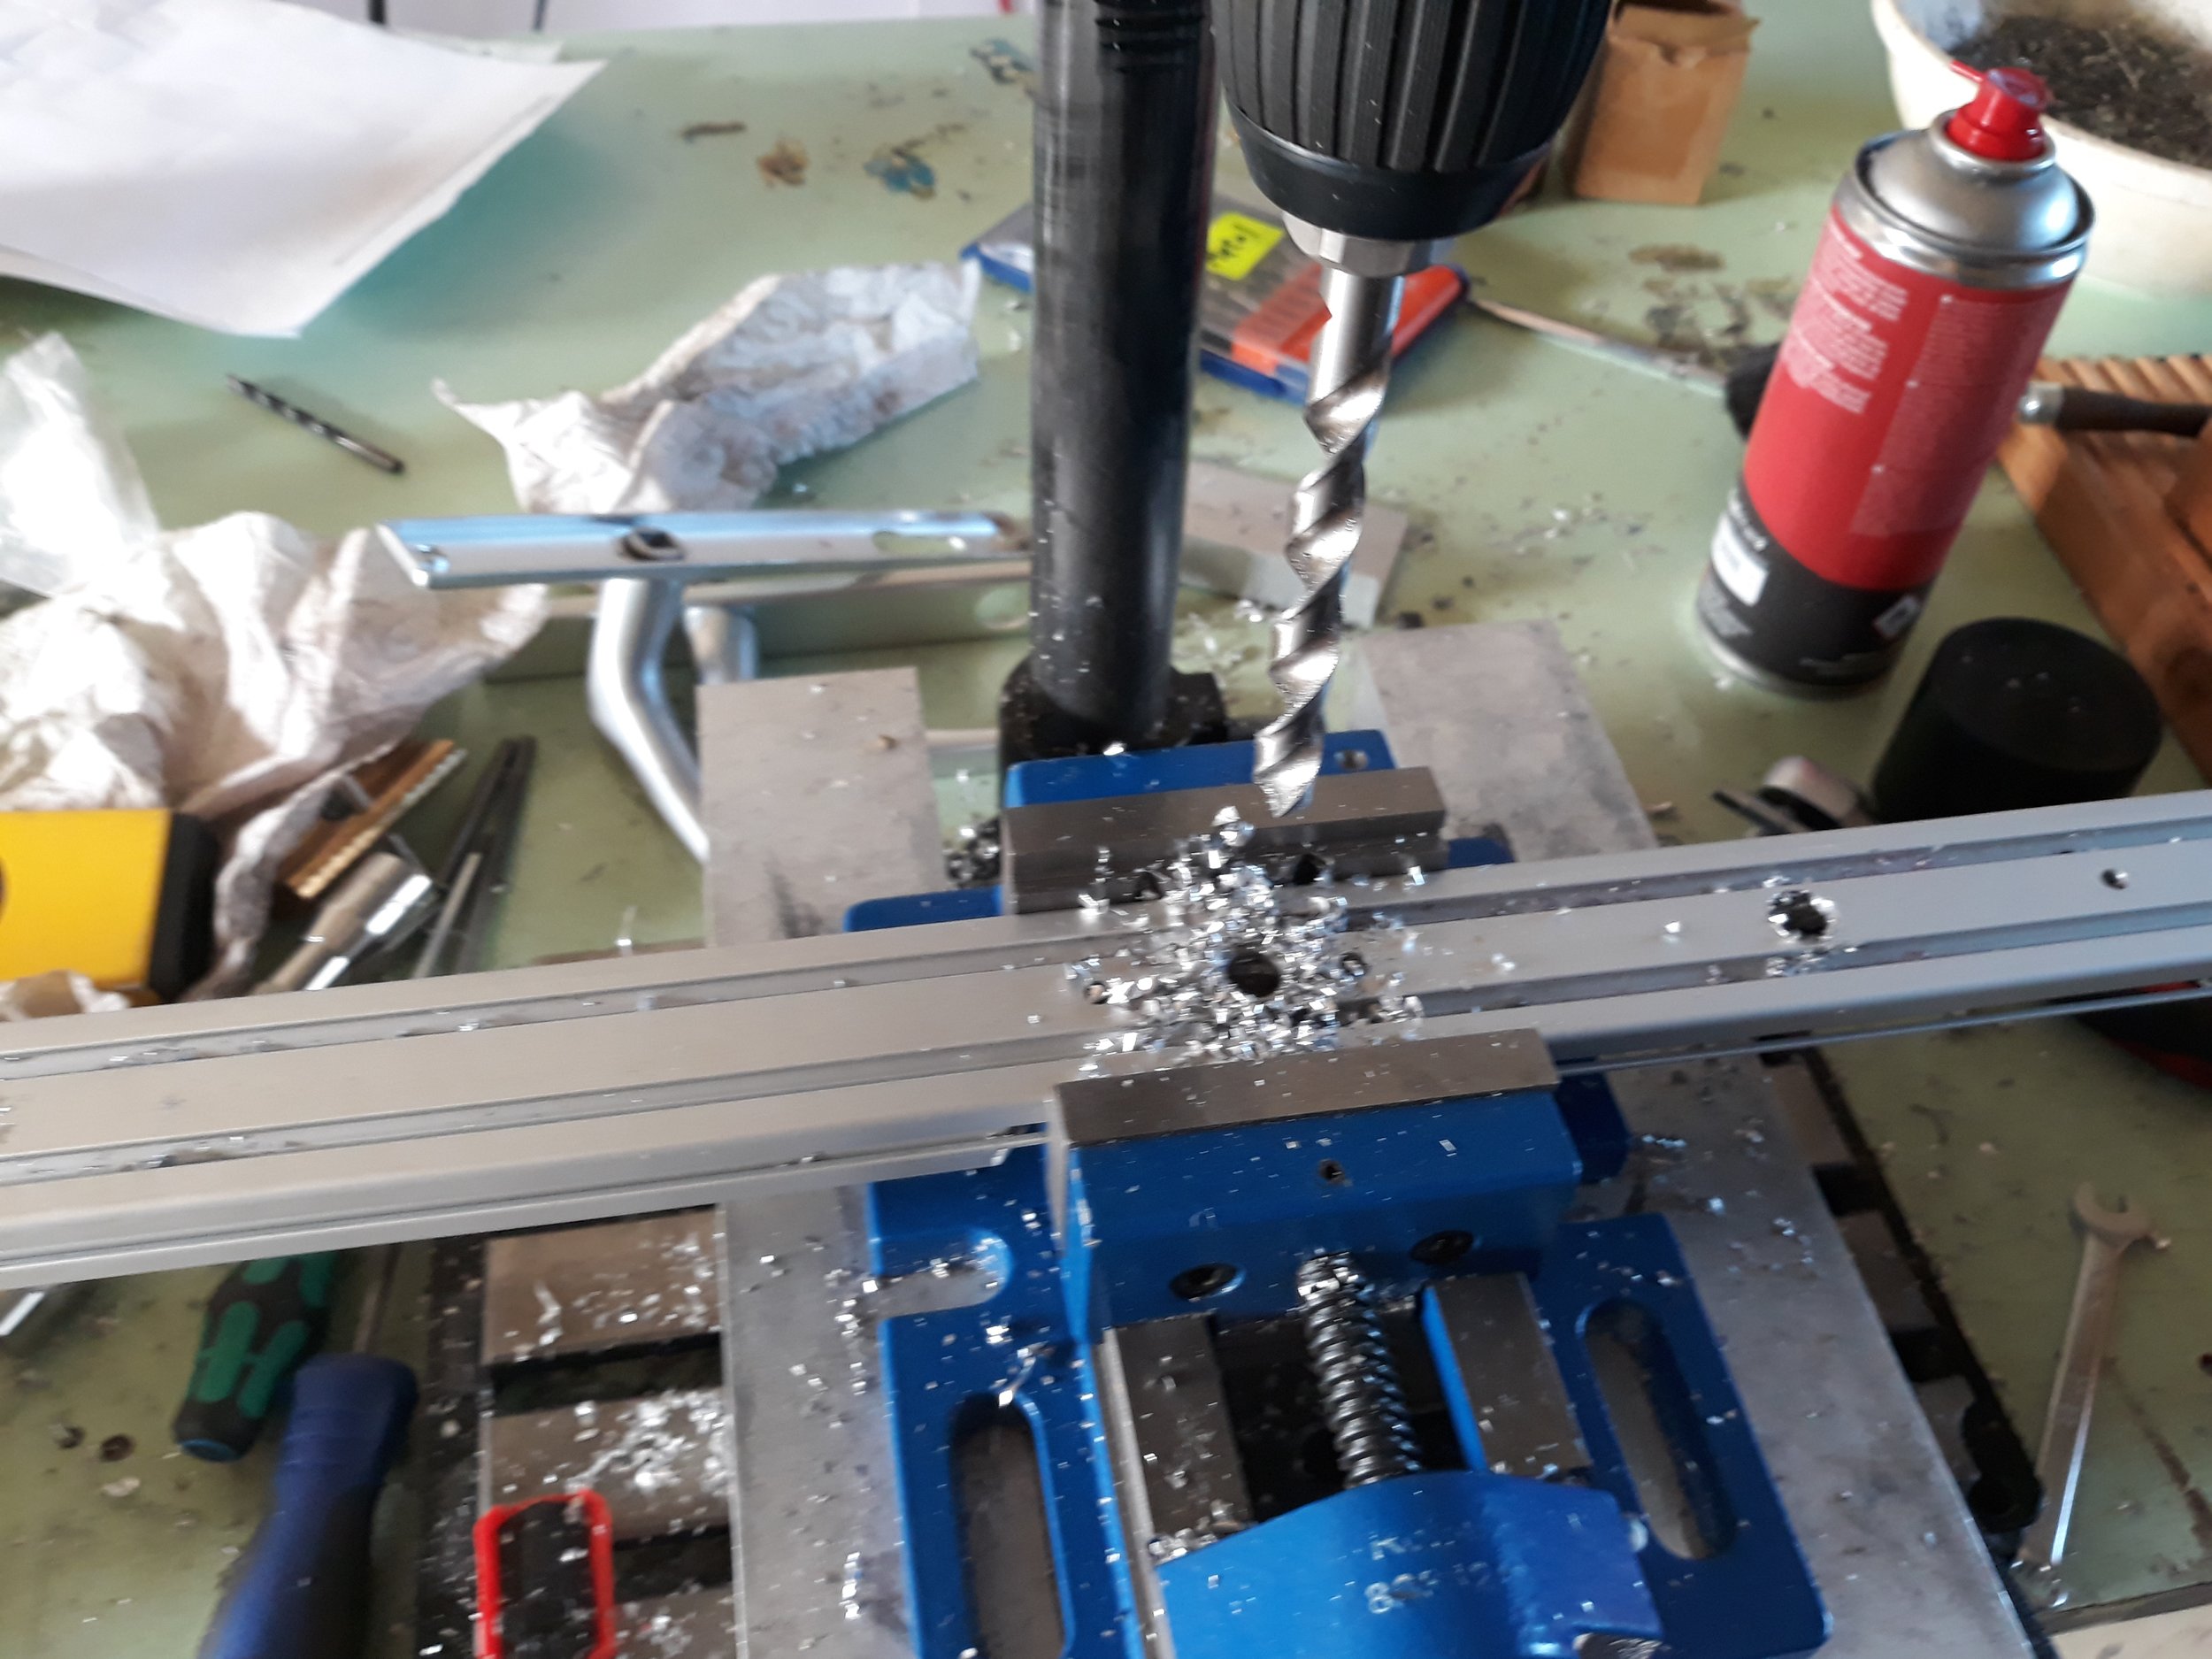
10 mm, high quality drill
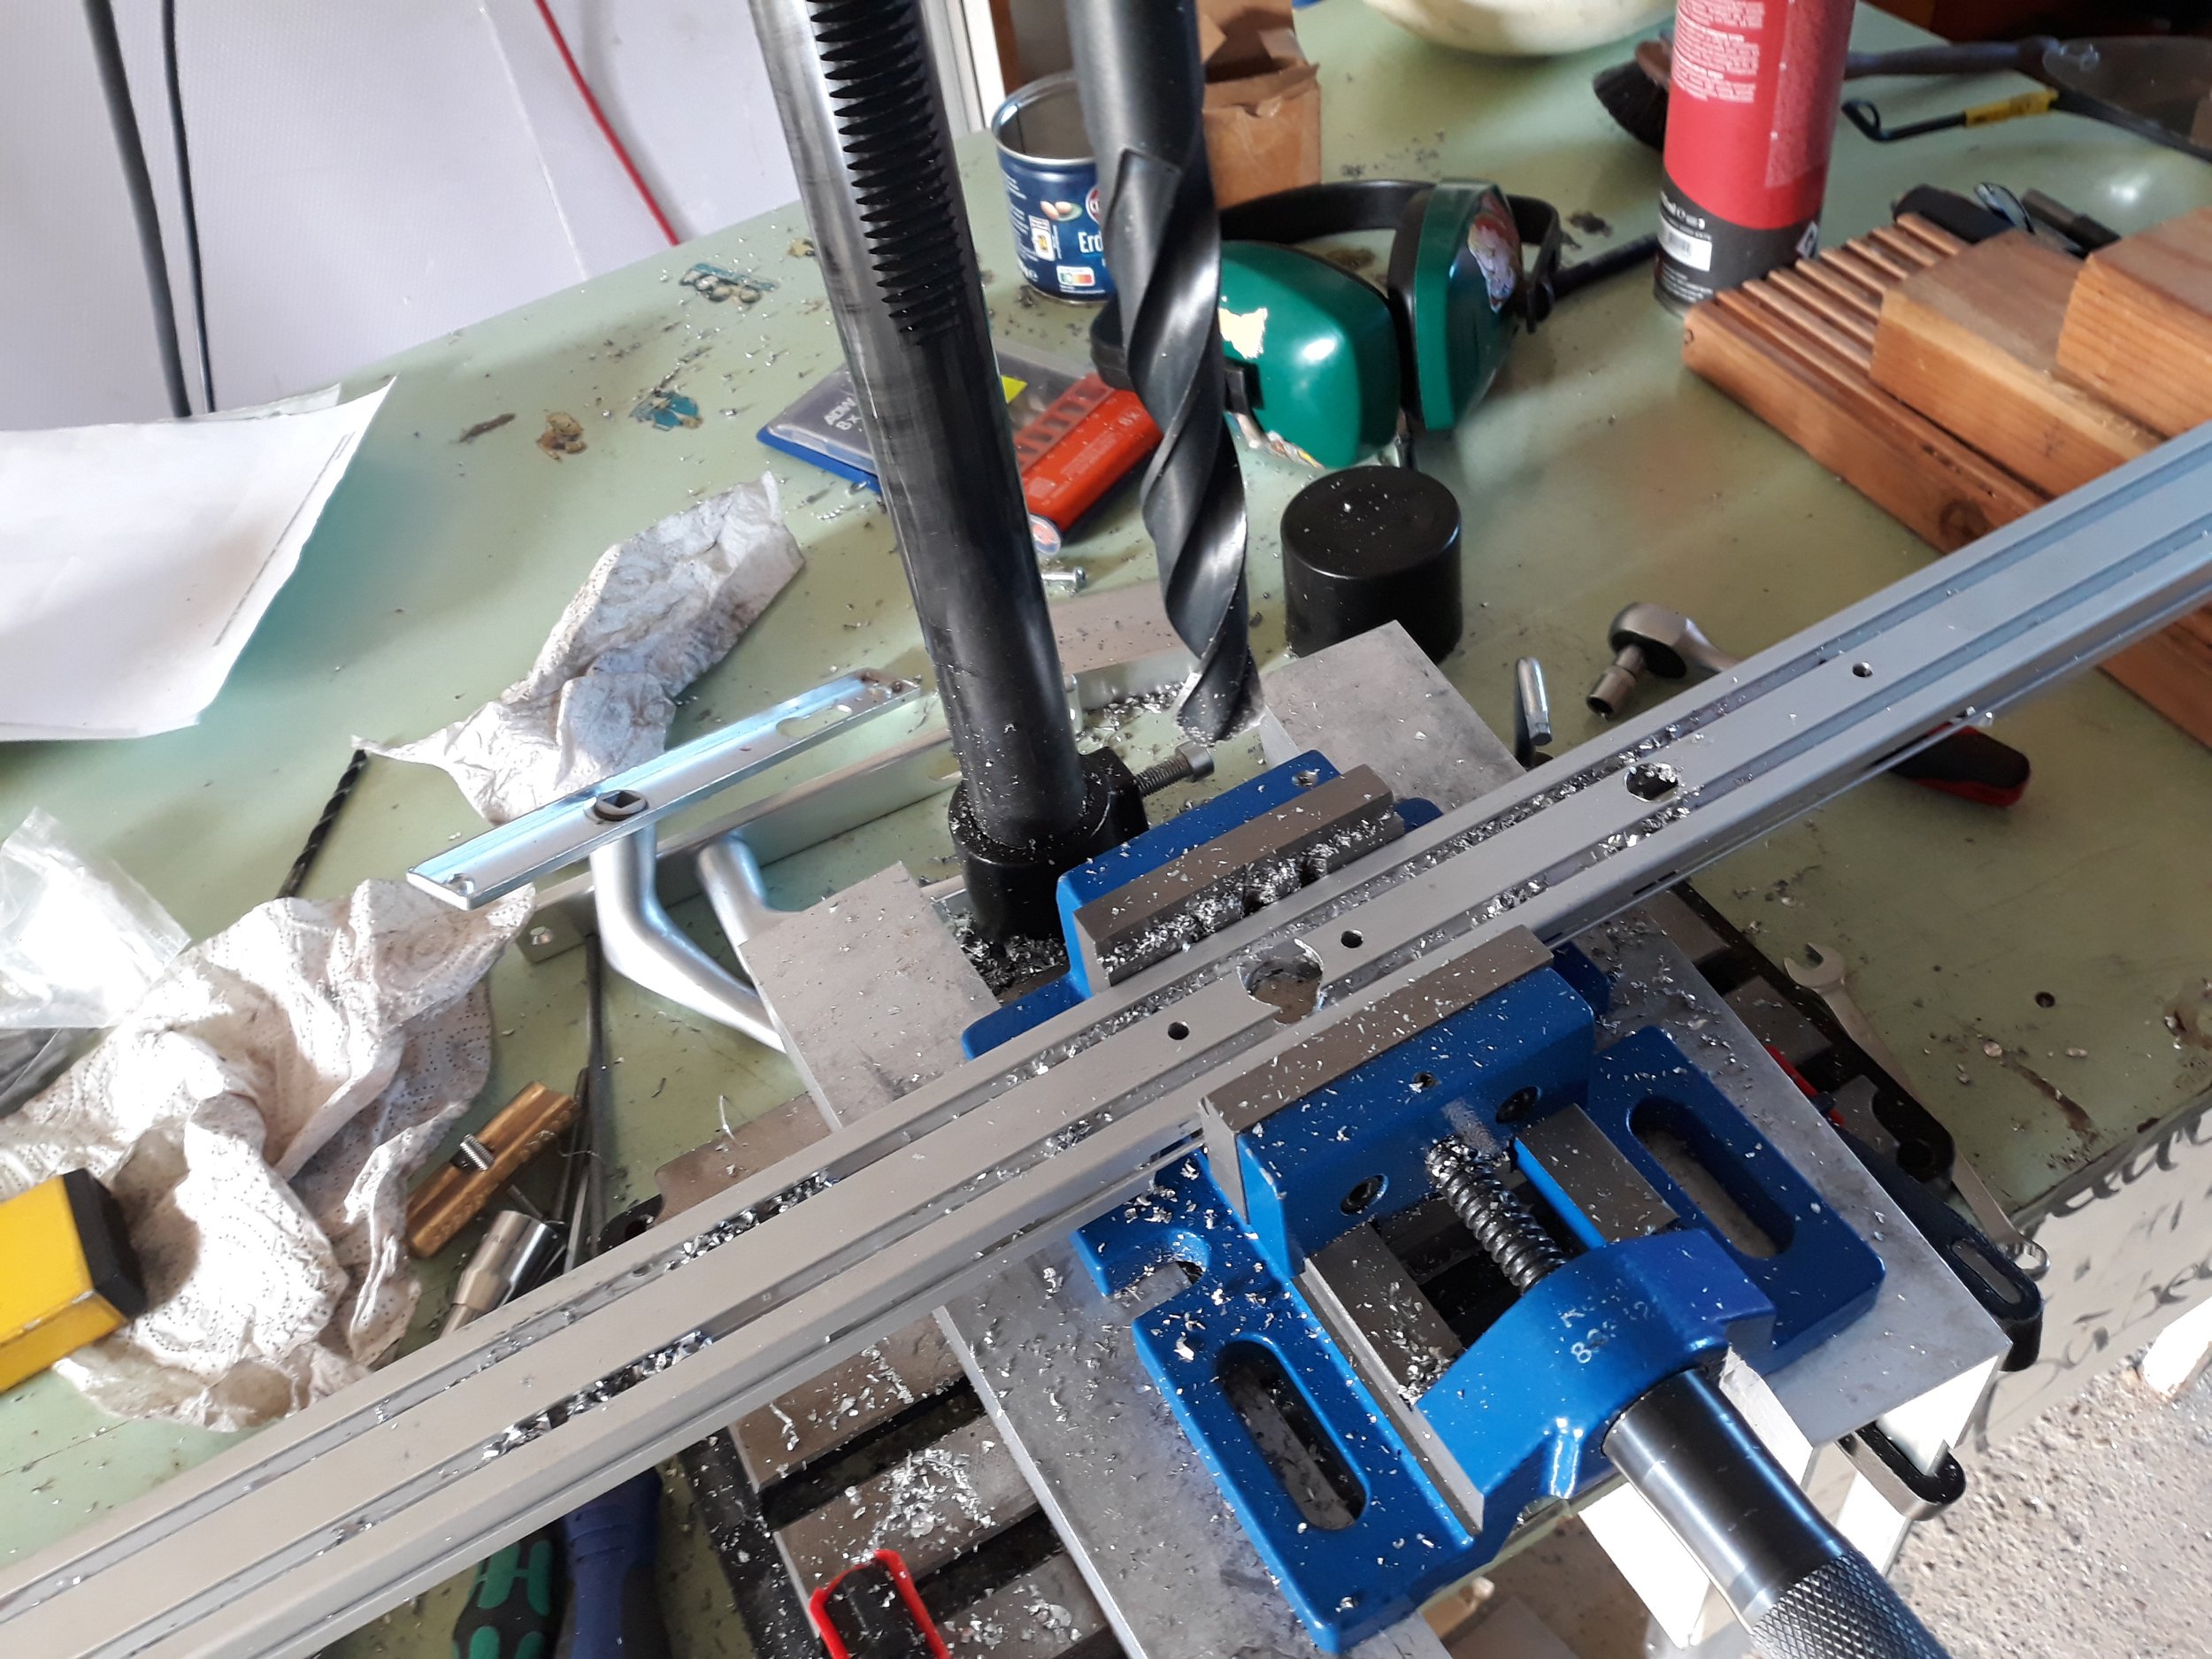
A monster cheap 18 mm drill for creating the cavity for the lock
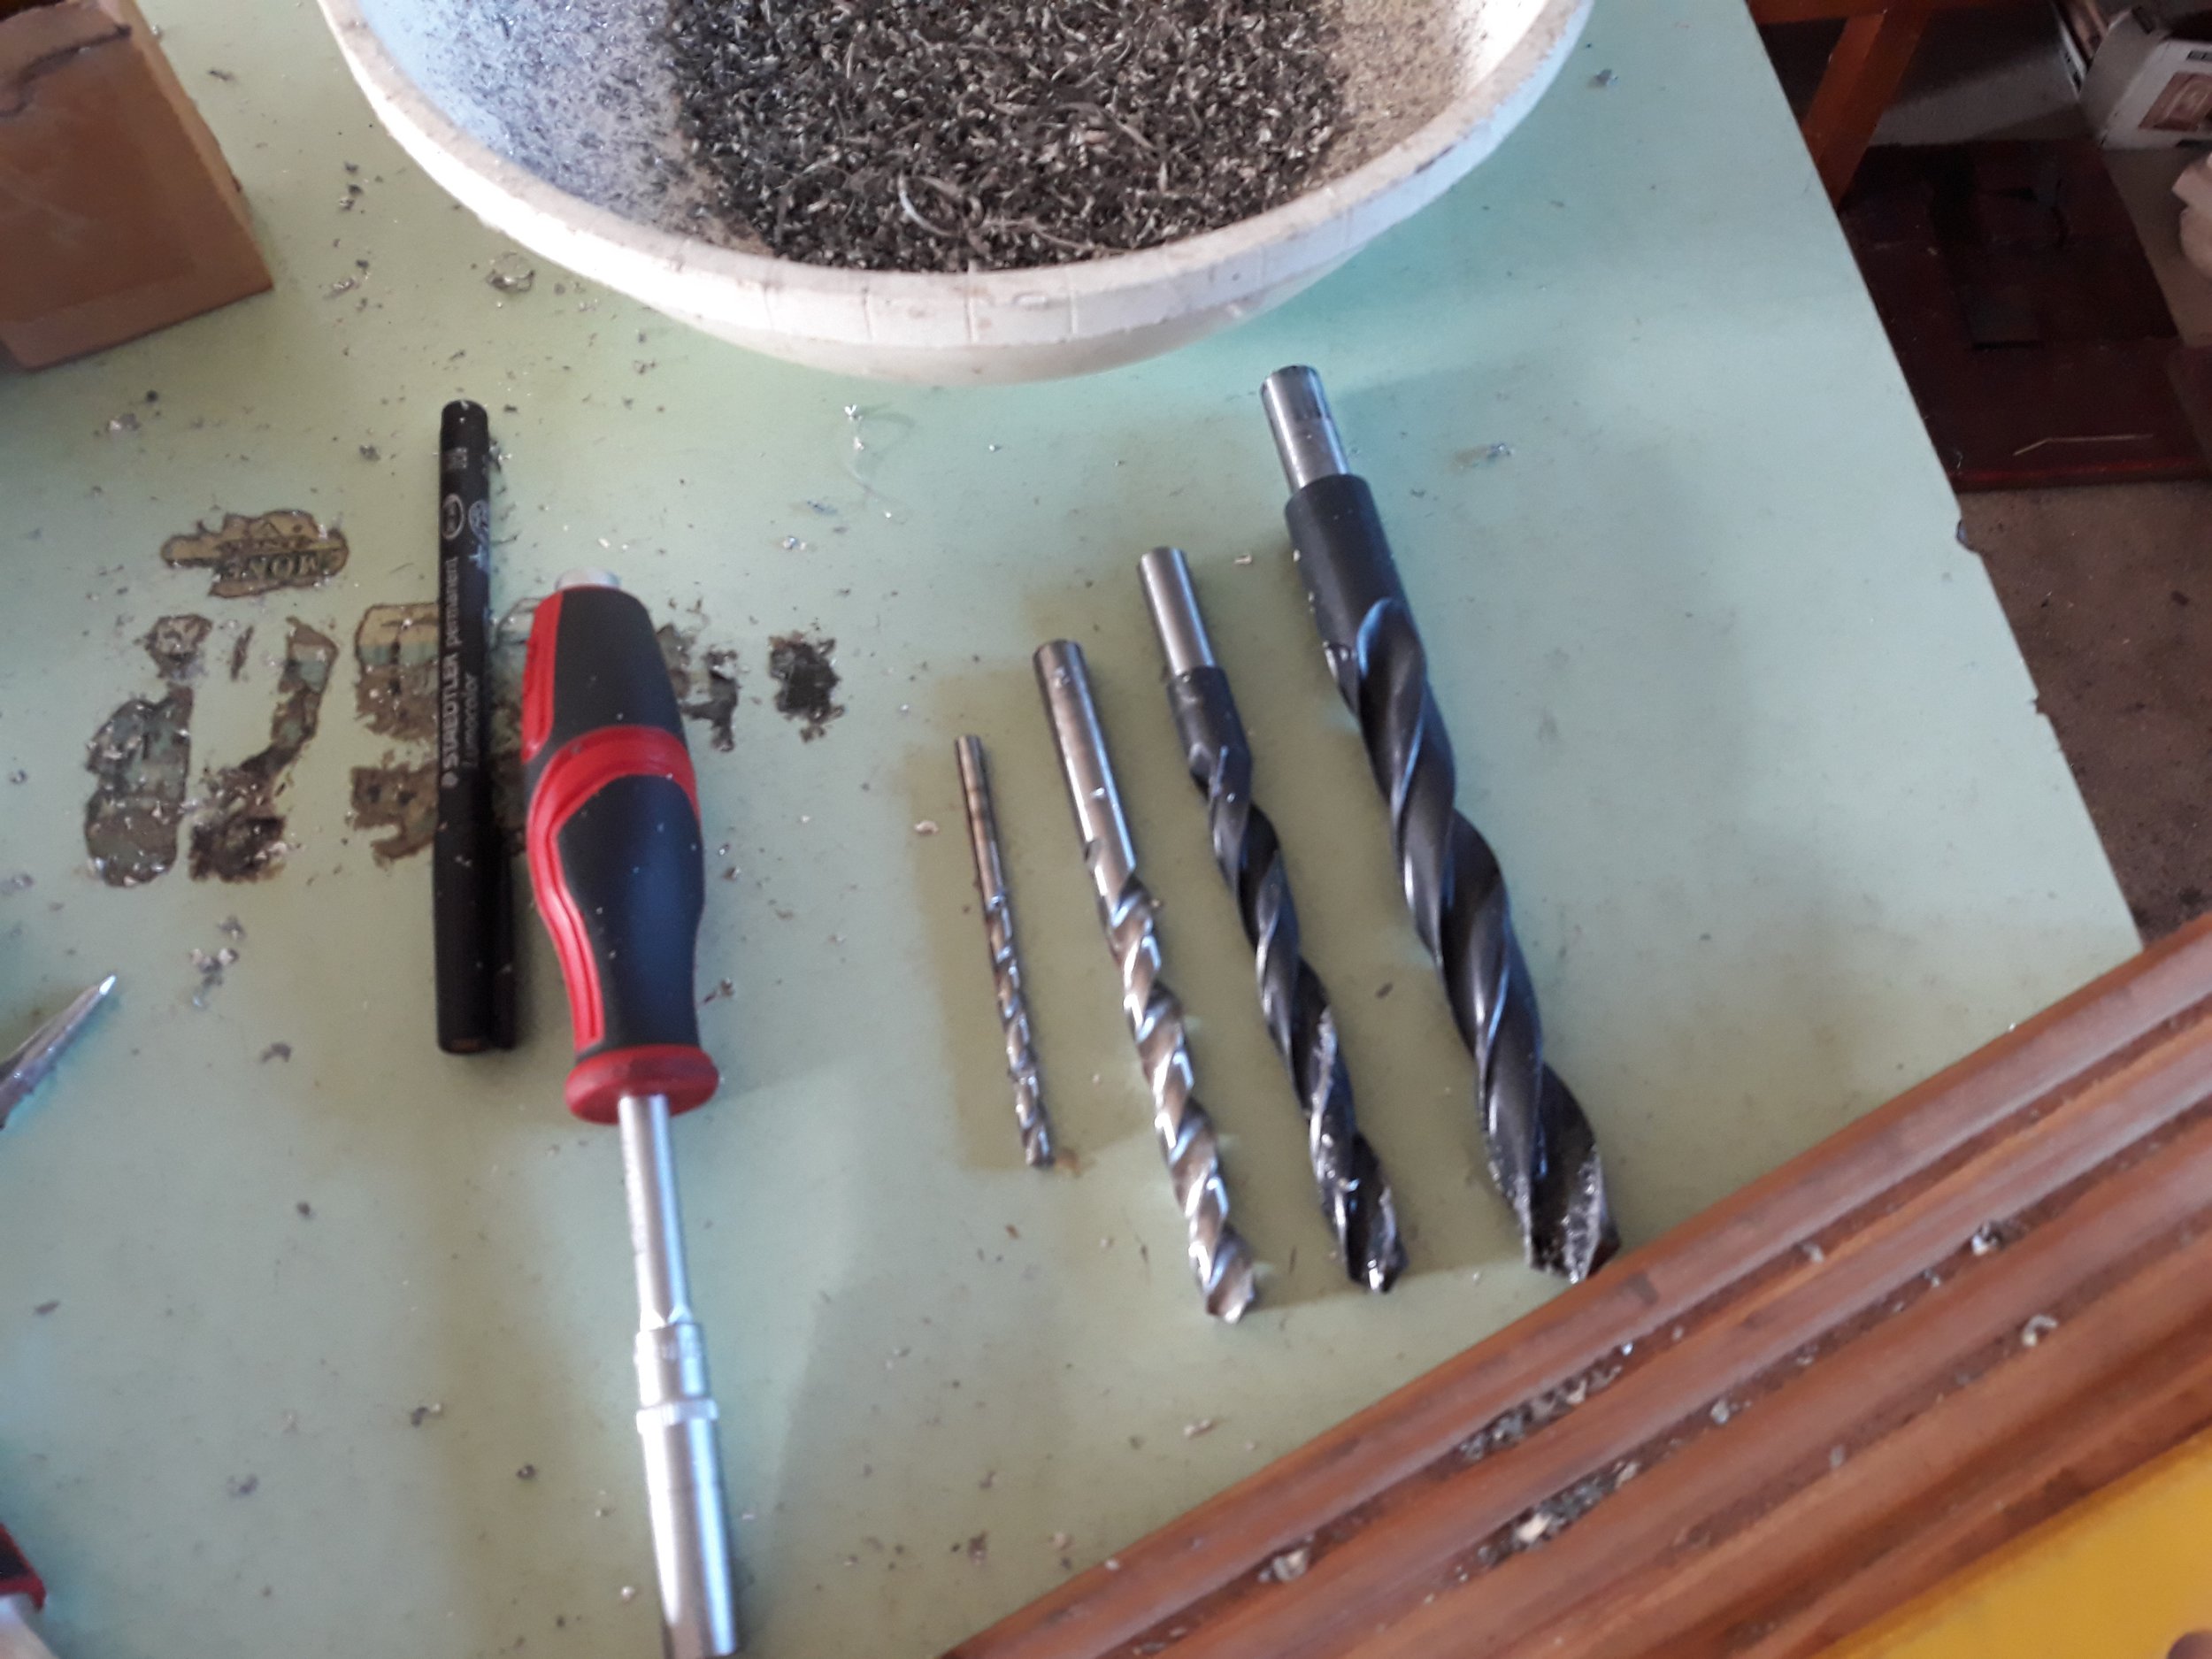
5, 10, 12 and 18 mm drills. The latter two were used only for the purpose of drilling the lock and handle cavities, so I did not invest in high quality products. Big mistake. They were so unstable that they got the entire drilling-stand out of alignment, and the drilling took forever.
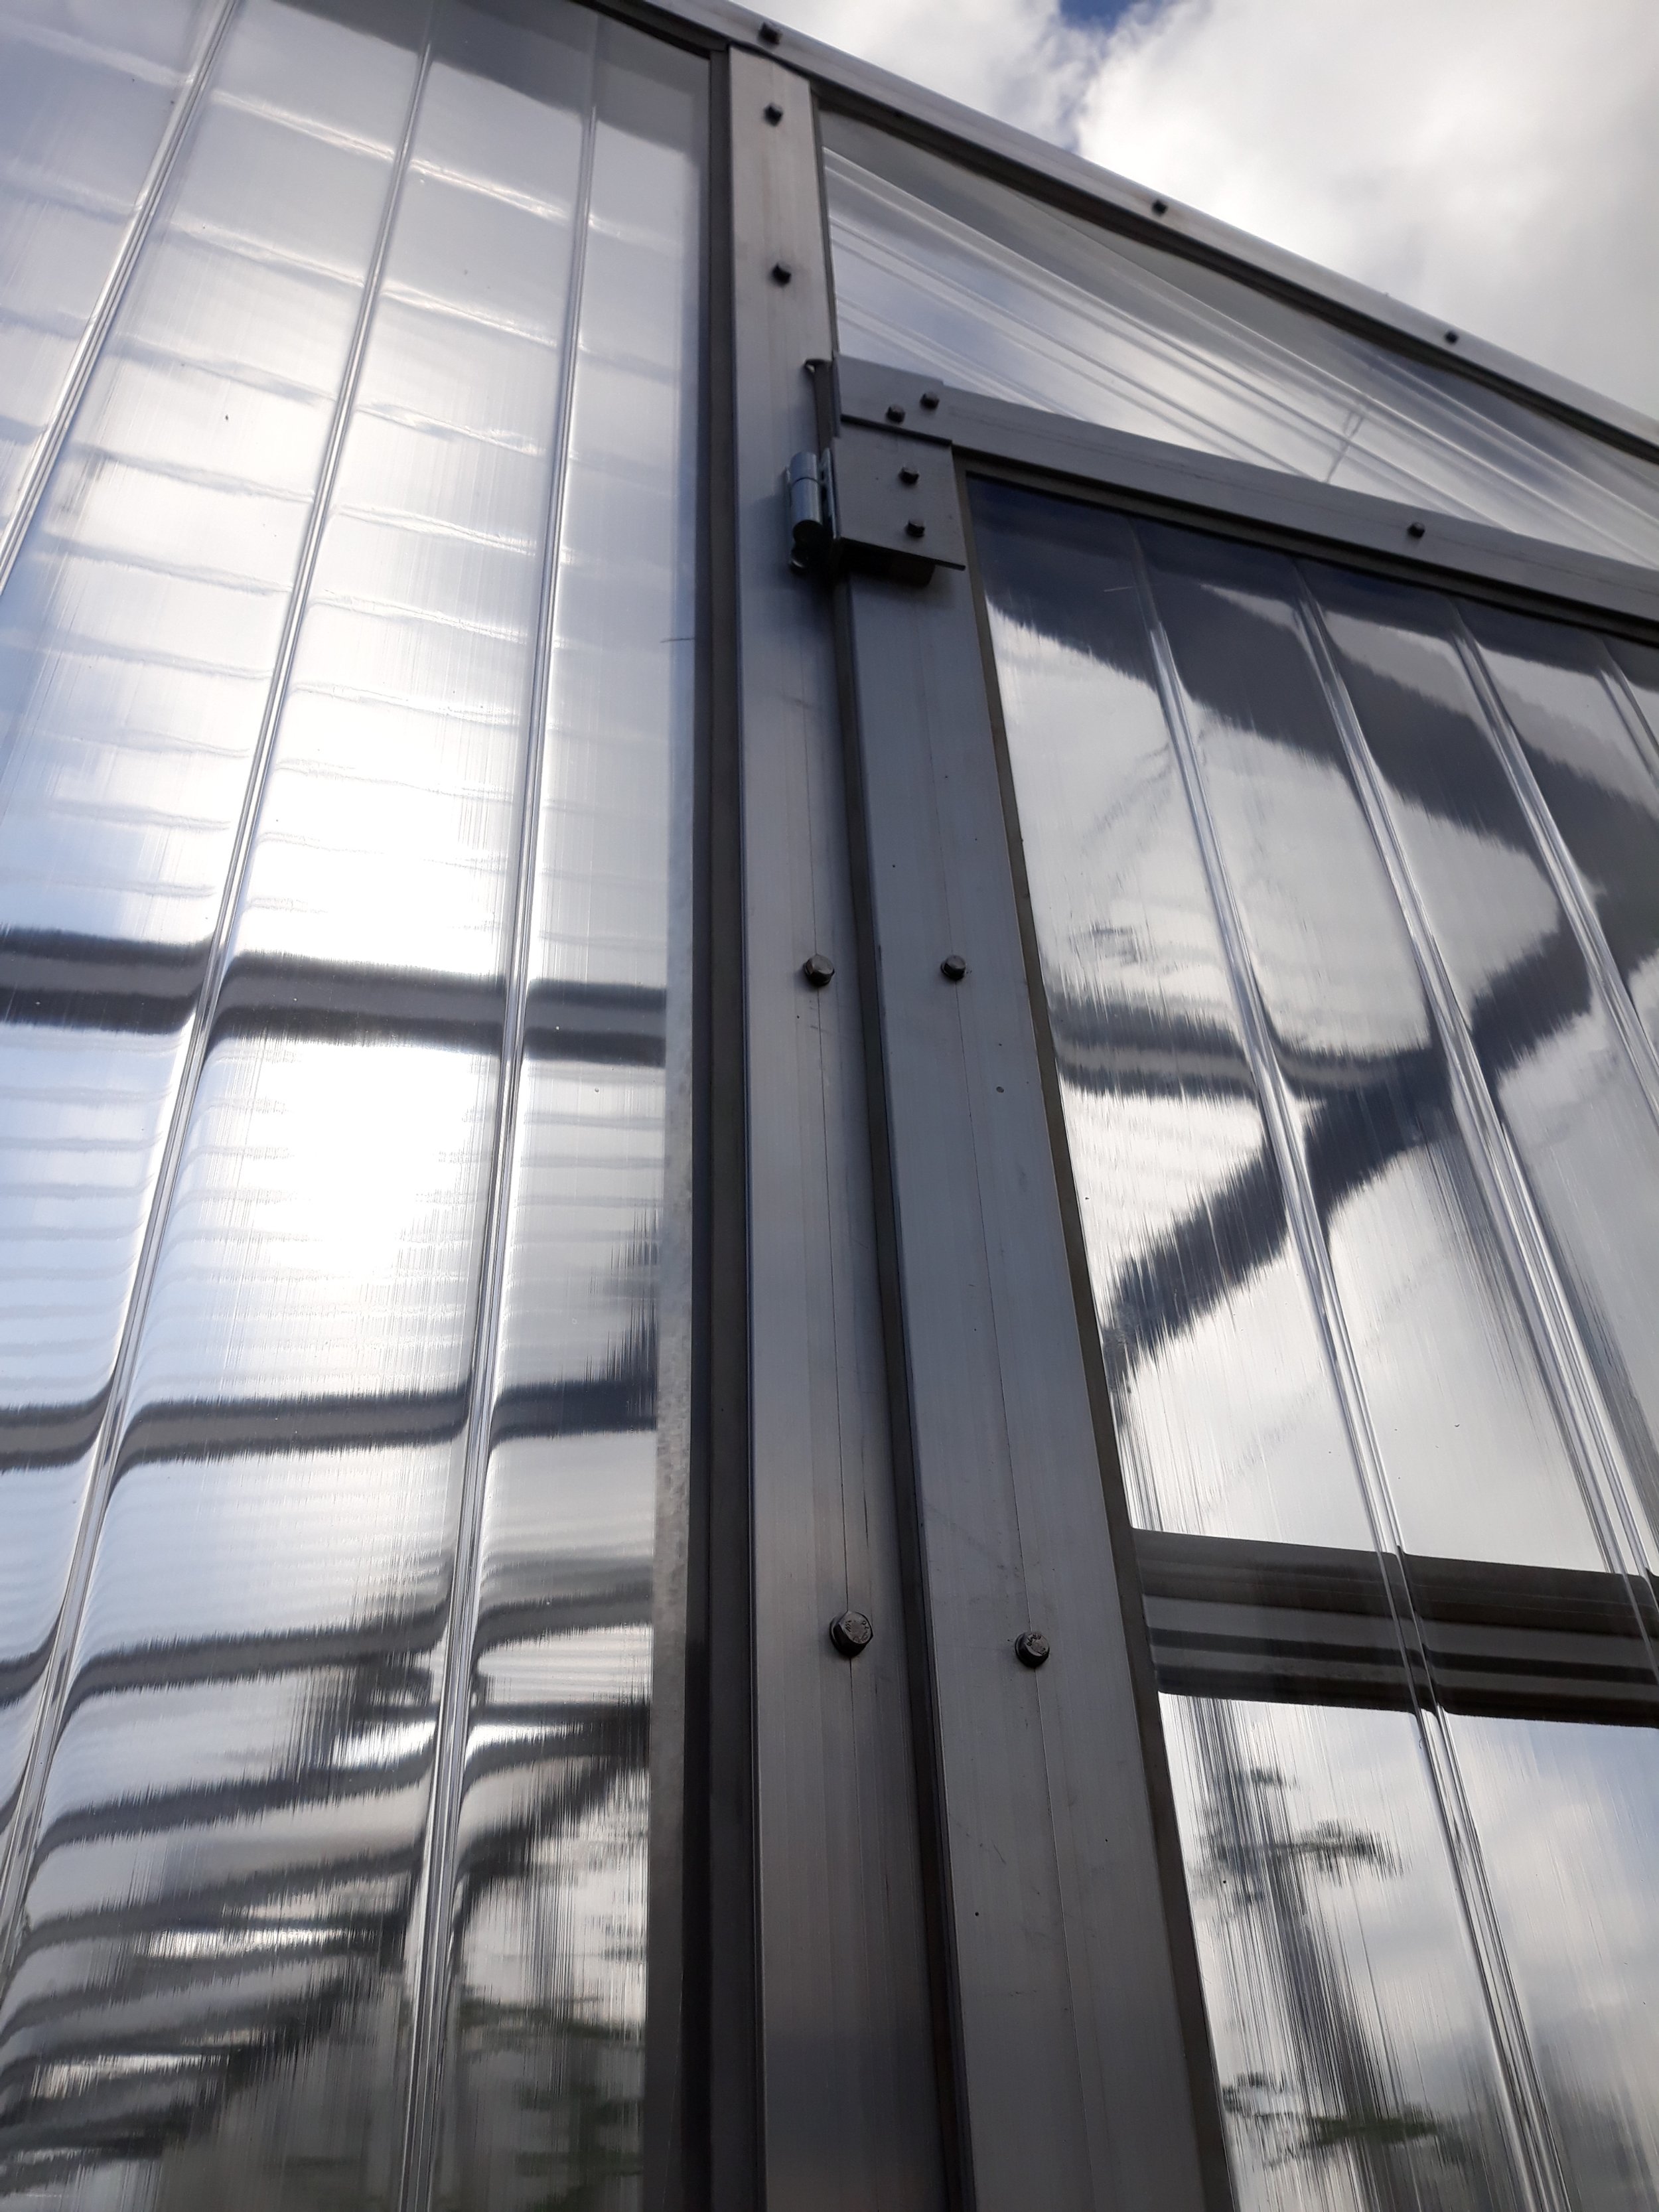
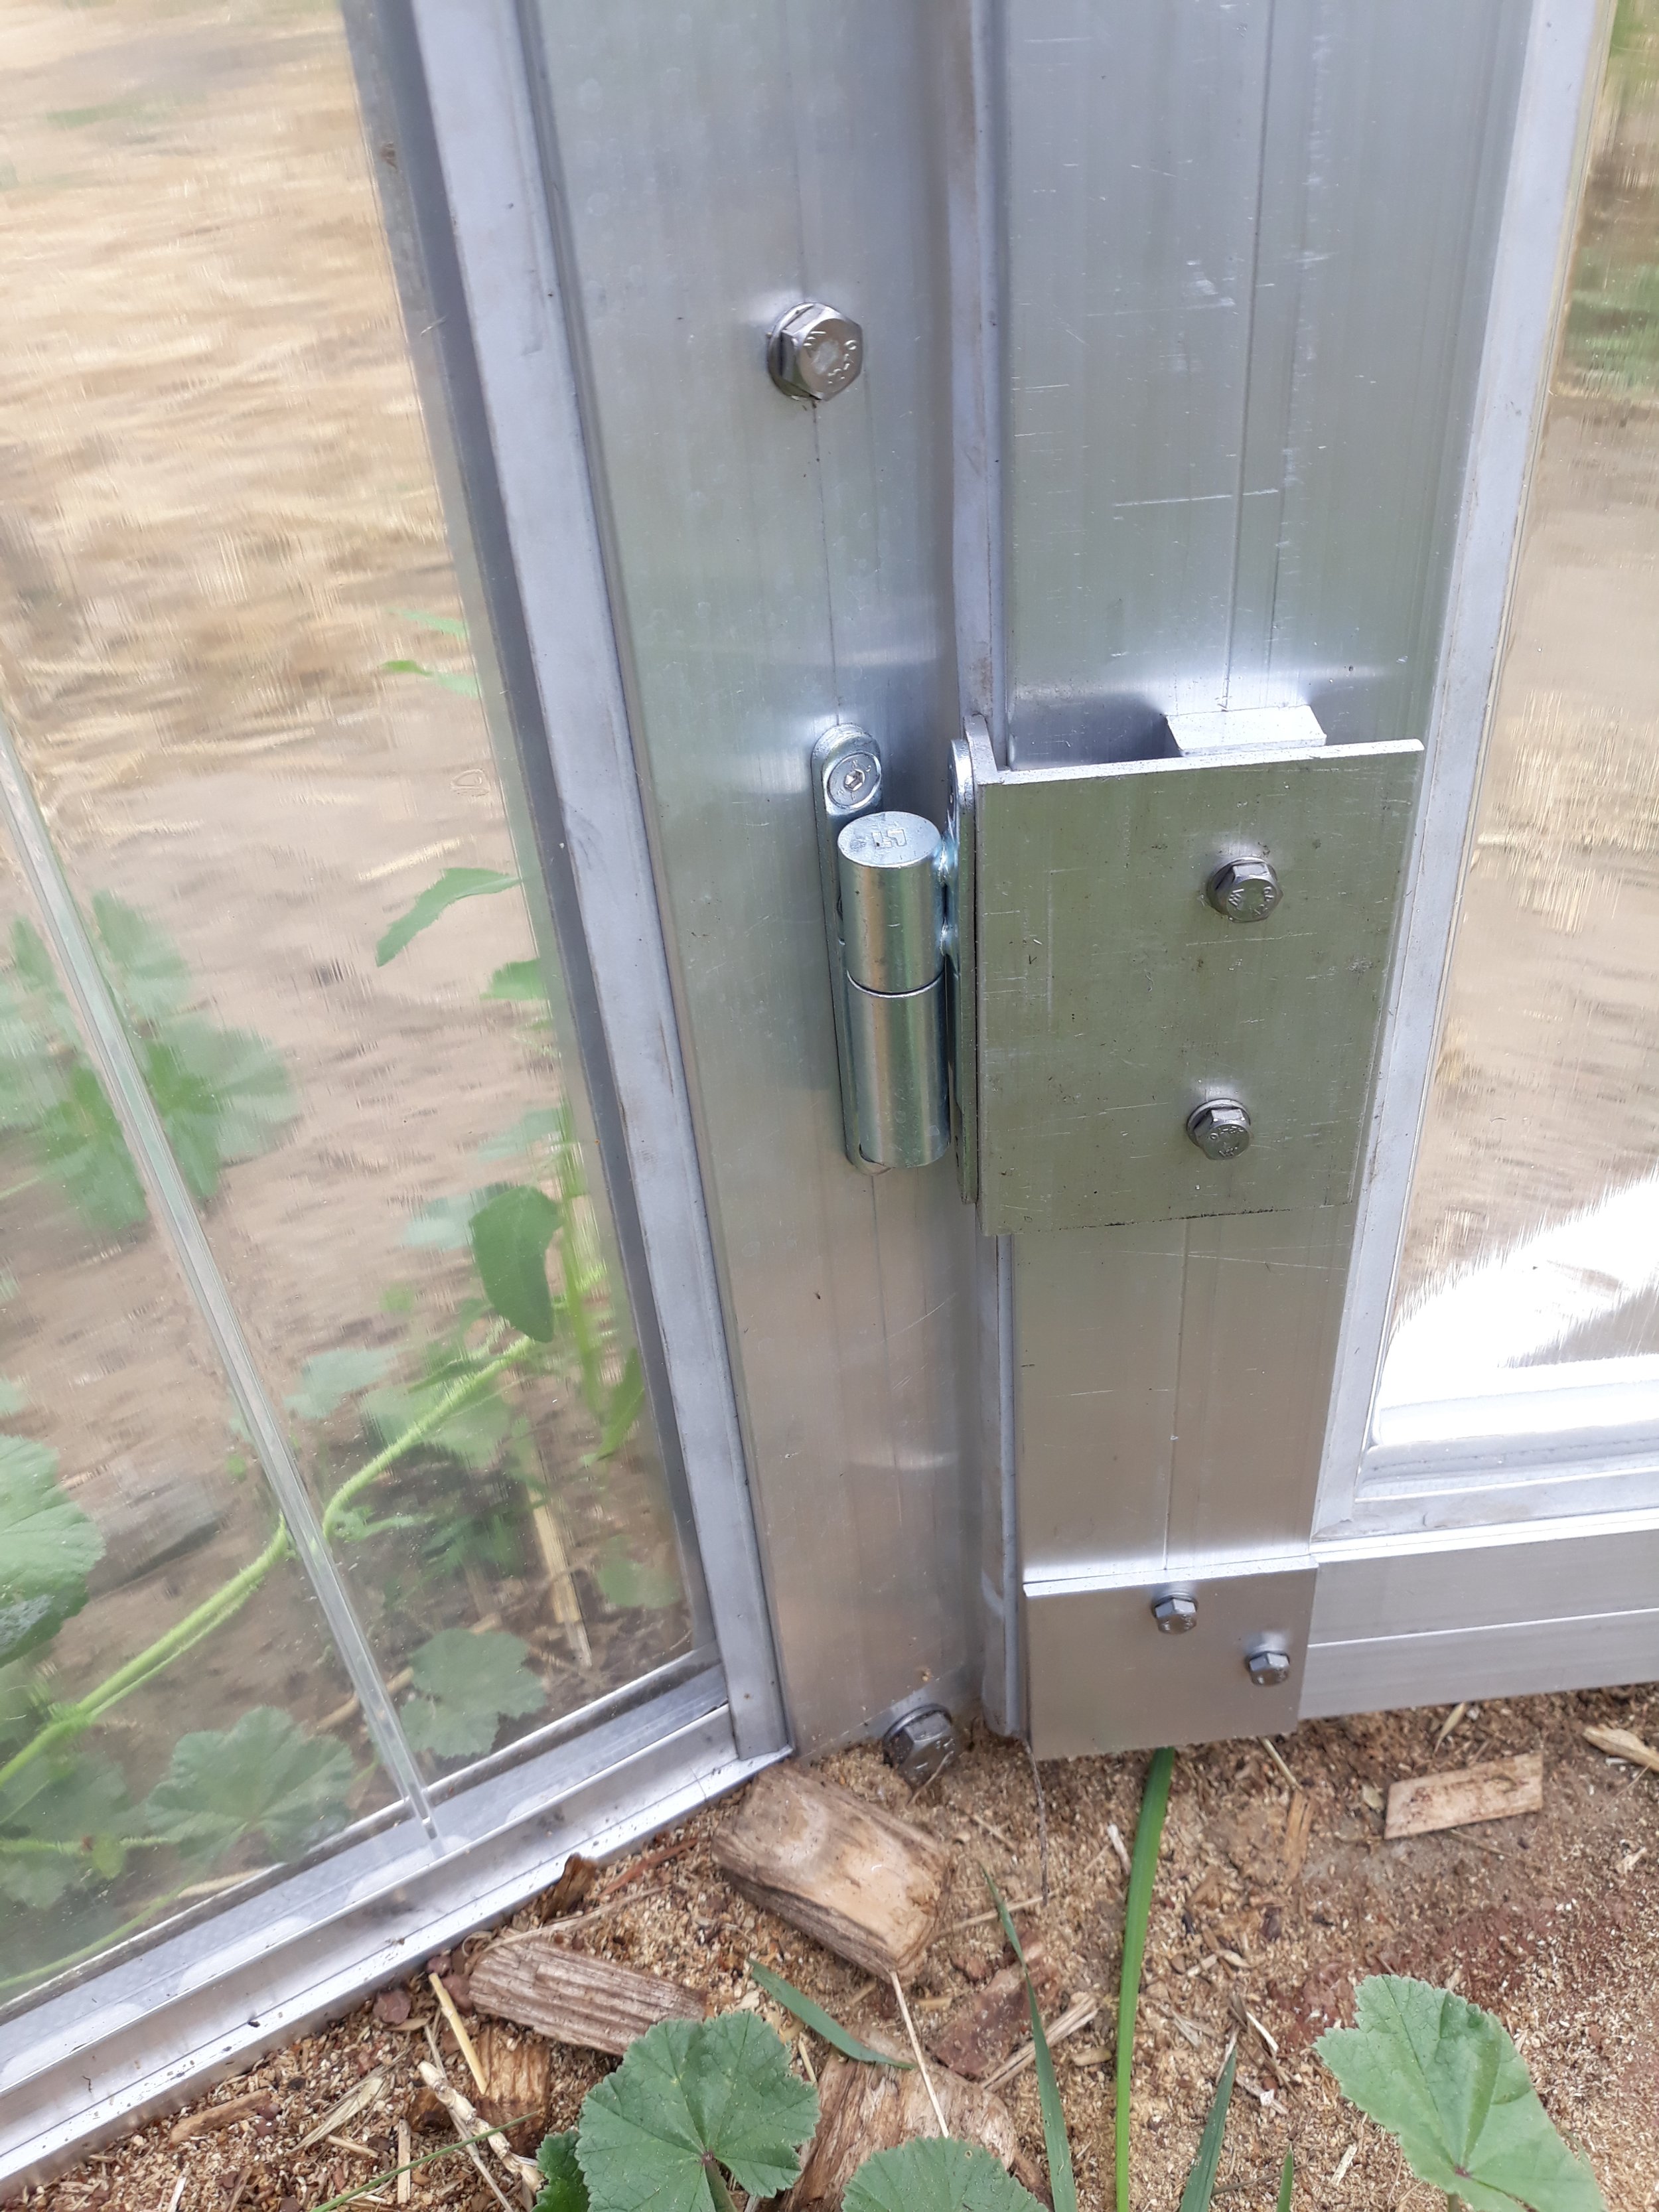
Because of the specific dimensions of the profiles and very limited room for play, I had to add an extension and ejection to the hinge's wing.
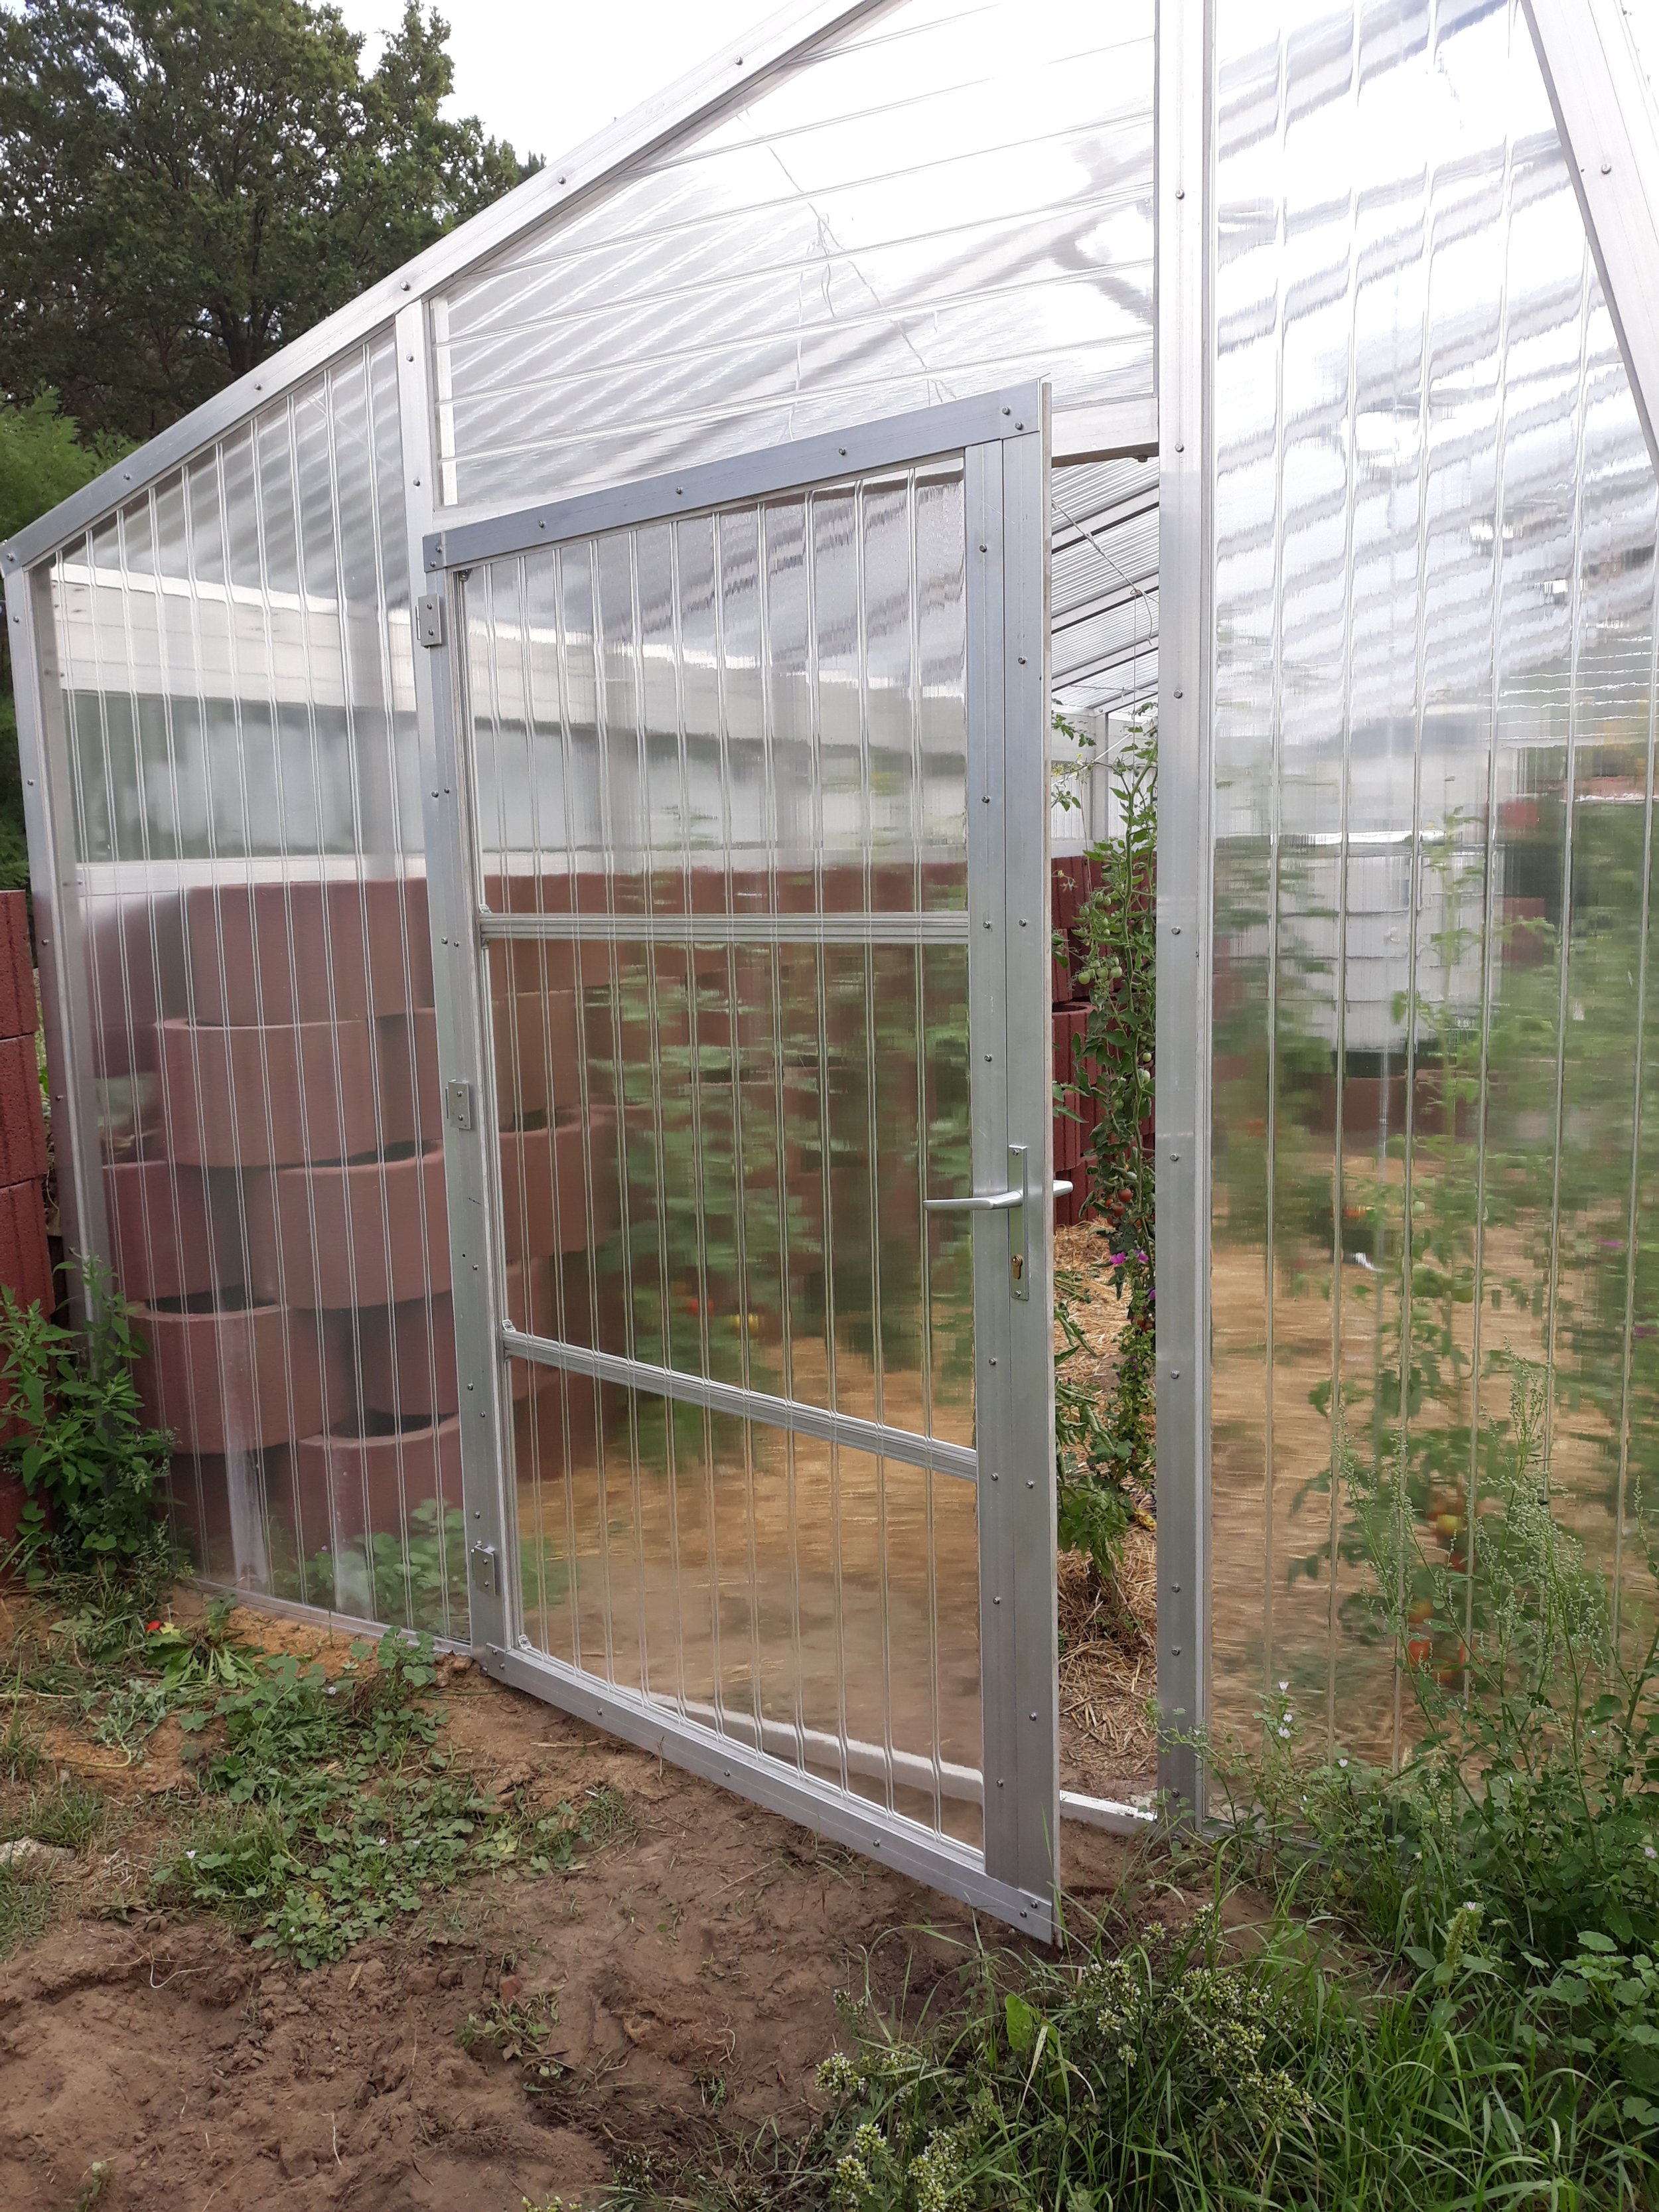
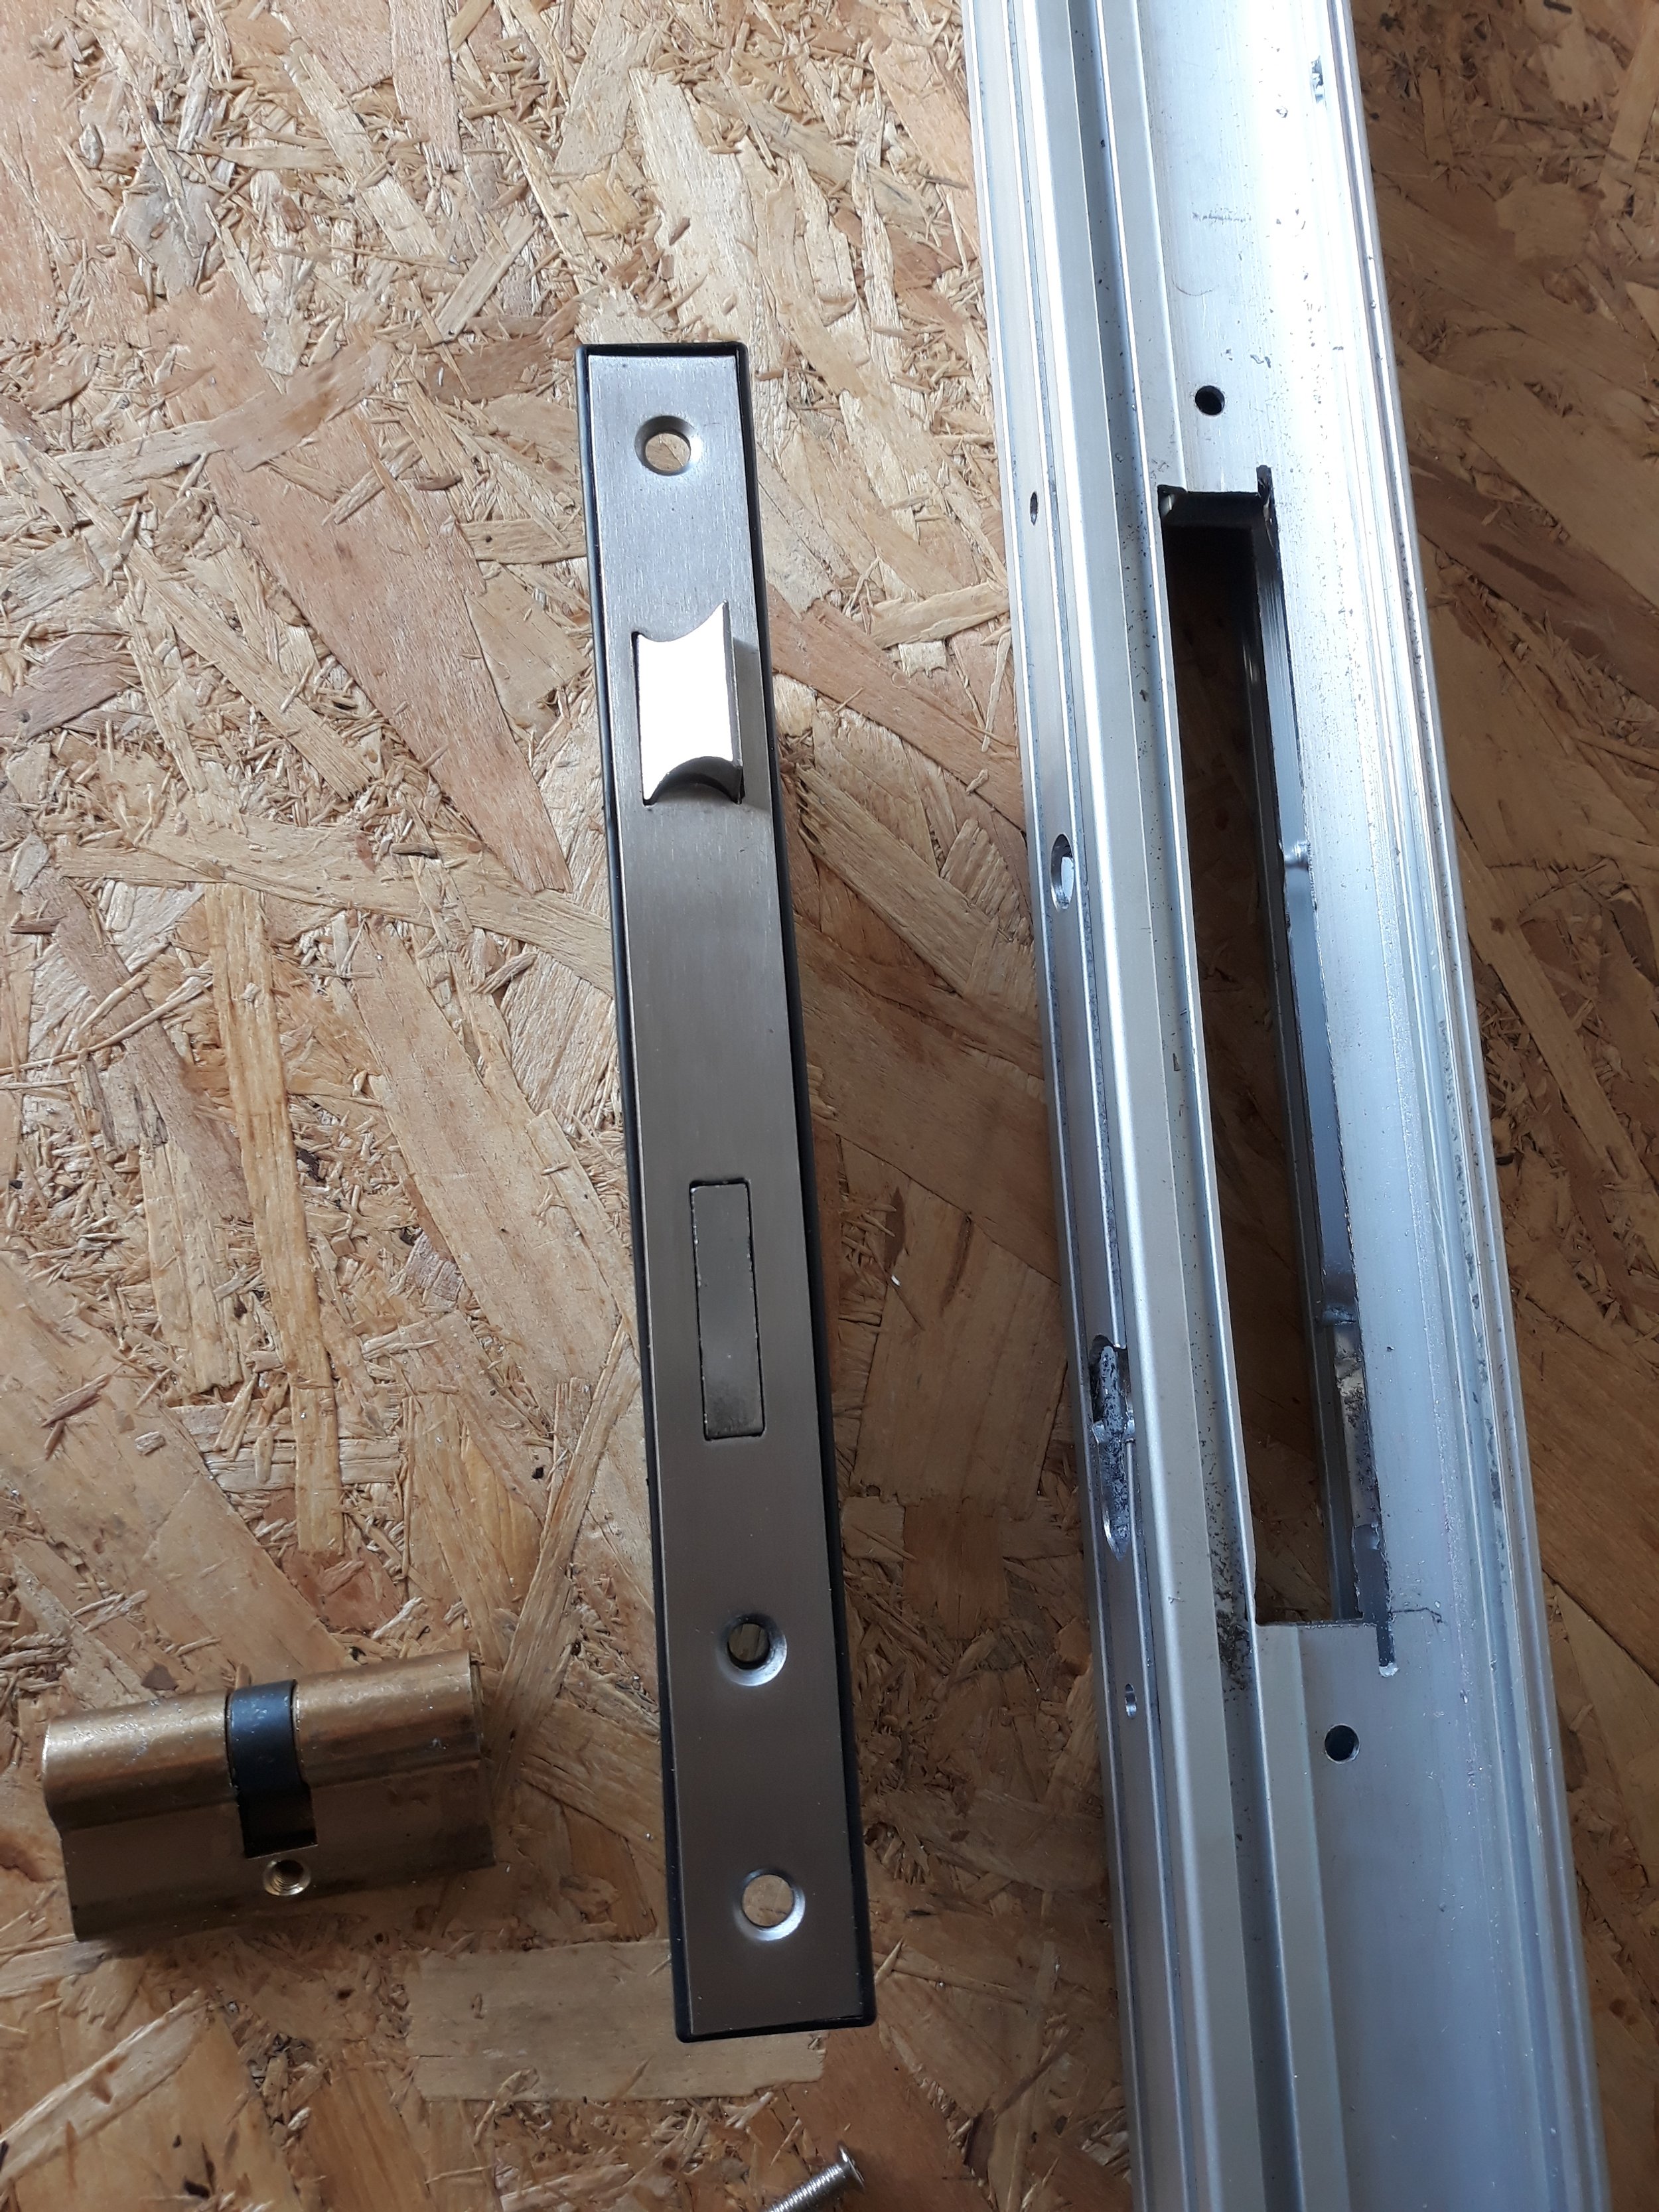
The door-lock and the cavity created for it at the door's edge
Harvesting rainwater
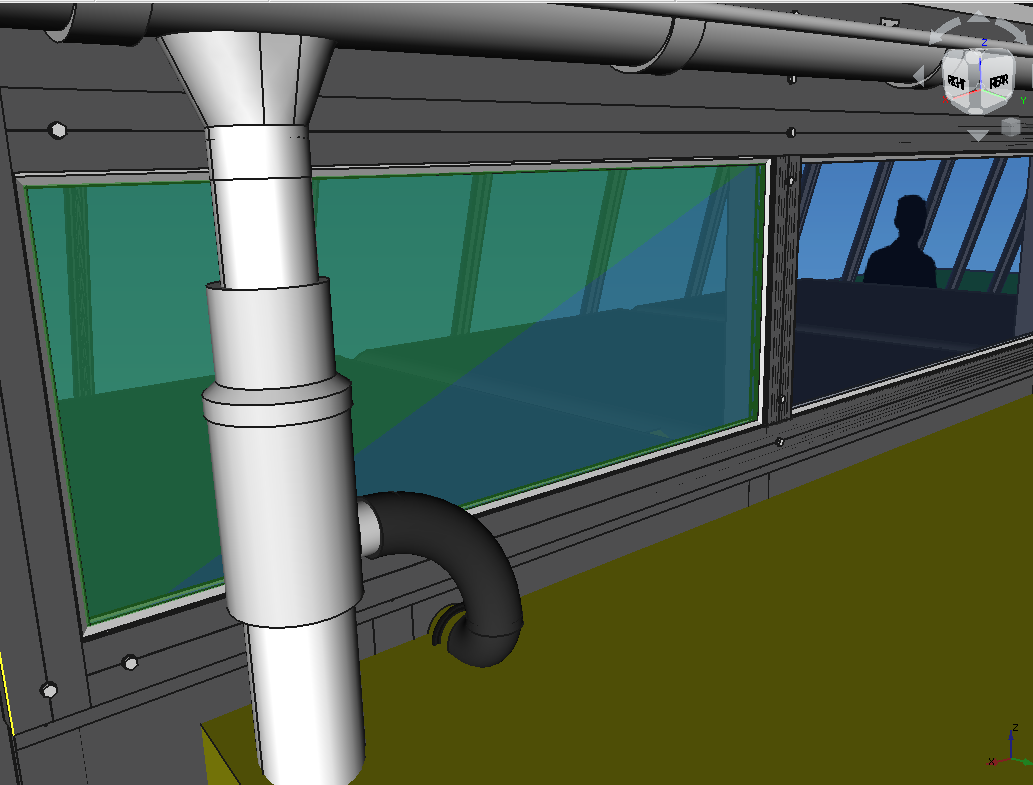
Three connected water-tanks are installed inside the greenhouse, and rainwater is collected from the gutter. Due to some limitations, I have managed to collect only about 70% of the water. The rest runs out to the garden.
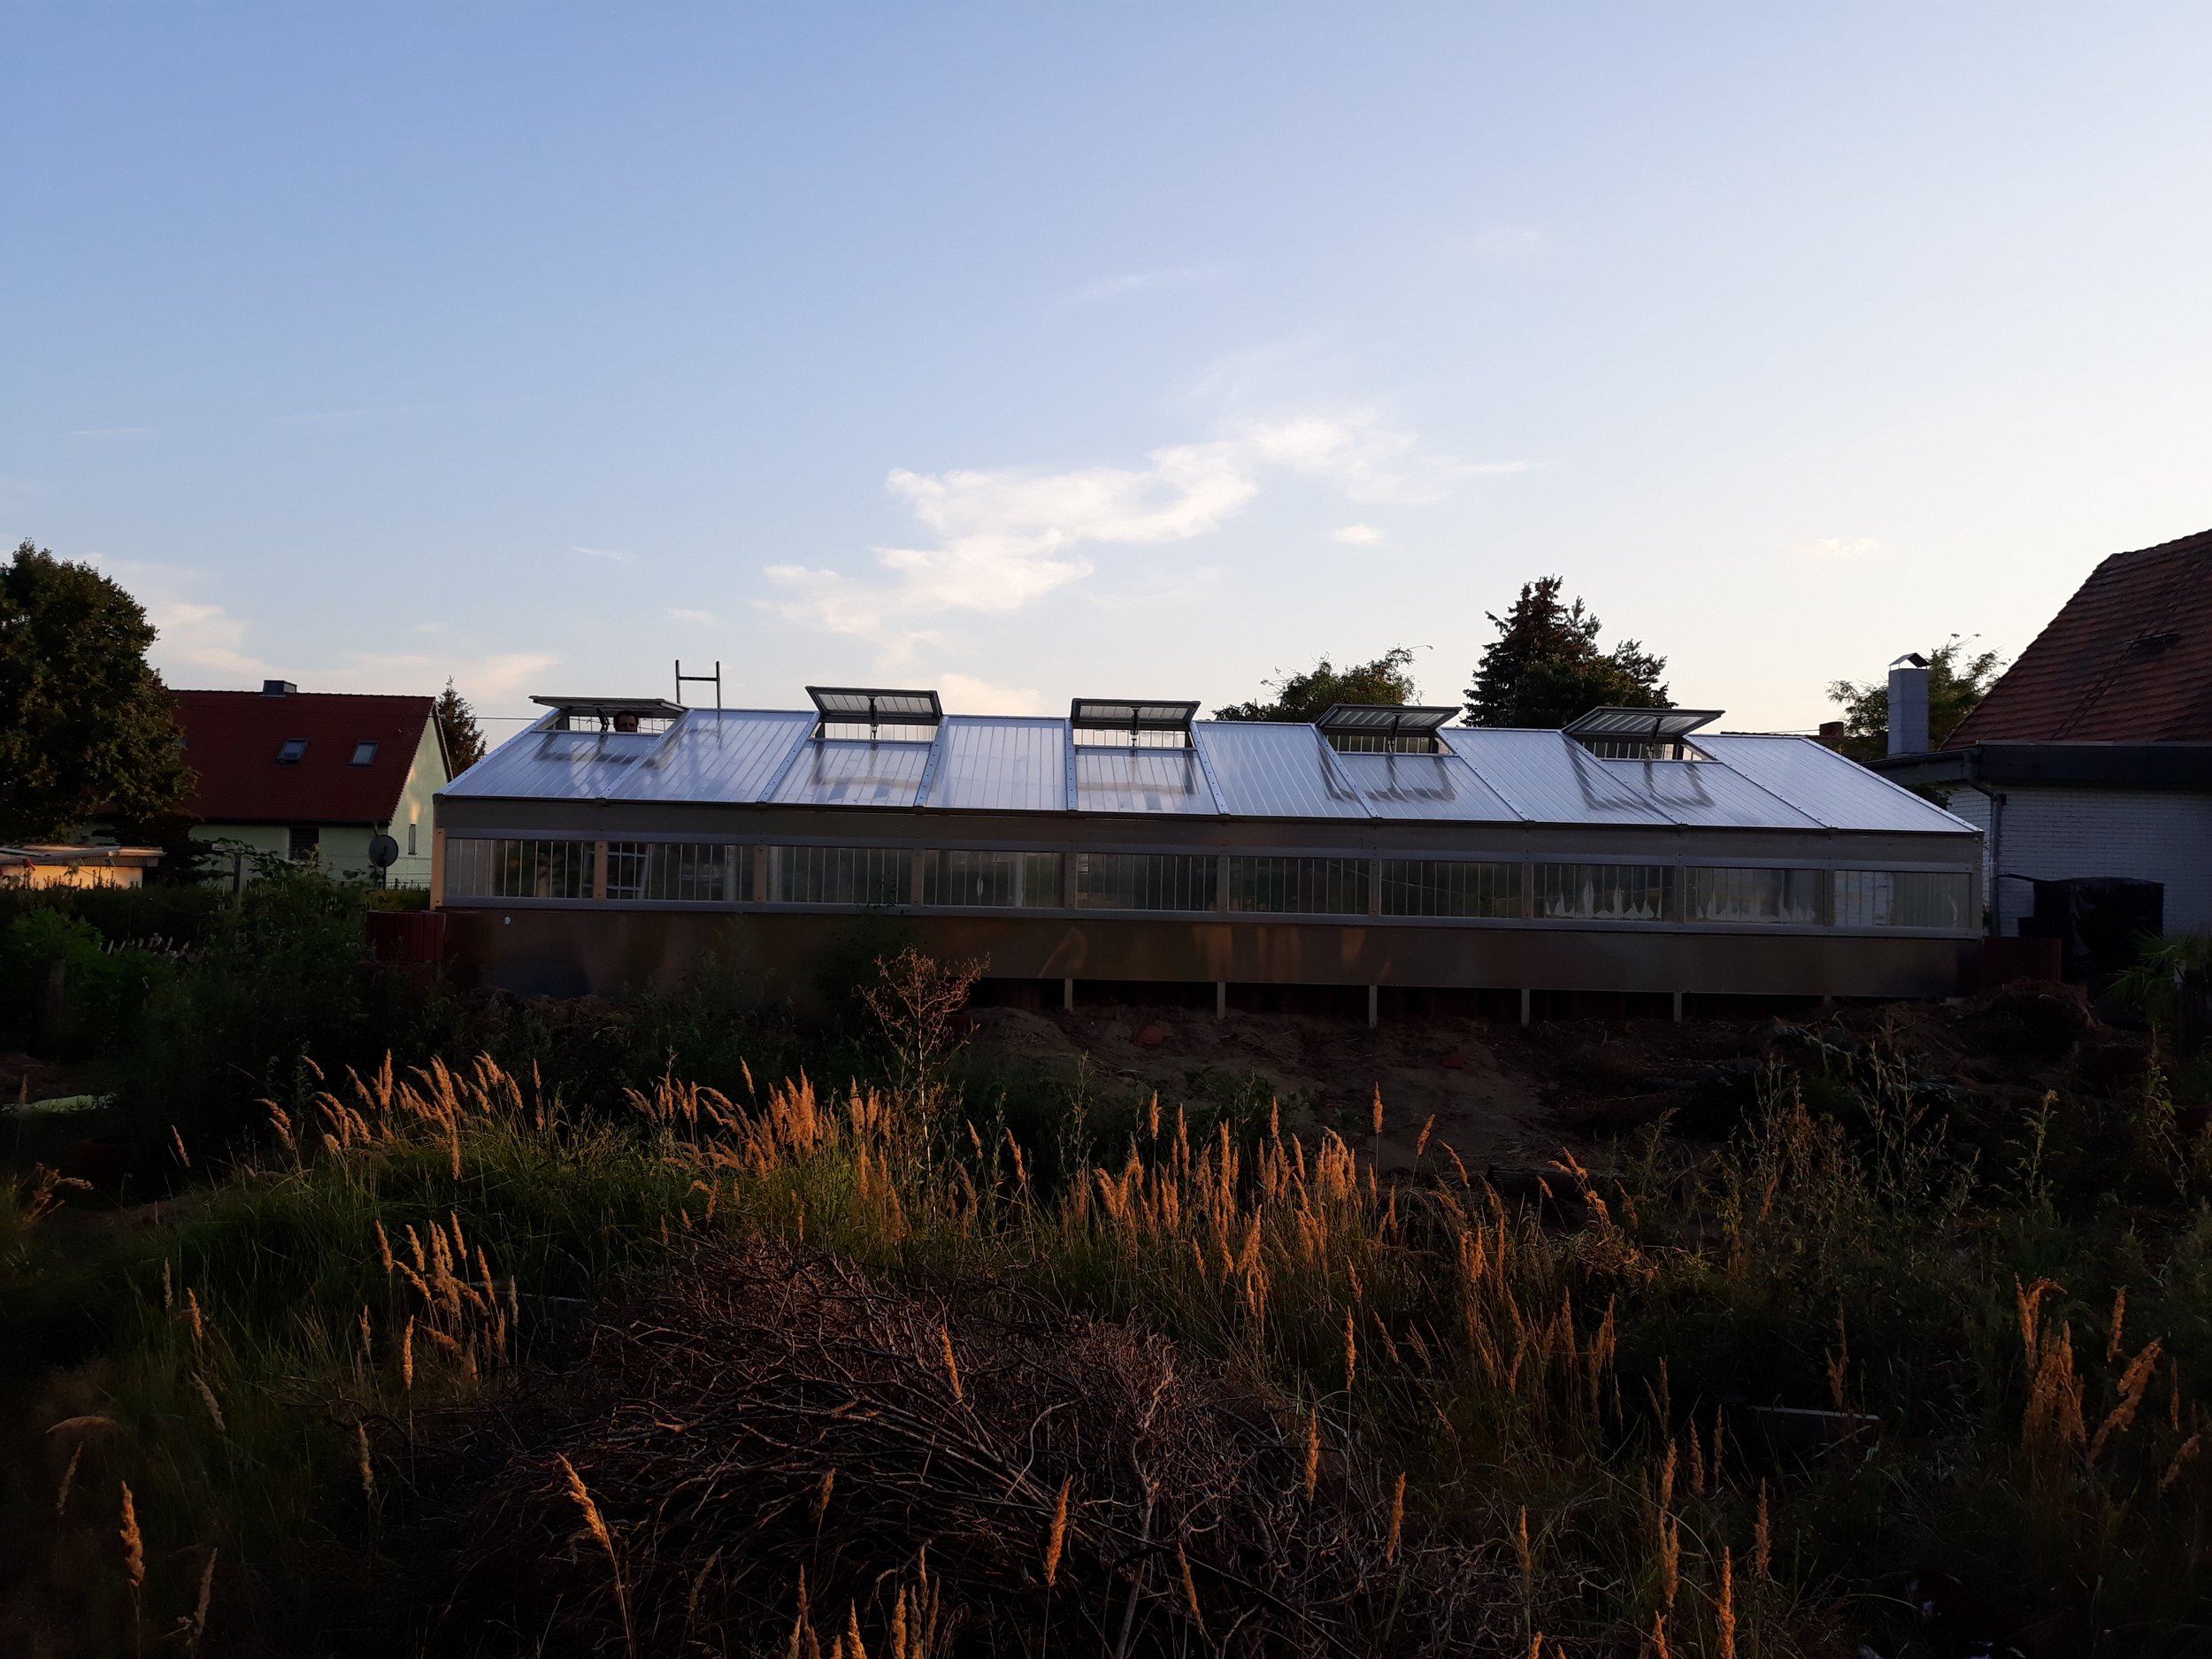
Finished work
Research and planning: Jan. 2021 - Jan. 2022
Construction: Jan. 2022 - Aug. 2022

